@lawnfawnatics interactive challenge

I’ve love lawn fawn ever since the start of my crafting journey but I haven’t really known how to build scenes using them. Never the less I absolutely love their interactive dies, it makes it so easy to make fun interactive cards.

For this card I tweaked it to have the photobomber isn’t he cute?

I used big thanks for hero arts, elphie selfie, mermaids for you, slow down and enjoy & I love you(calyputus) for the dies I used the magic iris, stitched mountain border dies & the stitched garden dies.

Thanks for stopping by to read my blog hope you have a great day. 😘😘😘

#thedailymarker30day 17th challenge

It’s being awhile since I last posted but I wanted to share with you some of the stuff that I have being working on. This box is a cutie what do you think?

I used the new release from @mftstamps the woof’s pack. I love all kind of critters. Thanks for joining me, I have a short live video of me coloring this piece. I don’t talk much because I pretty shy ☺ but just in case you wanted to know the colors used.

Thabks for stopping by. 😘😘😘

October Pink Pretty Posh Release

Thanks for joining us for the new PrettyPinkPosh October release the items are up live on the website.

There are 4 $25 gift certificates up for grabs (two winners each day). Winners will be picked randomly along the blog hop. Comments must be left by 11:59 PM PST on 10/22/2019. Winners will be announced on the PPP blog.

October 16 blog hop

If you have just arrived from Adelle’s website, thank you so much for dropping by and playing along with us.

To create this card I did some quick coloring using the new Holiday Signs stampset and then die cut using the coordinating dies. For the back ground I stamped the snow strip from winter borders with versamark on craft cardstock and then colored using polychromos.

For the shaker tag I used the decorative tag dies. While I was stamping the winter borders with my misti I also stamped an extra white cardstock with versamark and gold heat embossed.

Using spare stock card I die cut 4 extra decorative tag frames to layer and 1 craft vardstock frame. Using just the backing die cut 1 acetate window, and 1 white backing of the decorative tag.

To assemble the tag I layered the backing then the gold stamped snowflake. Next come the 4 decorative tag frames, I filled with the Winter Days confetti and micro bead balls. To seal with the acetate window and finally framed with the craft cardstock. To add the finishing touches I adhered the teal ring and tied the ribbons.

The Holiday sign stampset is perfect for the holiday cards as it comes with matching sentiments to accompany the signs.

For this Card I did the same with the winter borders but using the garlands strip to stamp on craft cardstock and finished with one of the Holiday Signs Santa.

I couldn’t stop so had to make one using the penguin 😁

Next up on the hop is Suzy’s website please check her out as she is an amazing artist. Her coloring is astounding.

Have fun hopping along and remember to check out the blog hop tomorrow on the 17th for more chance to win prizes.

Good luck!!! As usual I’ve listed my supplies below.

SUPPLIES

  • Sizzix die cutter

Full disclosure I have affiliation links to petty pink posh, which means if you do choose to buy from the links I get a small commission at no cost to you. By buy from me helps to support this line of work. I have received items from the company for promotion but all views are of my own and I will only share what I would buy and recommend.

Bear in the Garden

I hope you guys have been doing well, I’ve been busy setting up some new projects for this month. I have exciting news closer to the 15th of October so keep an eye out and come back to check my website for more details regarding this.

I love creating this box because it combines my two favorite things; flowers and critters. Coloring the flowers was heaps of fun and quite relaxing. I used only the Copic R20 and flicked the brush tip from the centre of the flower outwards keeping in mind to leave white areas at the edge. I then used Polychromos 129 magenta to shade the centre, darken the shadows and the folds of the petals on the outer side. For the centre of the flowers I used 205 polychromos and colored the stamen with YG11 and 168 Polychromos for the stem of the stamen. The leaves I used YG11, and G24; I also used the 168 polychromos to fill in the shade.

As for the colors of the bear and log I use Copic E11, E35, E37, the mushroom is used R20,R22, R08 to shade from darkest to lightest.

To match the panels I created the pattern paper using versamark and craft paper to which I white heat embossed using the anemones stampset.

Finishing it off I die cut the hello friends dies 4 times using scrap paper to build layers and added a top layer using pearl paper. Then just to add some mute sparkle I used the marshmallow confetti from Pink Pretty Posh.

Pink pretty posh

Mass stamping and die cutting images

Hi everyone, I promised to show you how I mass produced the images for creating my projects. I found this method has being very useful for me and I wanted to share with you guys. Just in case it can help you craft easier and quicker.

Please click here for the video.

This is the reason why I am collection co-ordinating dies of very loved sets.

Hope you guys enjoy the video and have a great week.

Lots of love as always

MFT Superstar 2019

I don’t know how many mft boxes I’ve made but I know one thing for sure was they were the first company that got me hooked on crafting. I don’t know if I’ll win or not but it’s not the point. If you don’t entre you won’t have a chance. You need to enter to at least have a chance, I really love the process of creating and when you have an opportunity to create while winning prizes; it’s even better!

I love making this box and encourage you to put your entries in. The deadline is Sunday September 22nd 10.00pm EDT time. It’s still not to late to put entries in. Please check out mft website for full details click here.

I just love coloring with polychromos you can get so much details compared to using copics as the tips are hard to control. I hope you like my coloring. I used the same color scheme with my last post.

102 cream

185 naples yellow

184 dark Naples ochre

183 light yellow ochre

109 dark chrome yellow

111 cadmium orange

132 light flesh

189 cinnamon

131 medium flesh

130 dark flesh

191 pompeian red

154 light cobalt turquoise

156 cobalt green

153 cobalt turquoise

155 hello turquoise

For the shadows – I wanted to step out of my comfort color choices and decided to use the moss greens as shadows instead of greys.

172 earth green

174 chromium green opaque

267 pine green

Again I used the base pop up box card from @12bpanda she has a tutorial on her youtube channel.

Supplies

  • Mft SY Sending Sweet Celebration Wishes
  • Mft birthday Wishes Die-namics
  • Mft Tagged background
  • Versamark
  • Antistactic powder
  • Wow White Embossing powder
  • Ranger matte medium adhesive
  • Ranger Distress Oxide Cracked Pistachio
  • Ranger Distress Oxide Faded Jeans
  • Kuretake Gansai Tambi Starry Colors
  • Misti
  • Heat gun tool
  • Gina K Almagma ink
  • Acetate


Pop-Up Box Mama Elephant Blog Hop

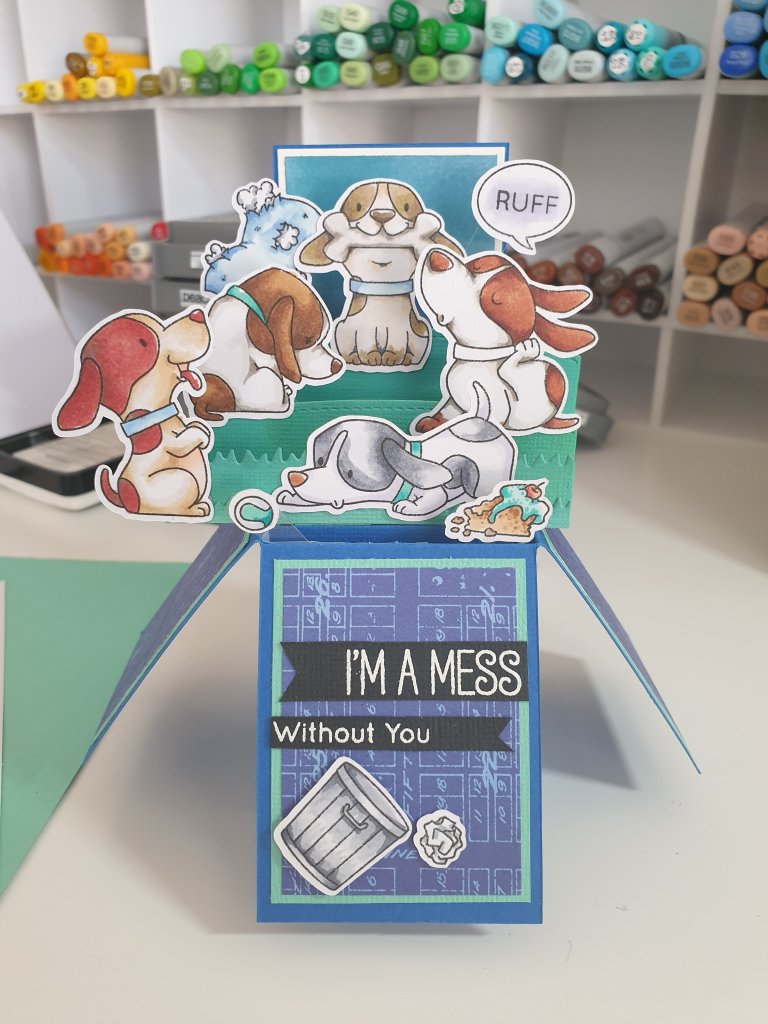
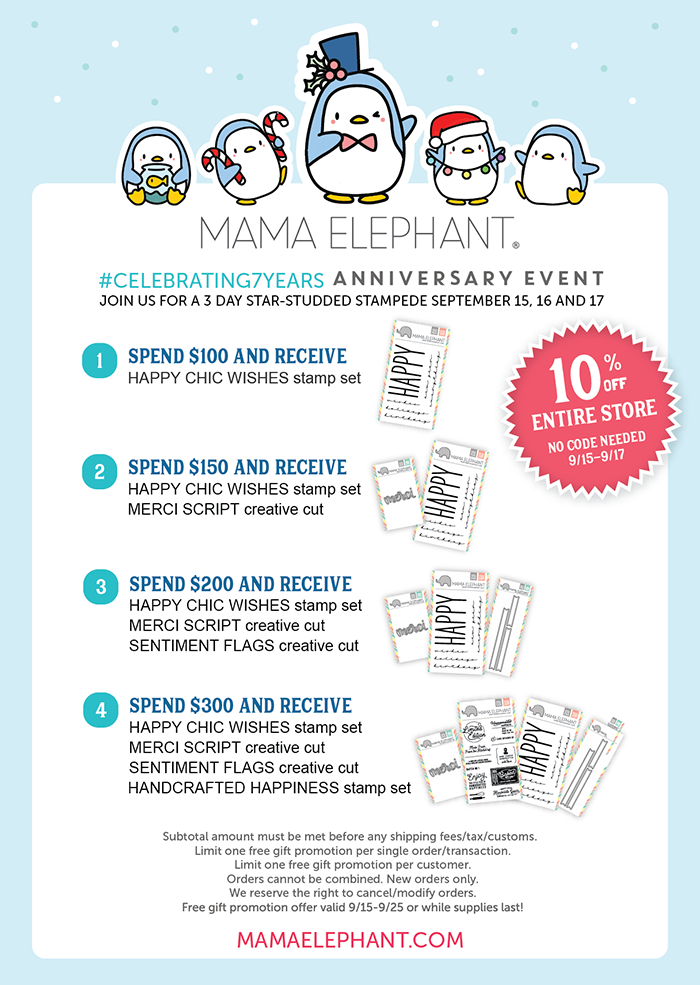
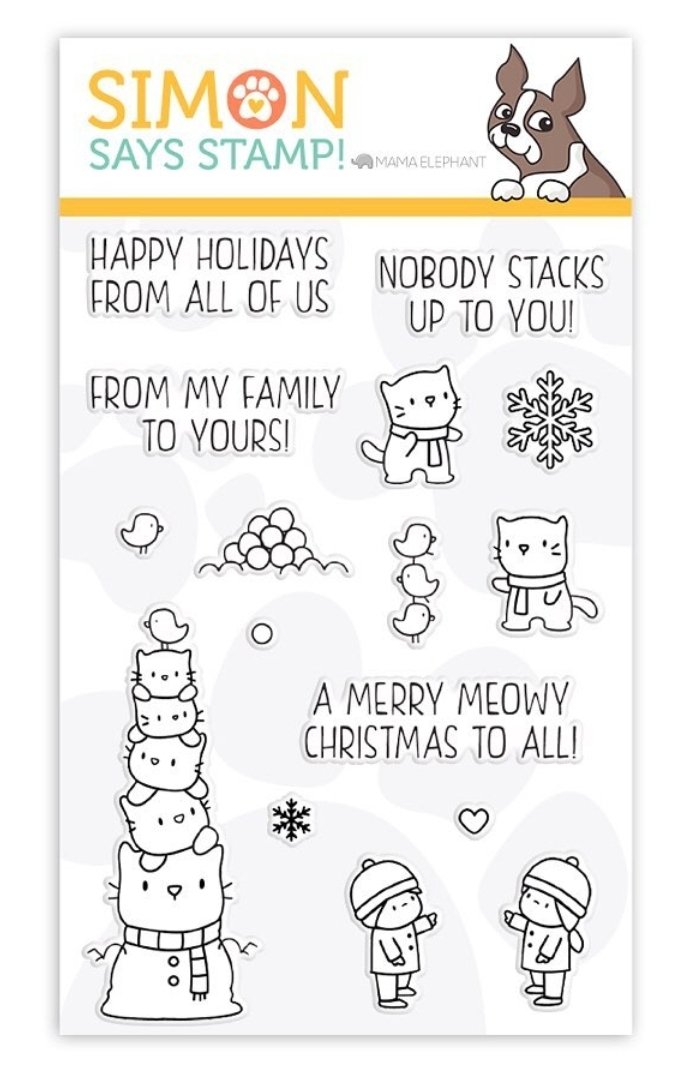
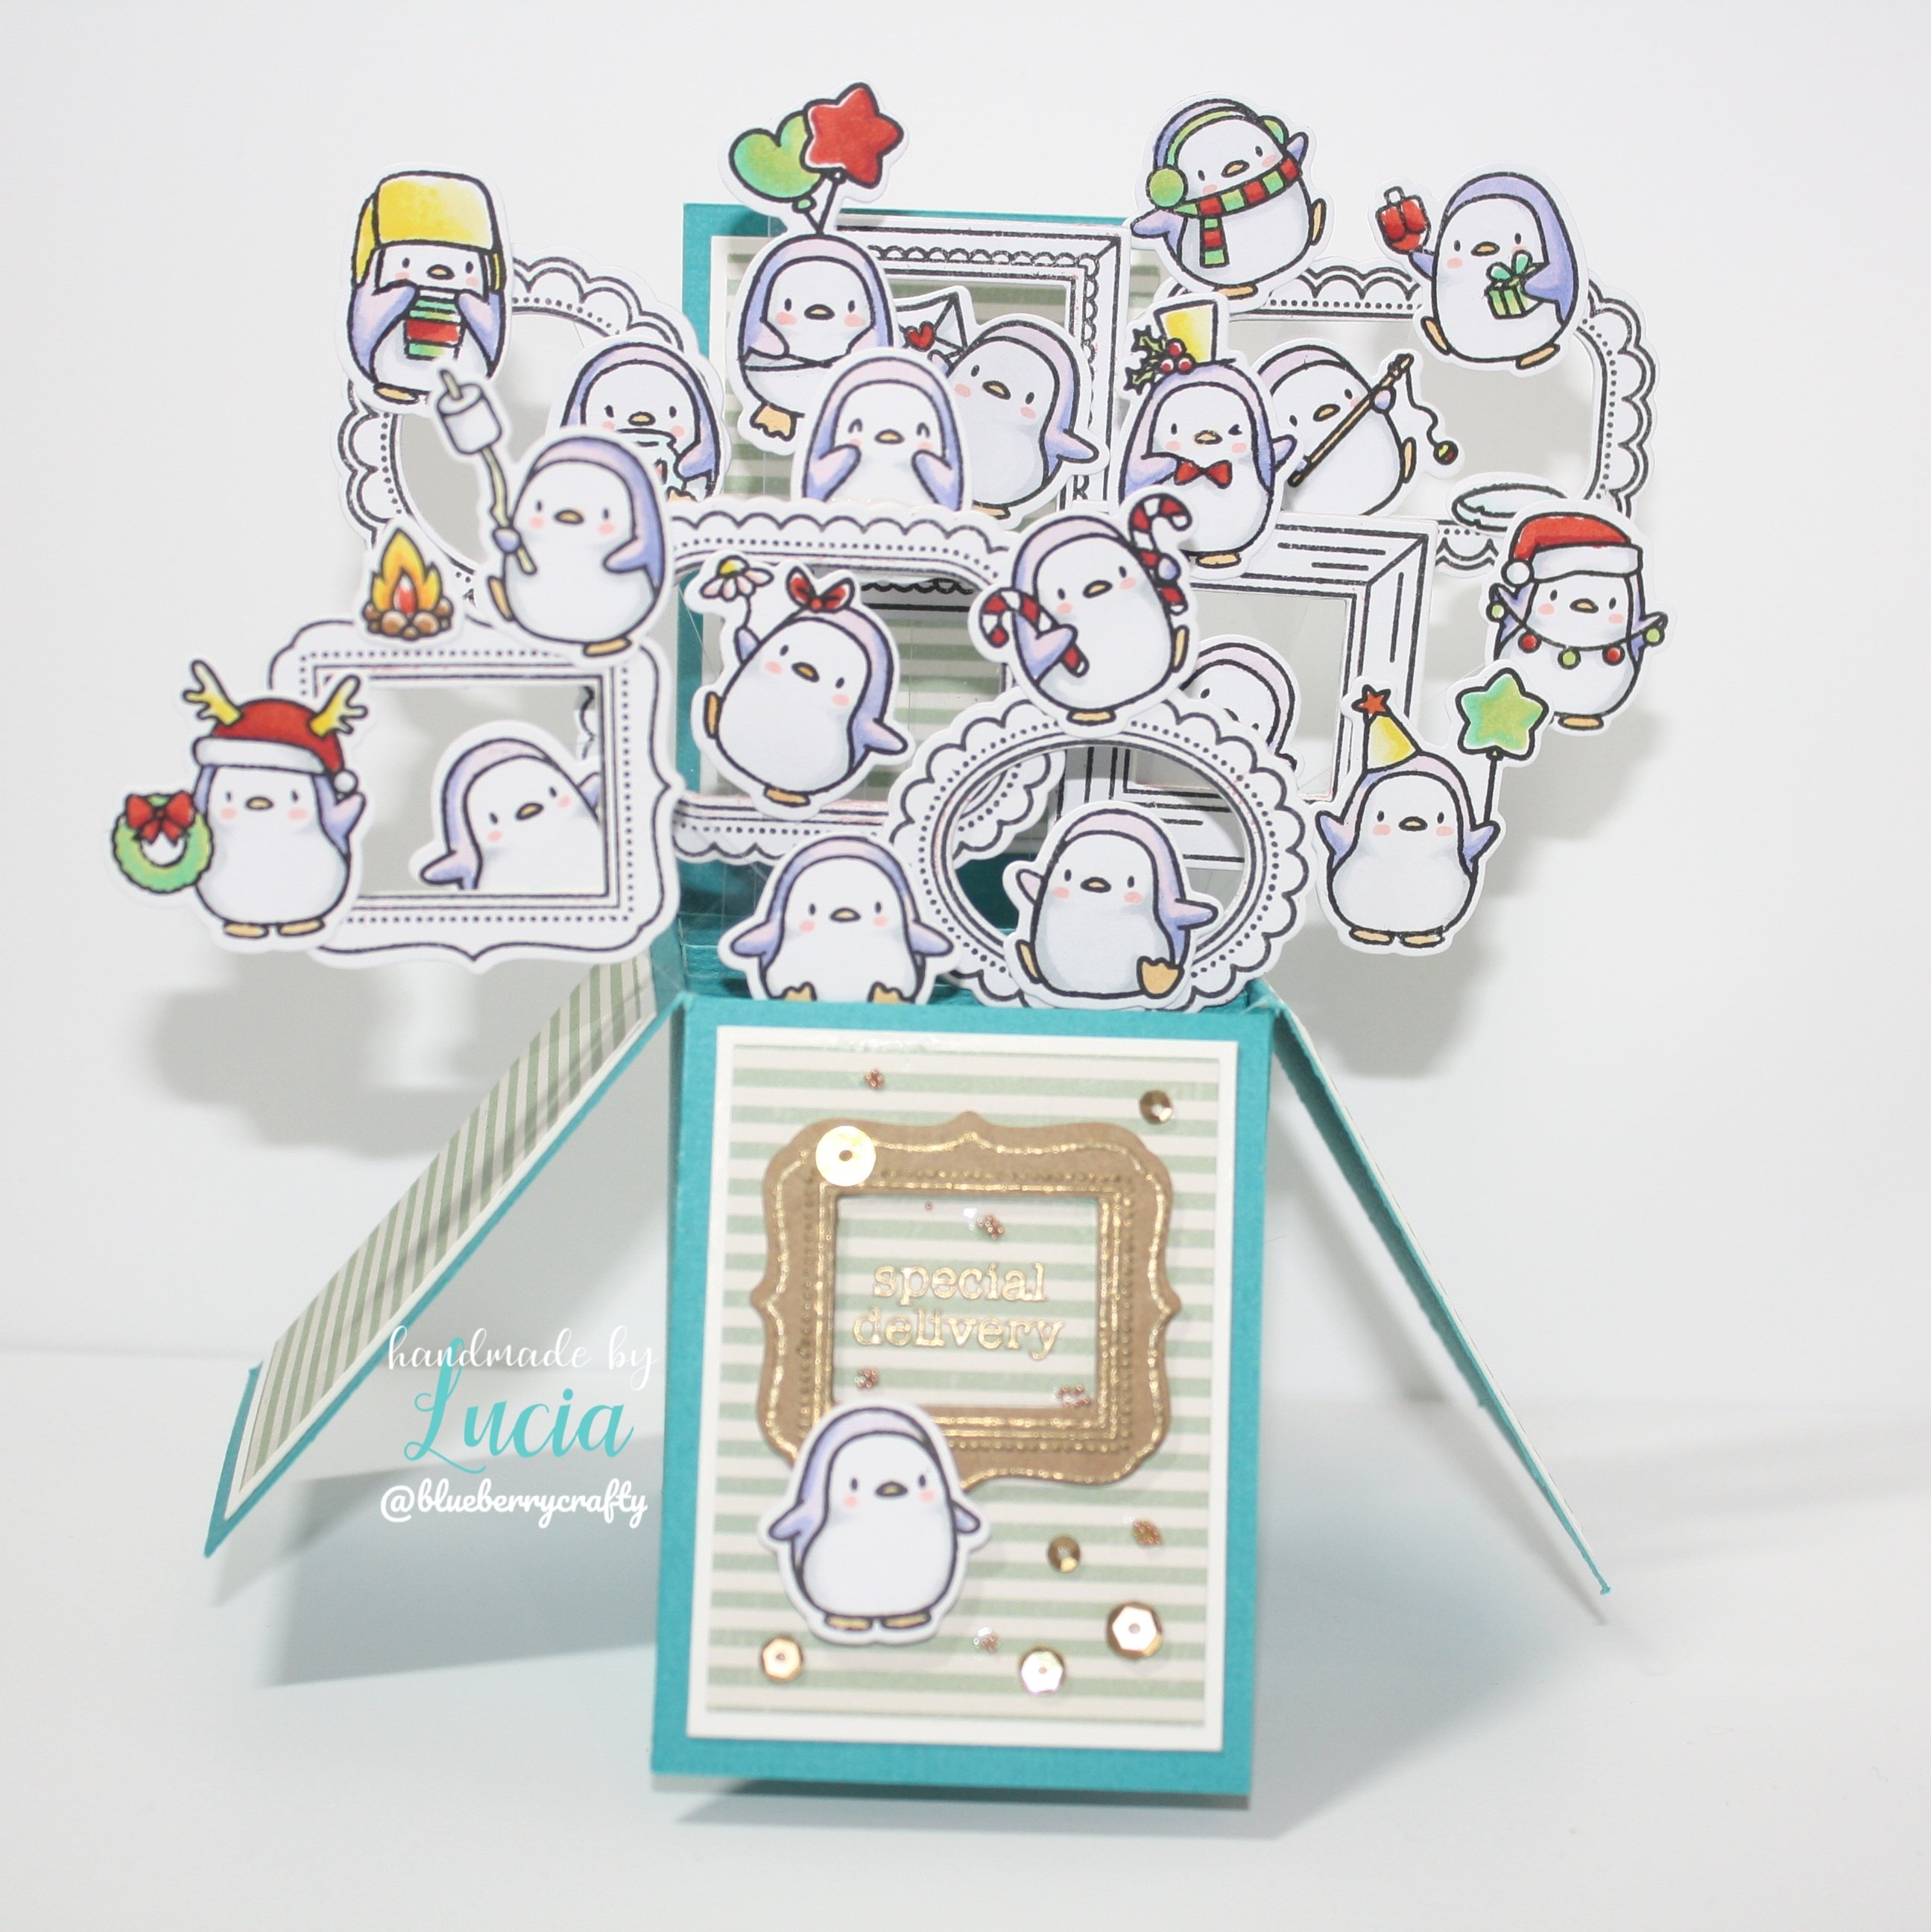
I absolutely love this box and such a huge fan of the new release, I hope you guys enjoy all these cute little critters. Have you checked out the new release? I’ve putten my orders in and cannot wait to play with them when they arrive. Just a quick disclosure all the links below isn’t affiliated just reference for you in case you want to purchase. I share what I love and enjoying doing so others can to. Also, have you seen the SimonSaysStamp Stamptember collab with Mama Elephant, it’s totally adorable.

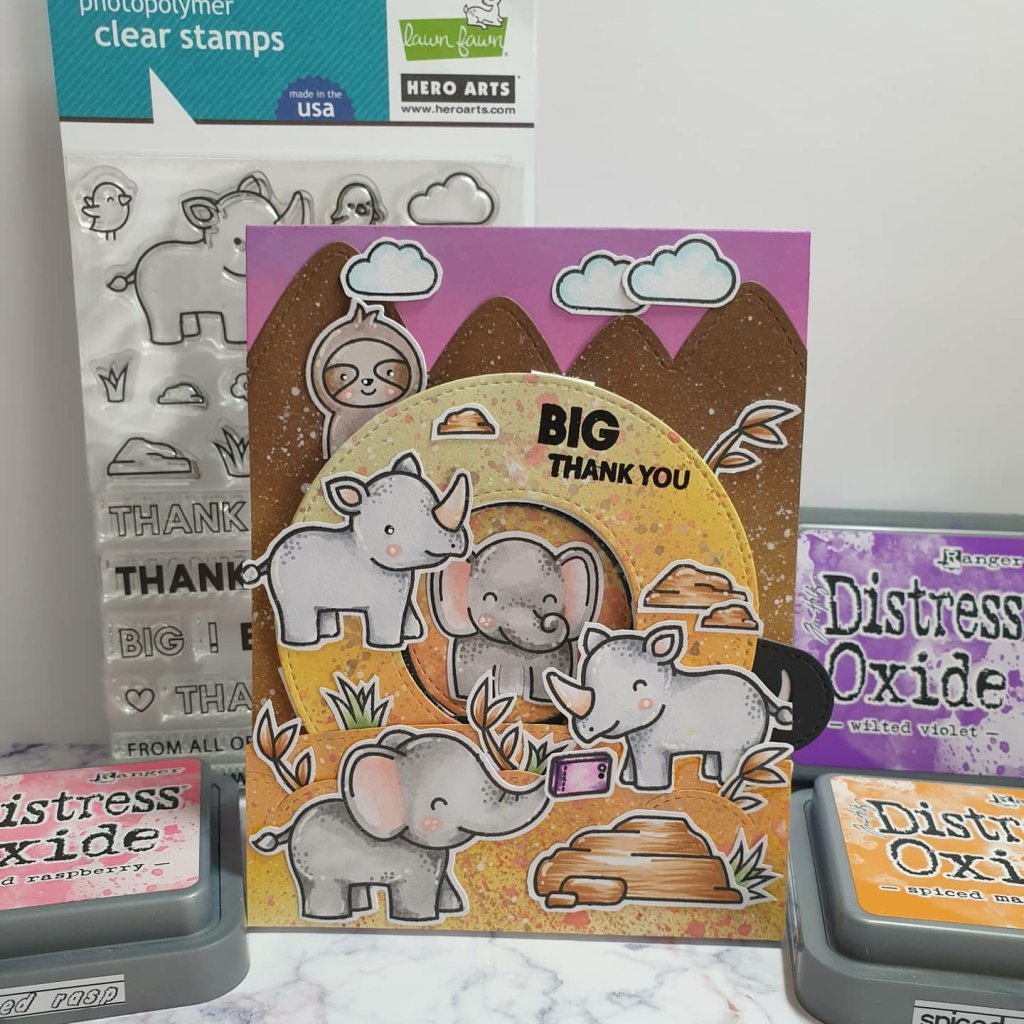
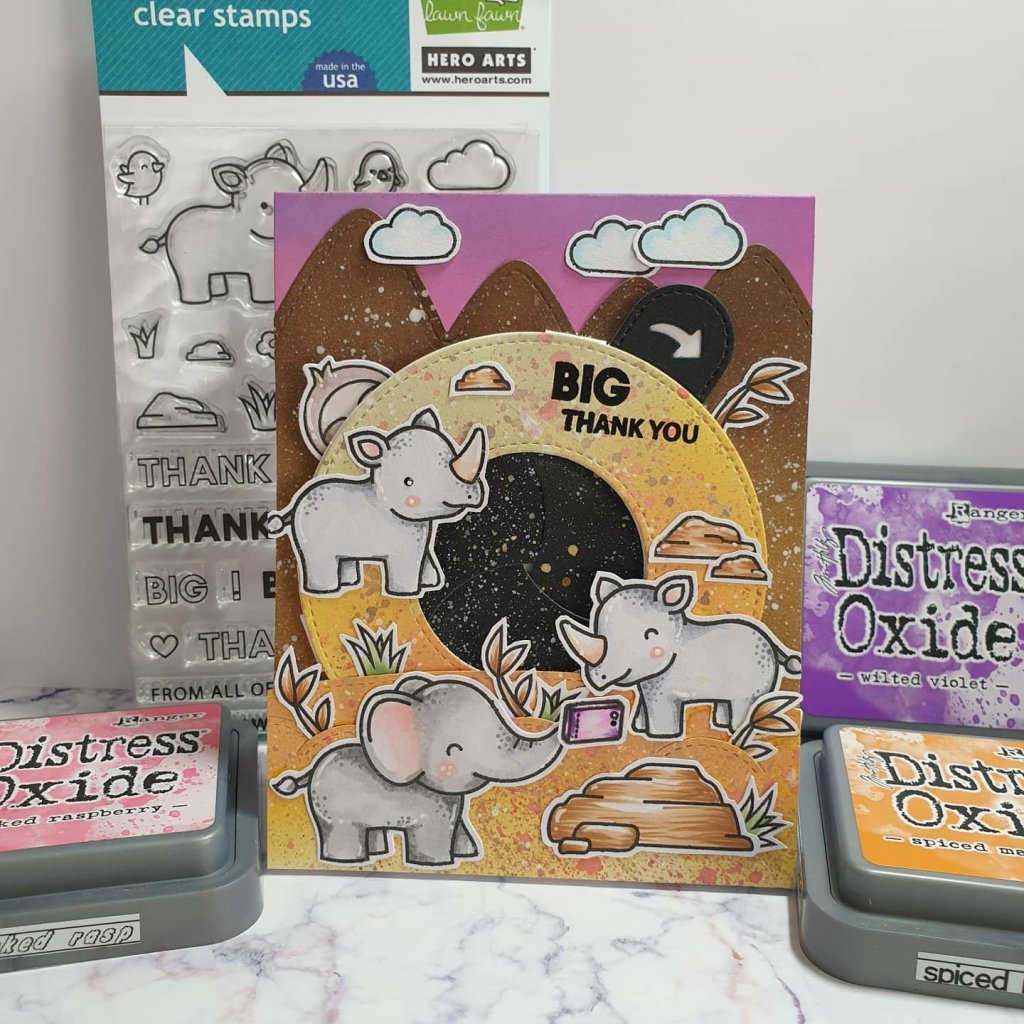
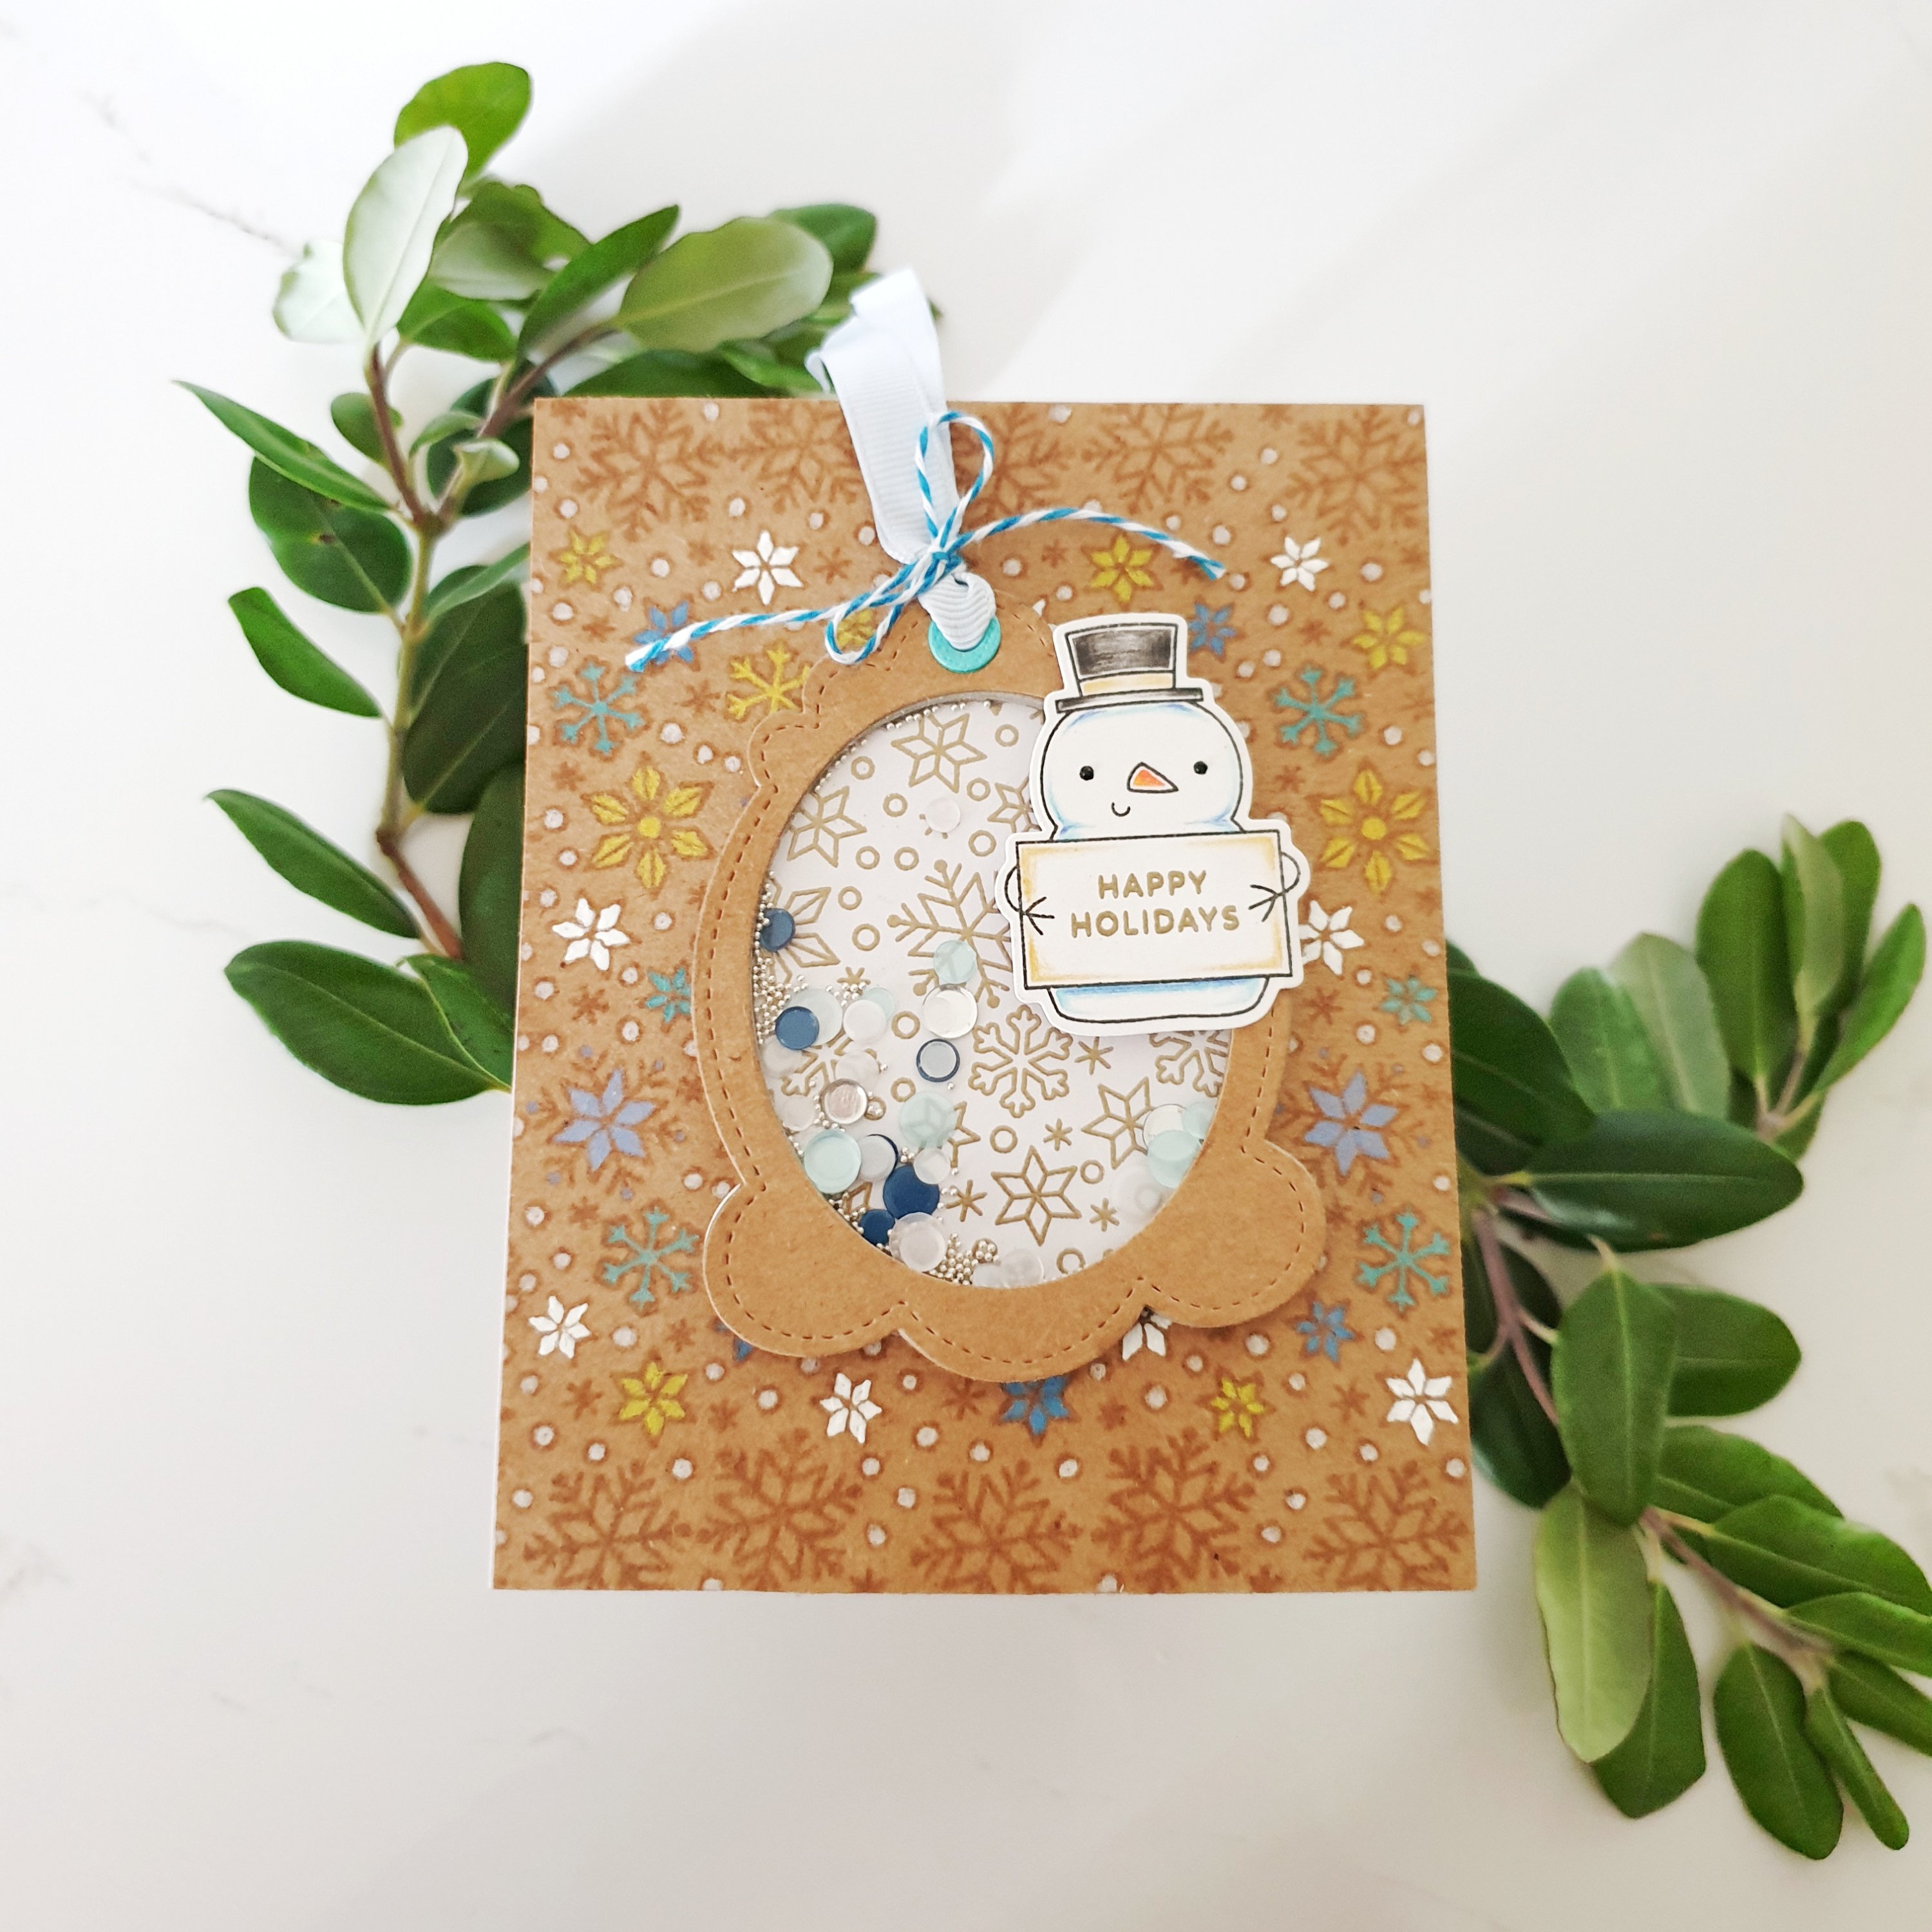
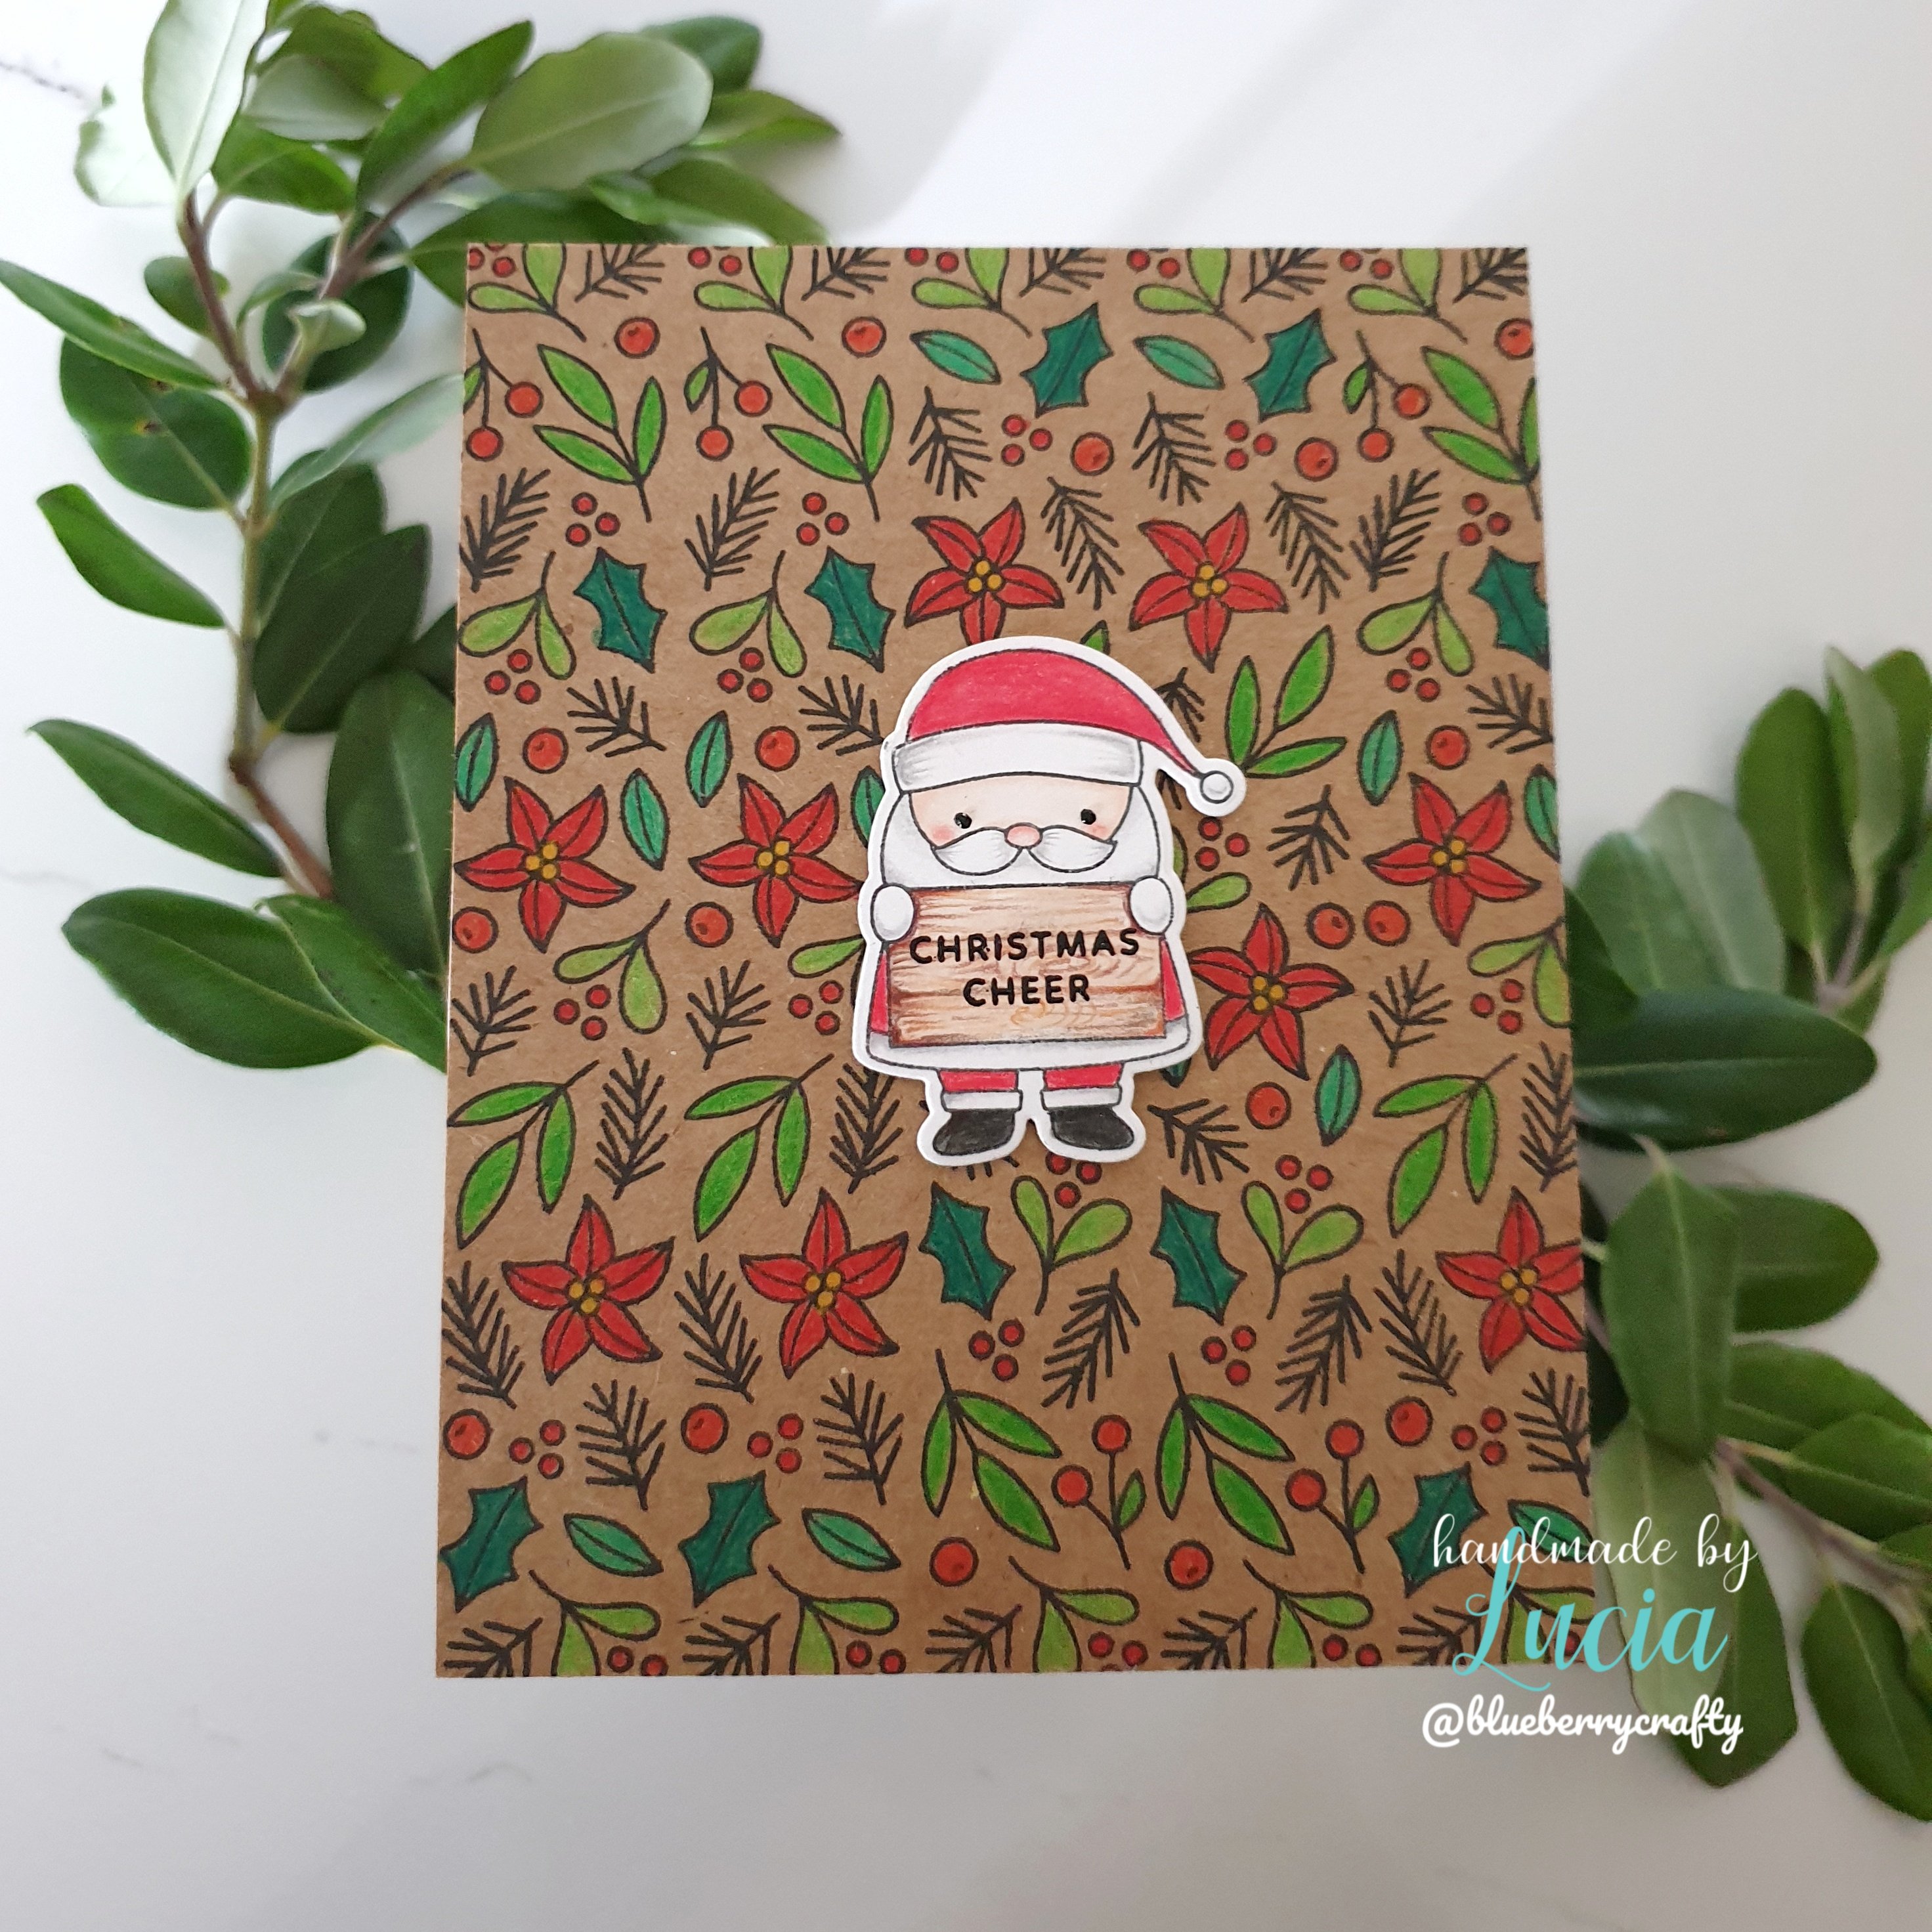
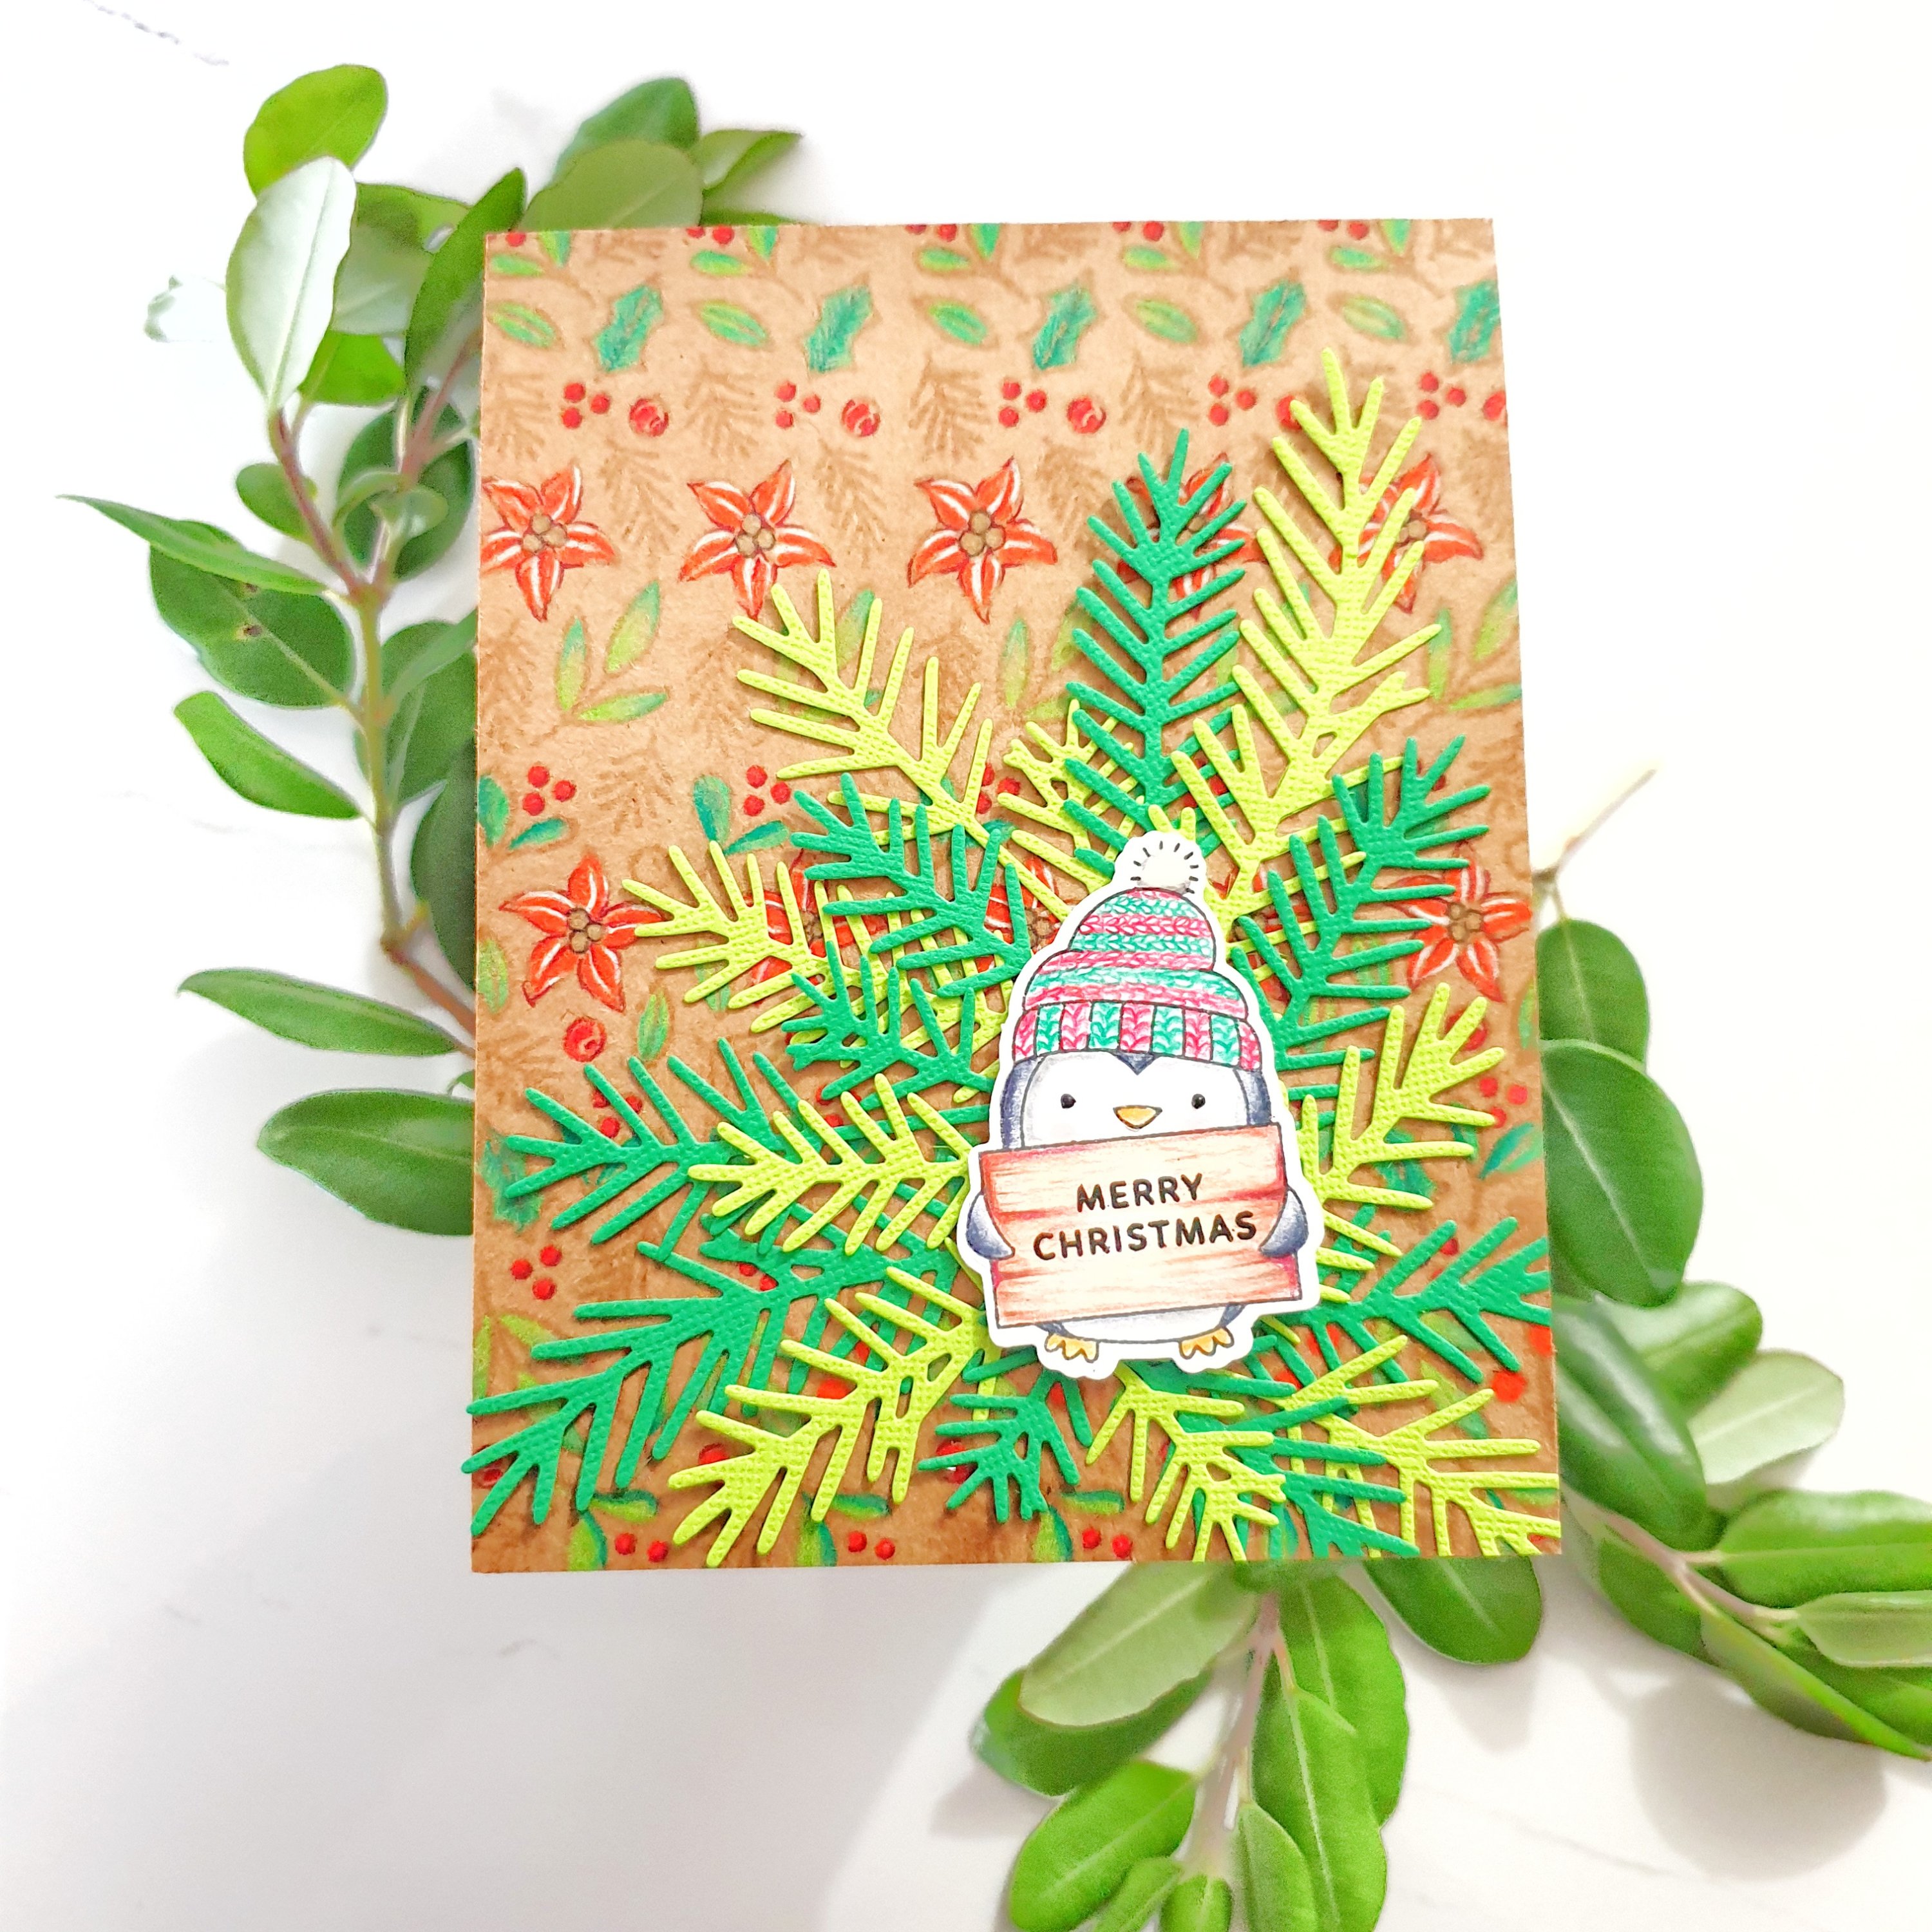
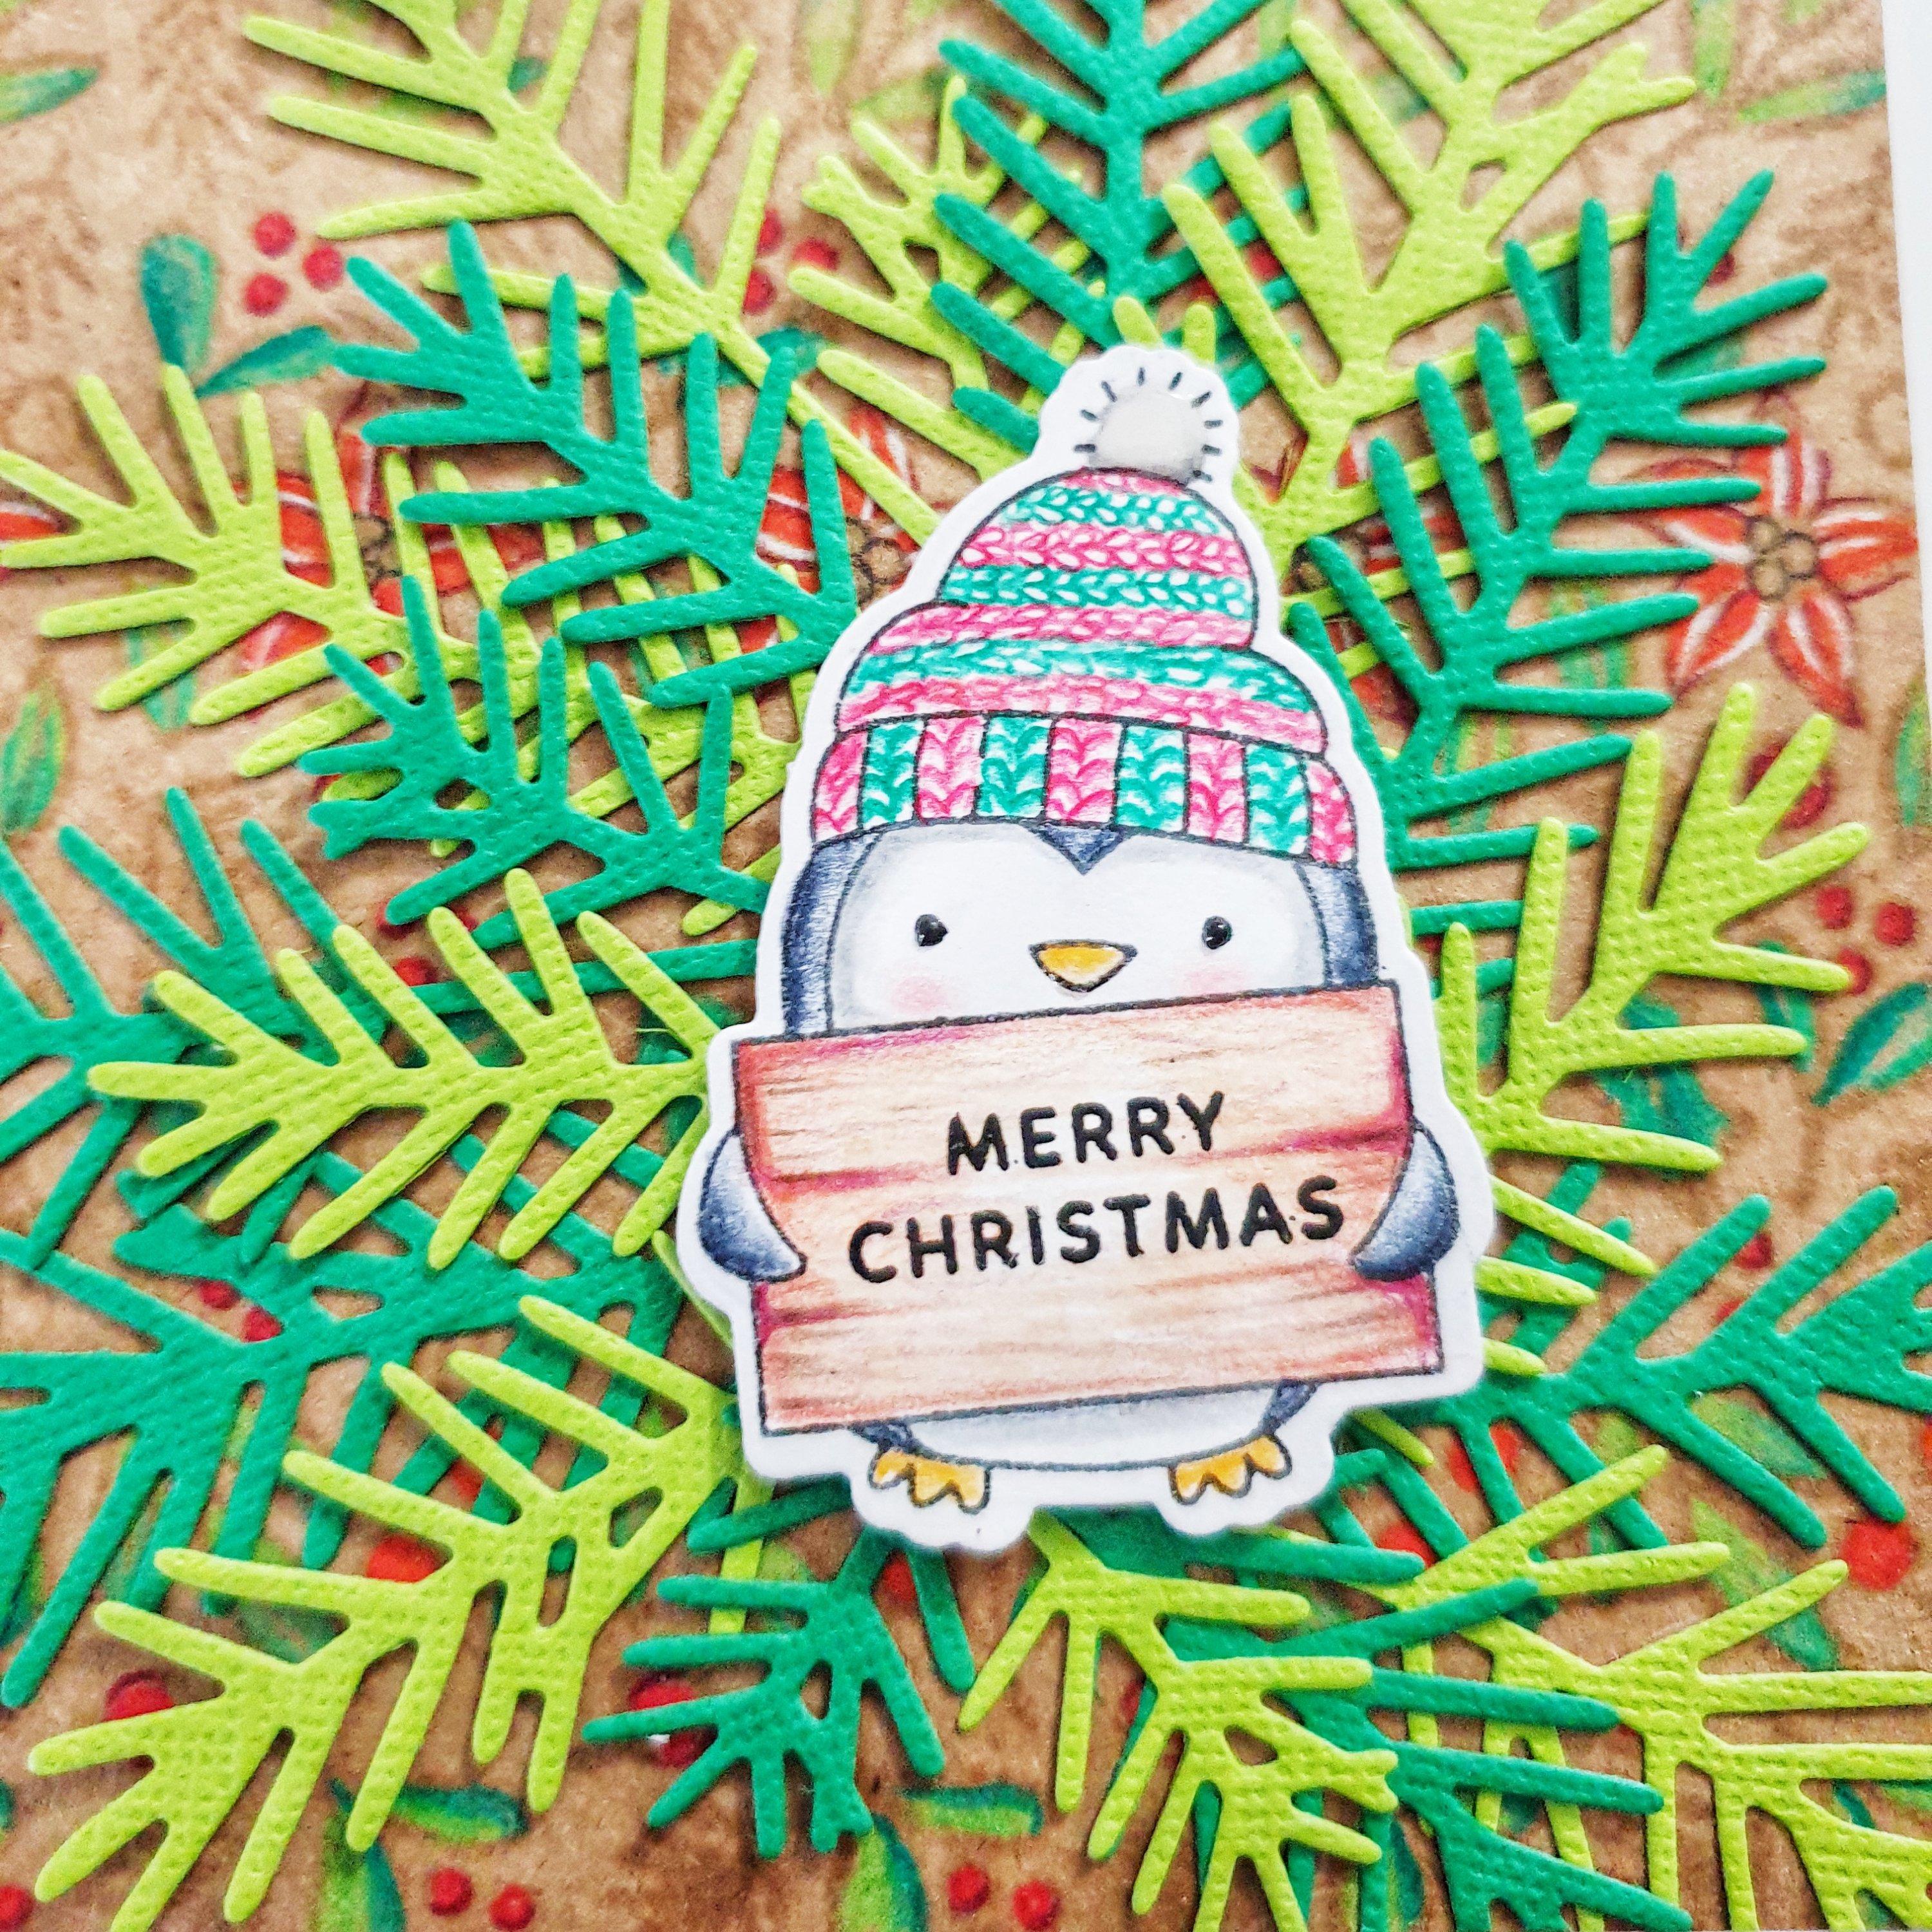
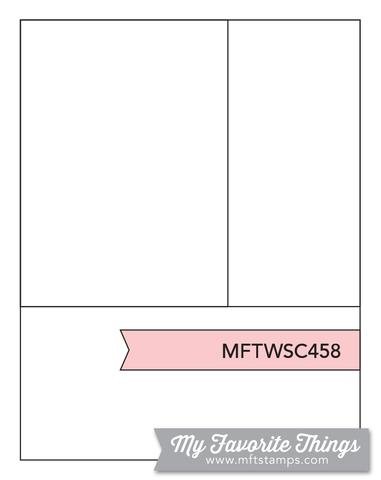
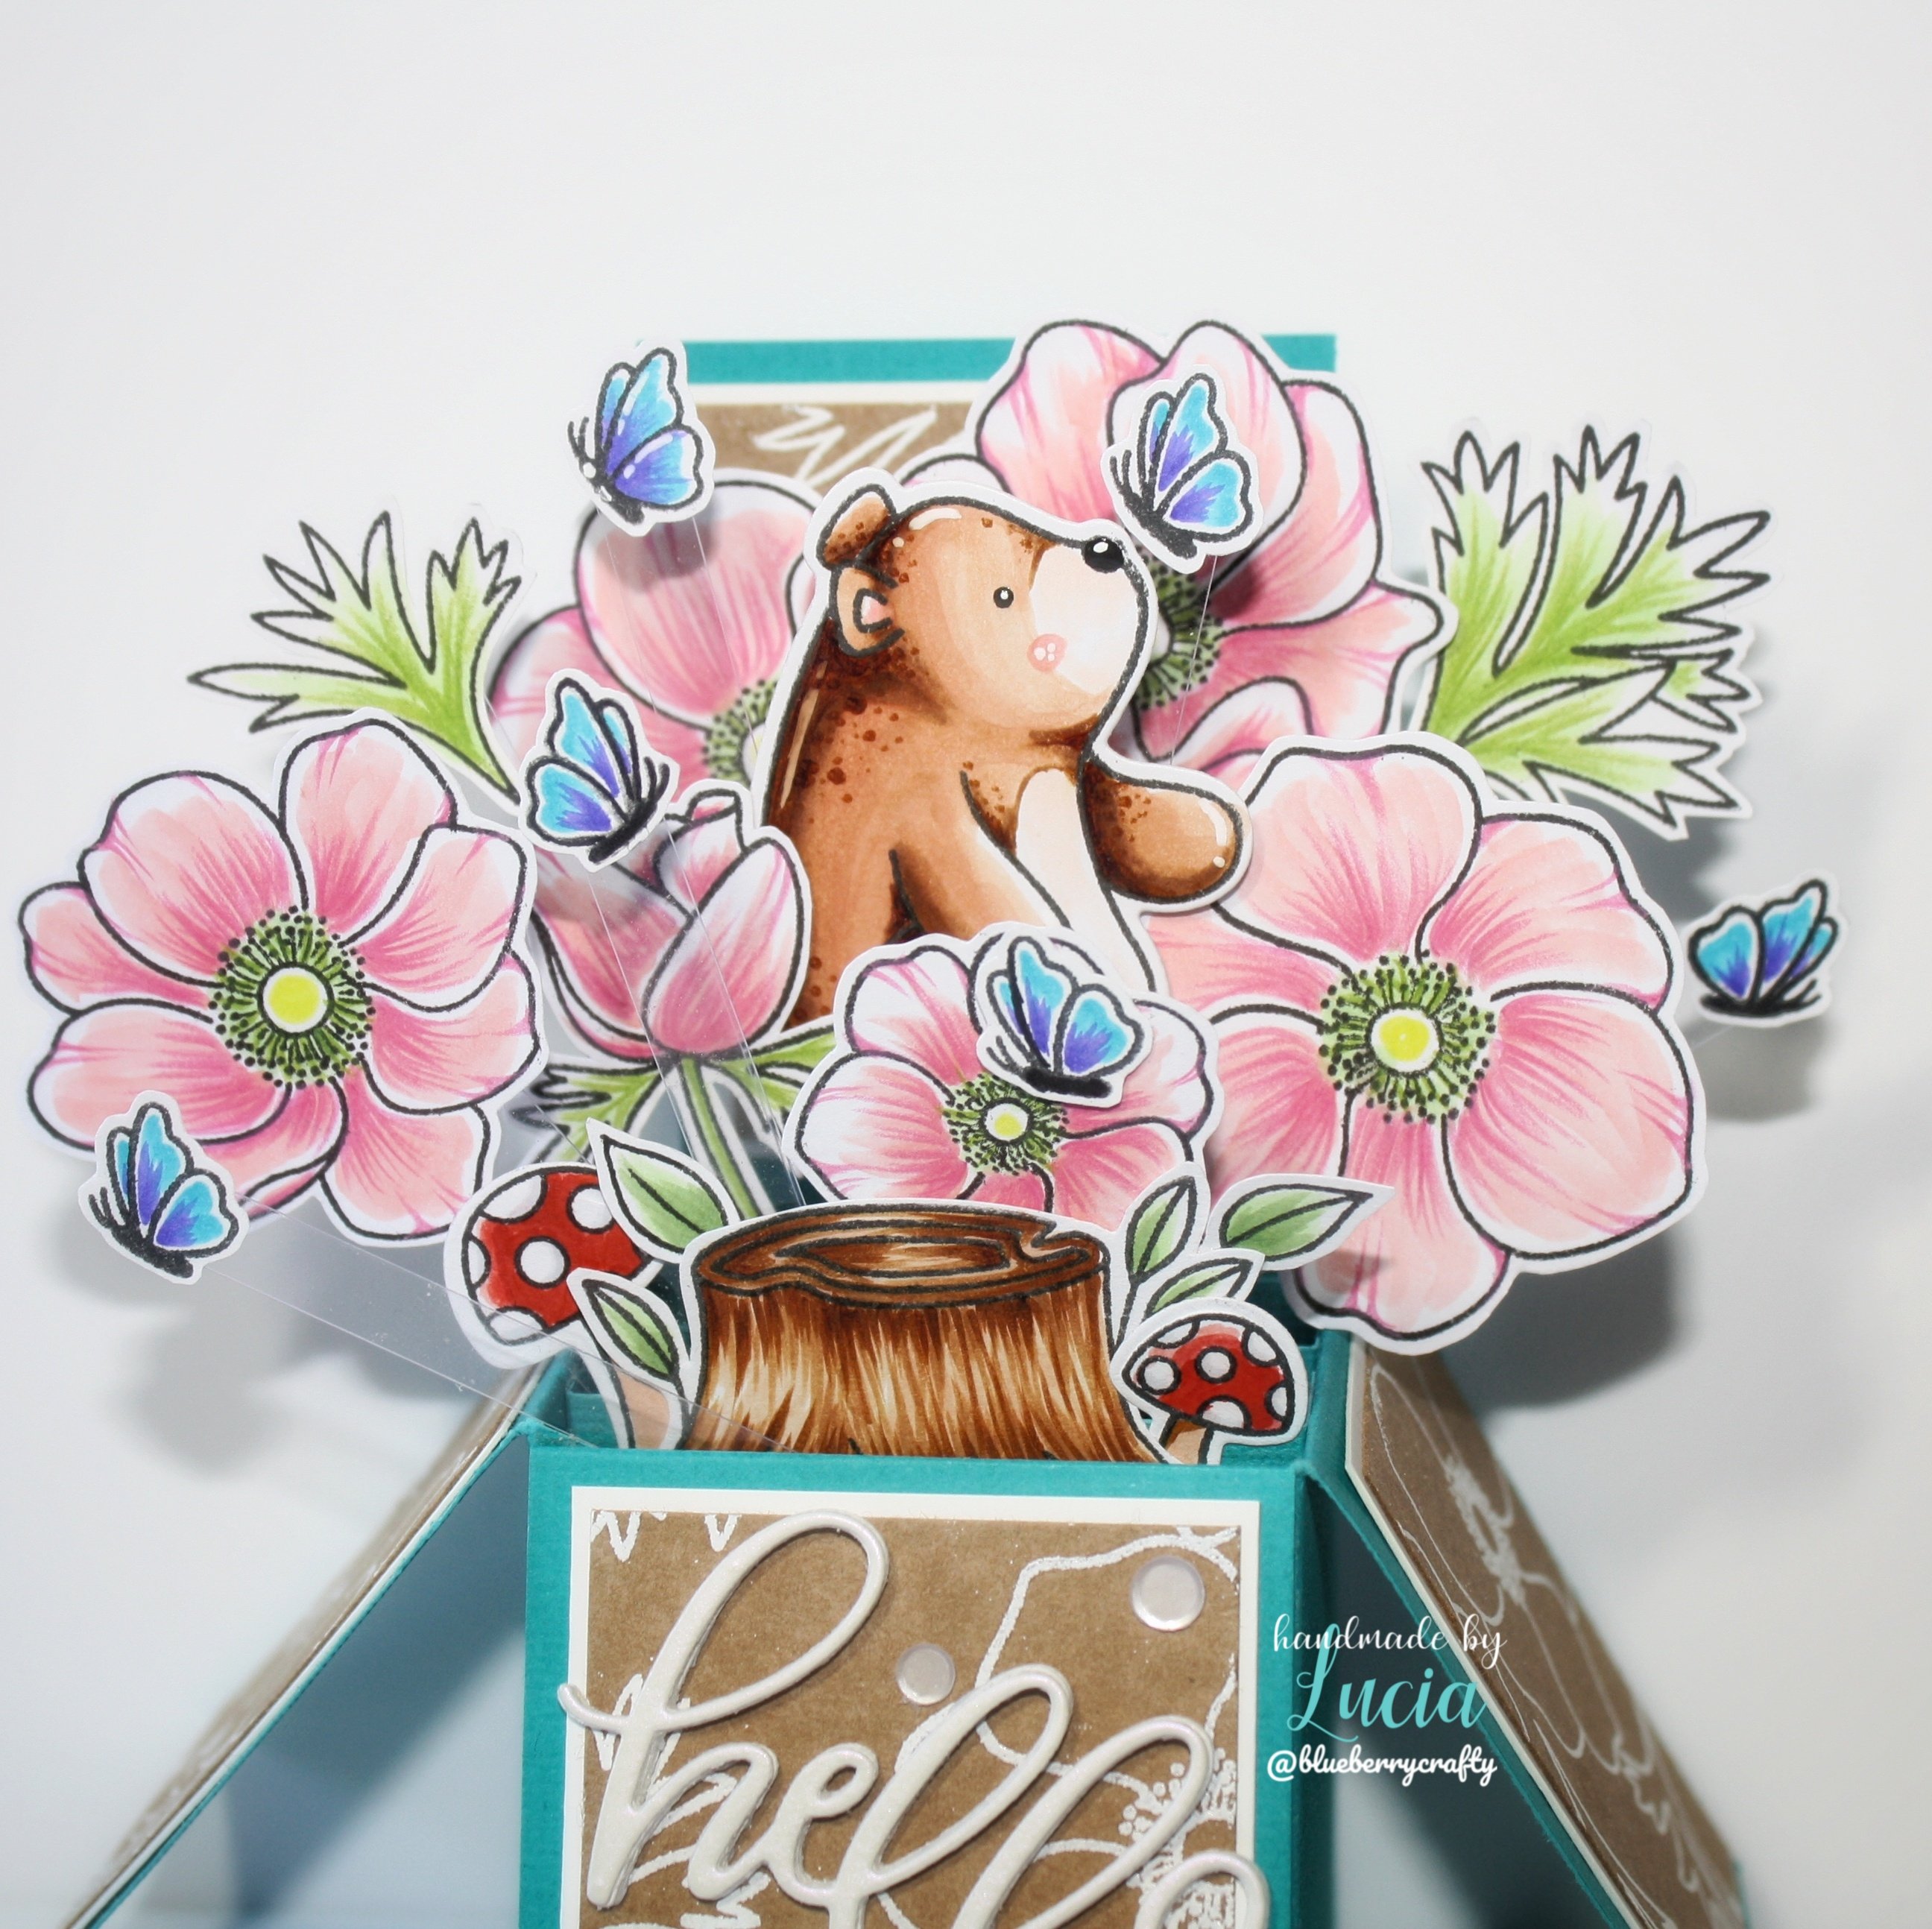
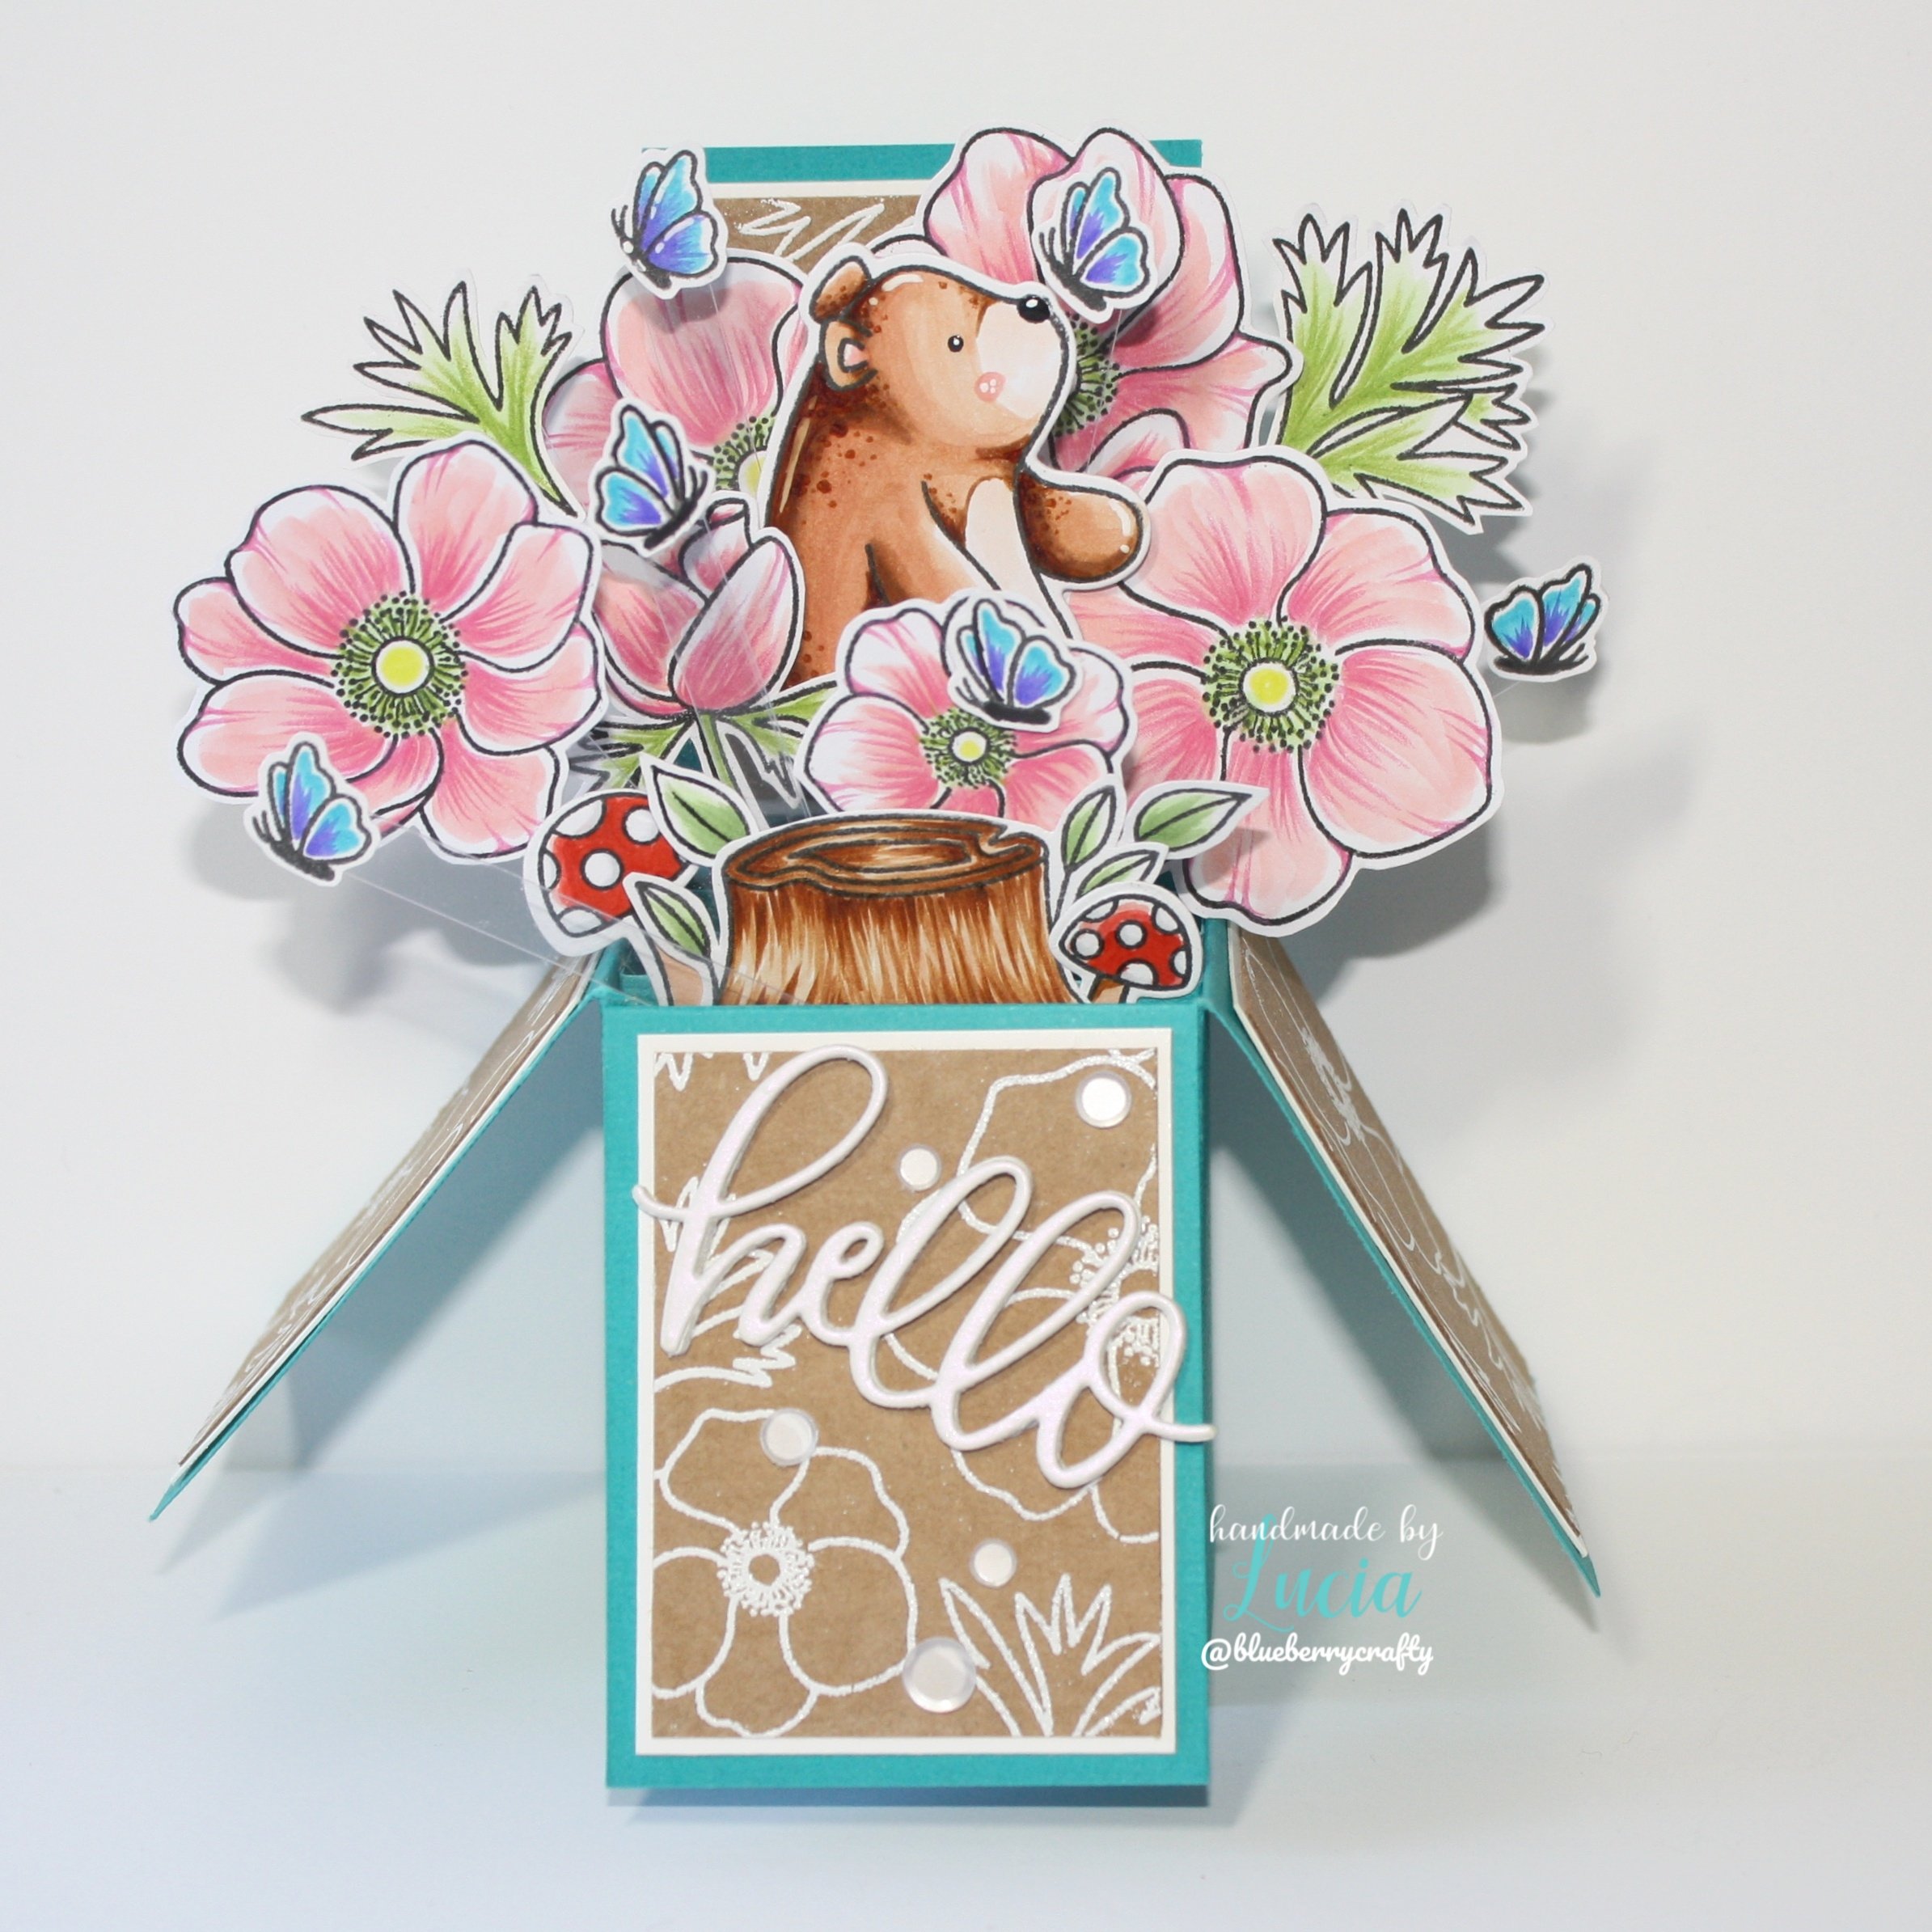
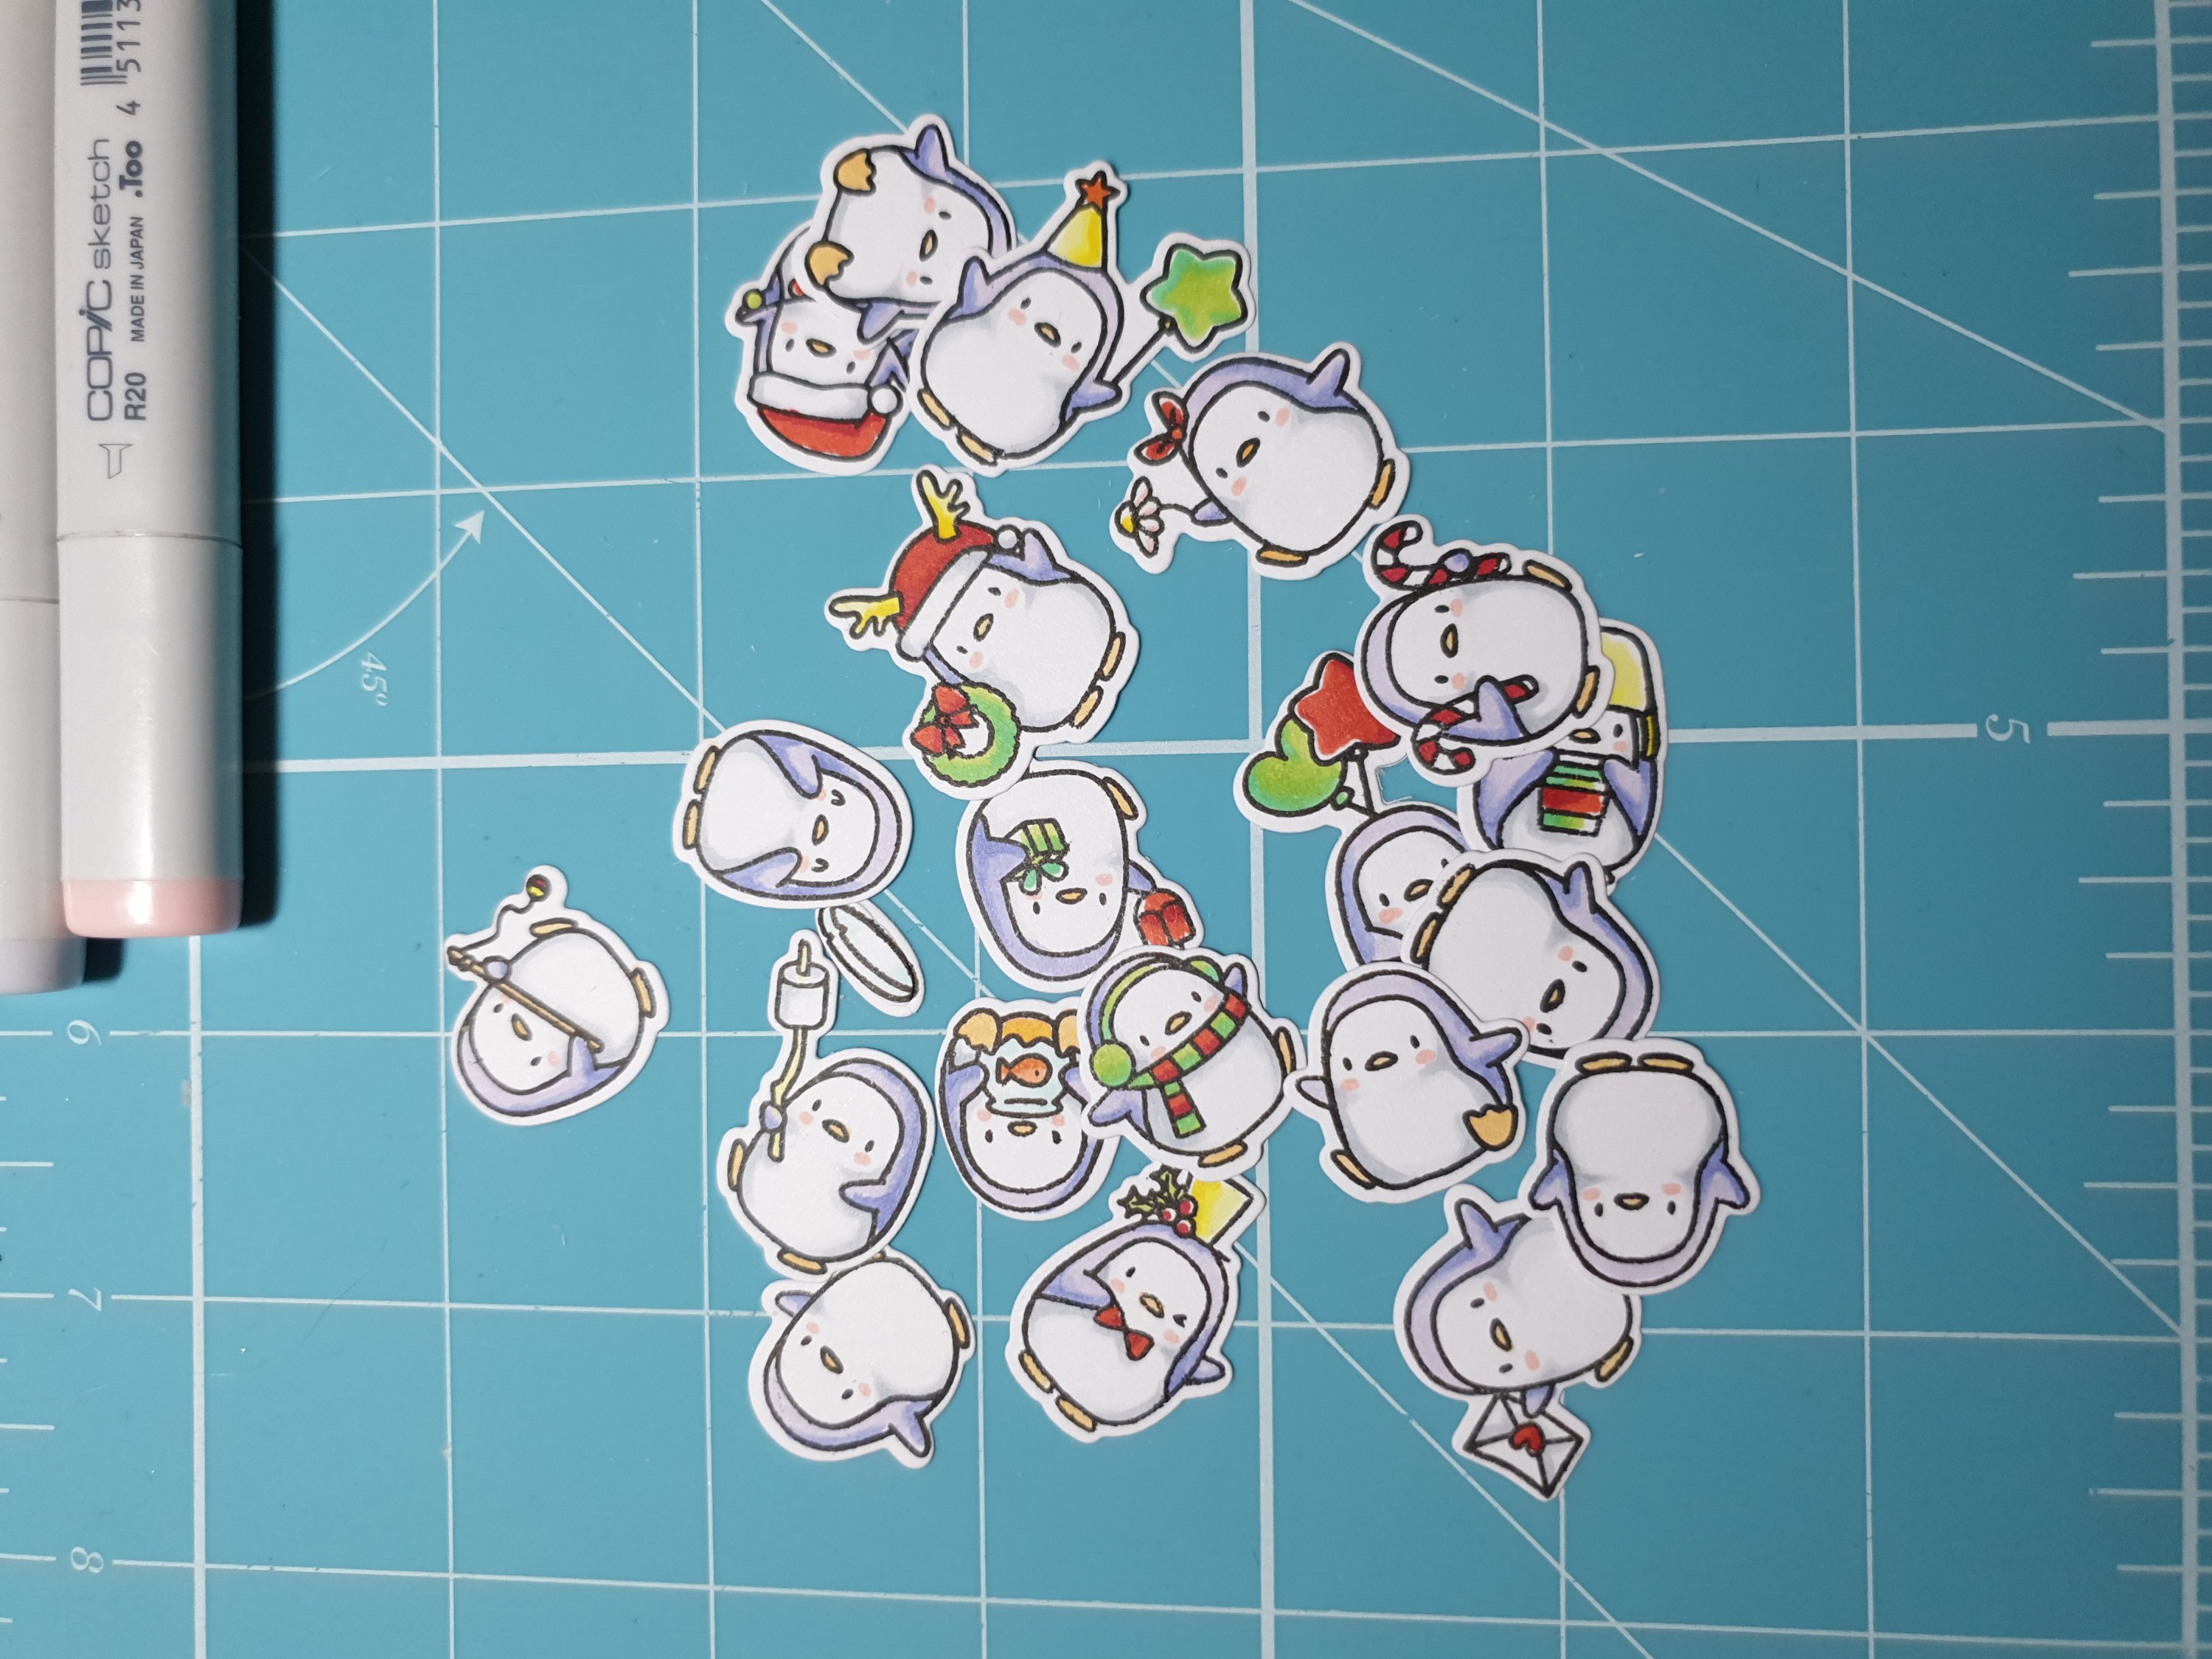
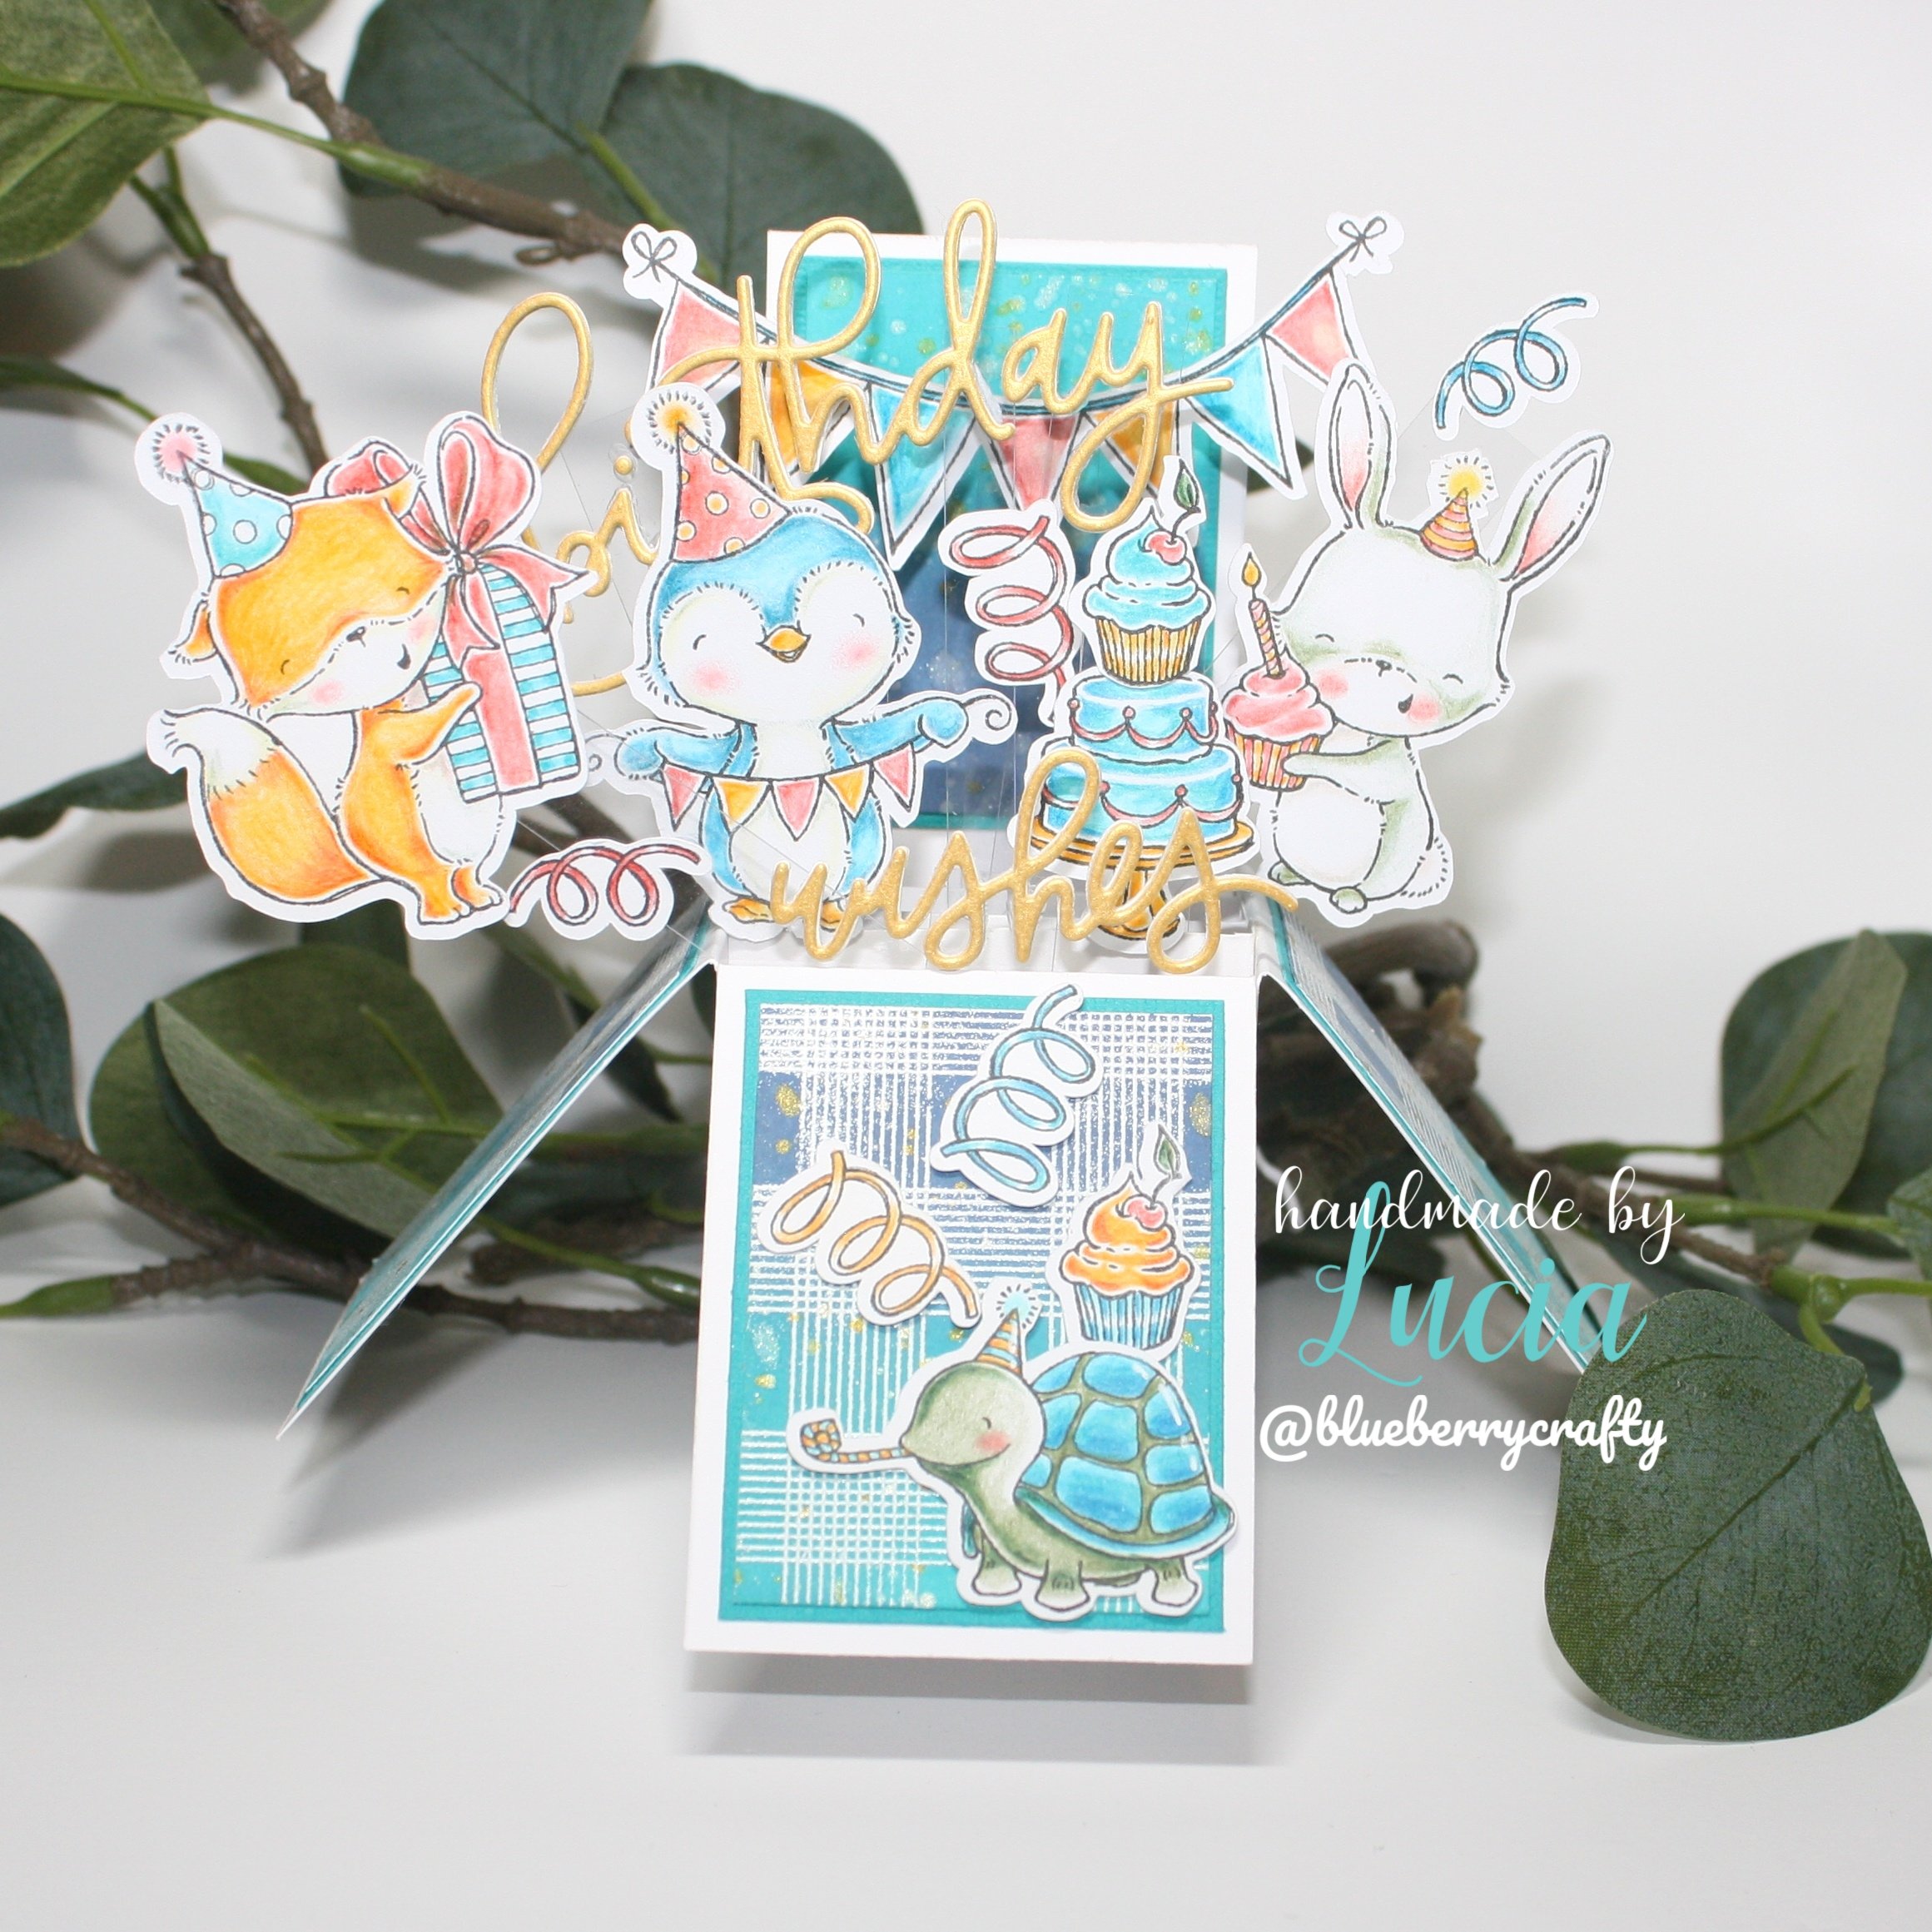
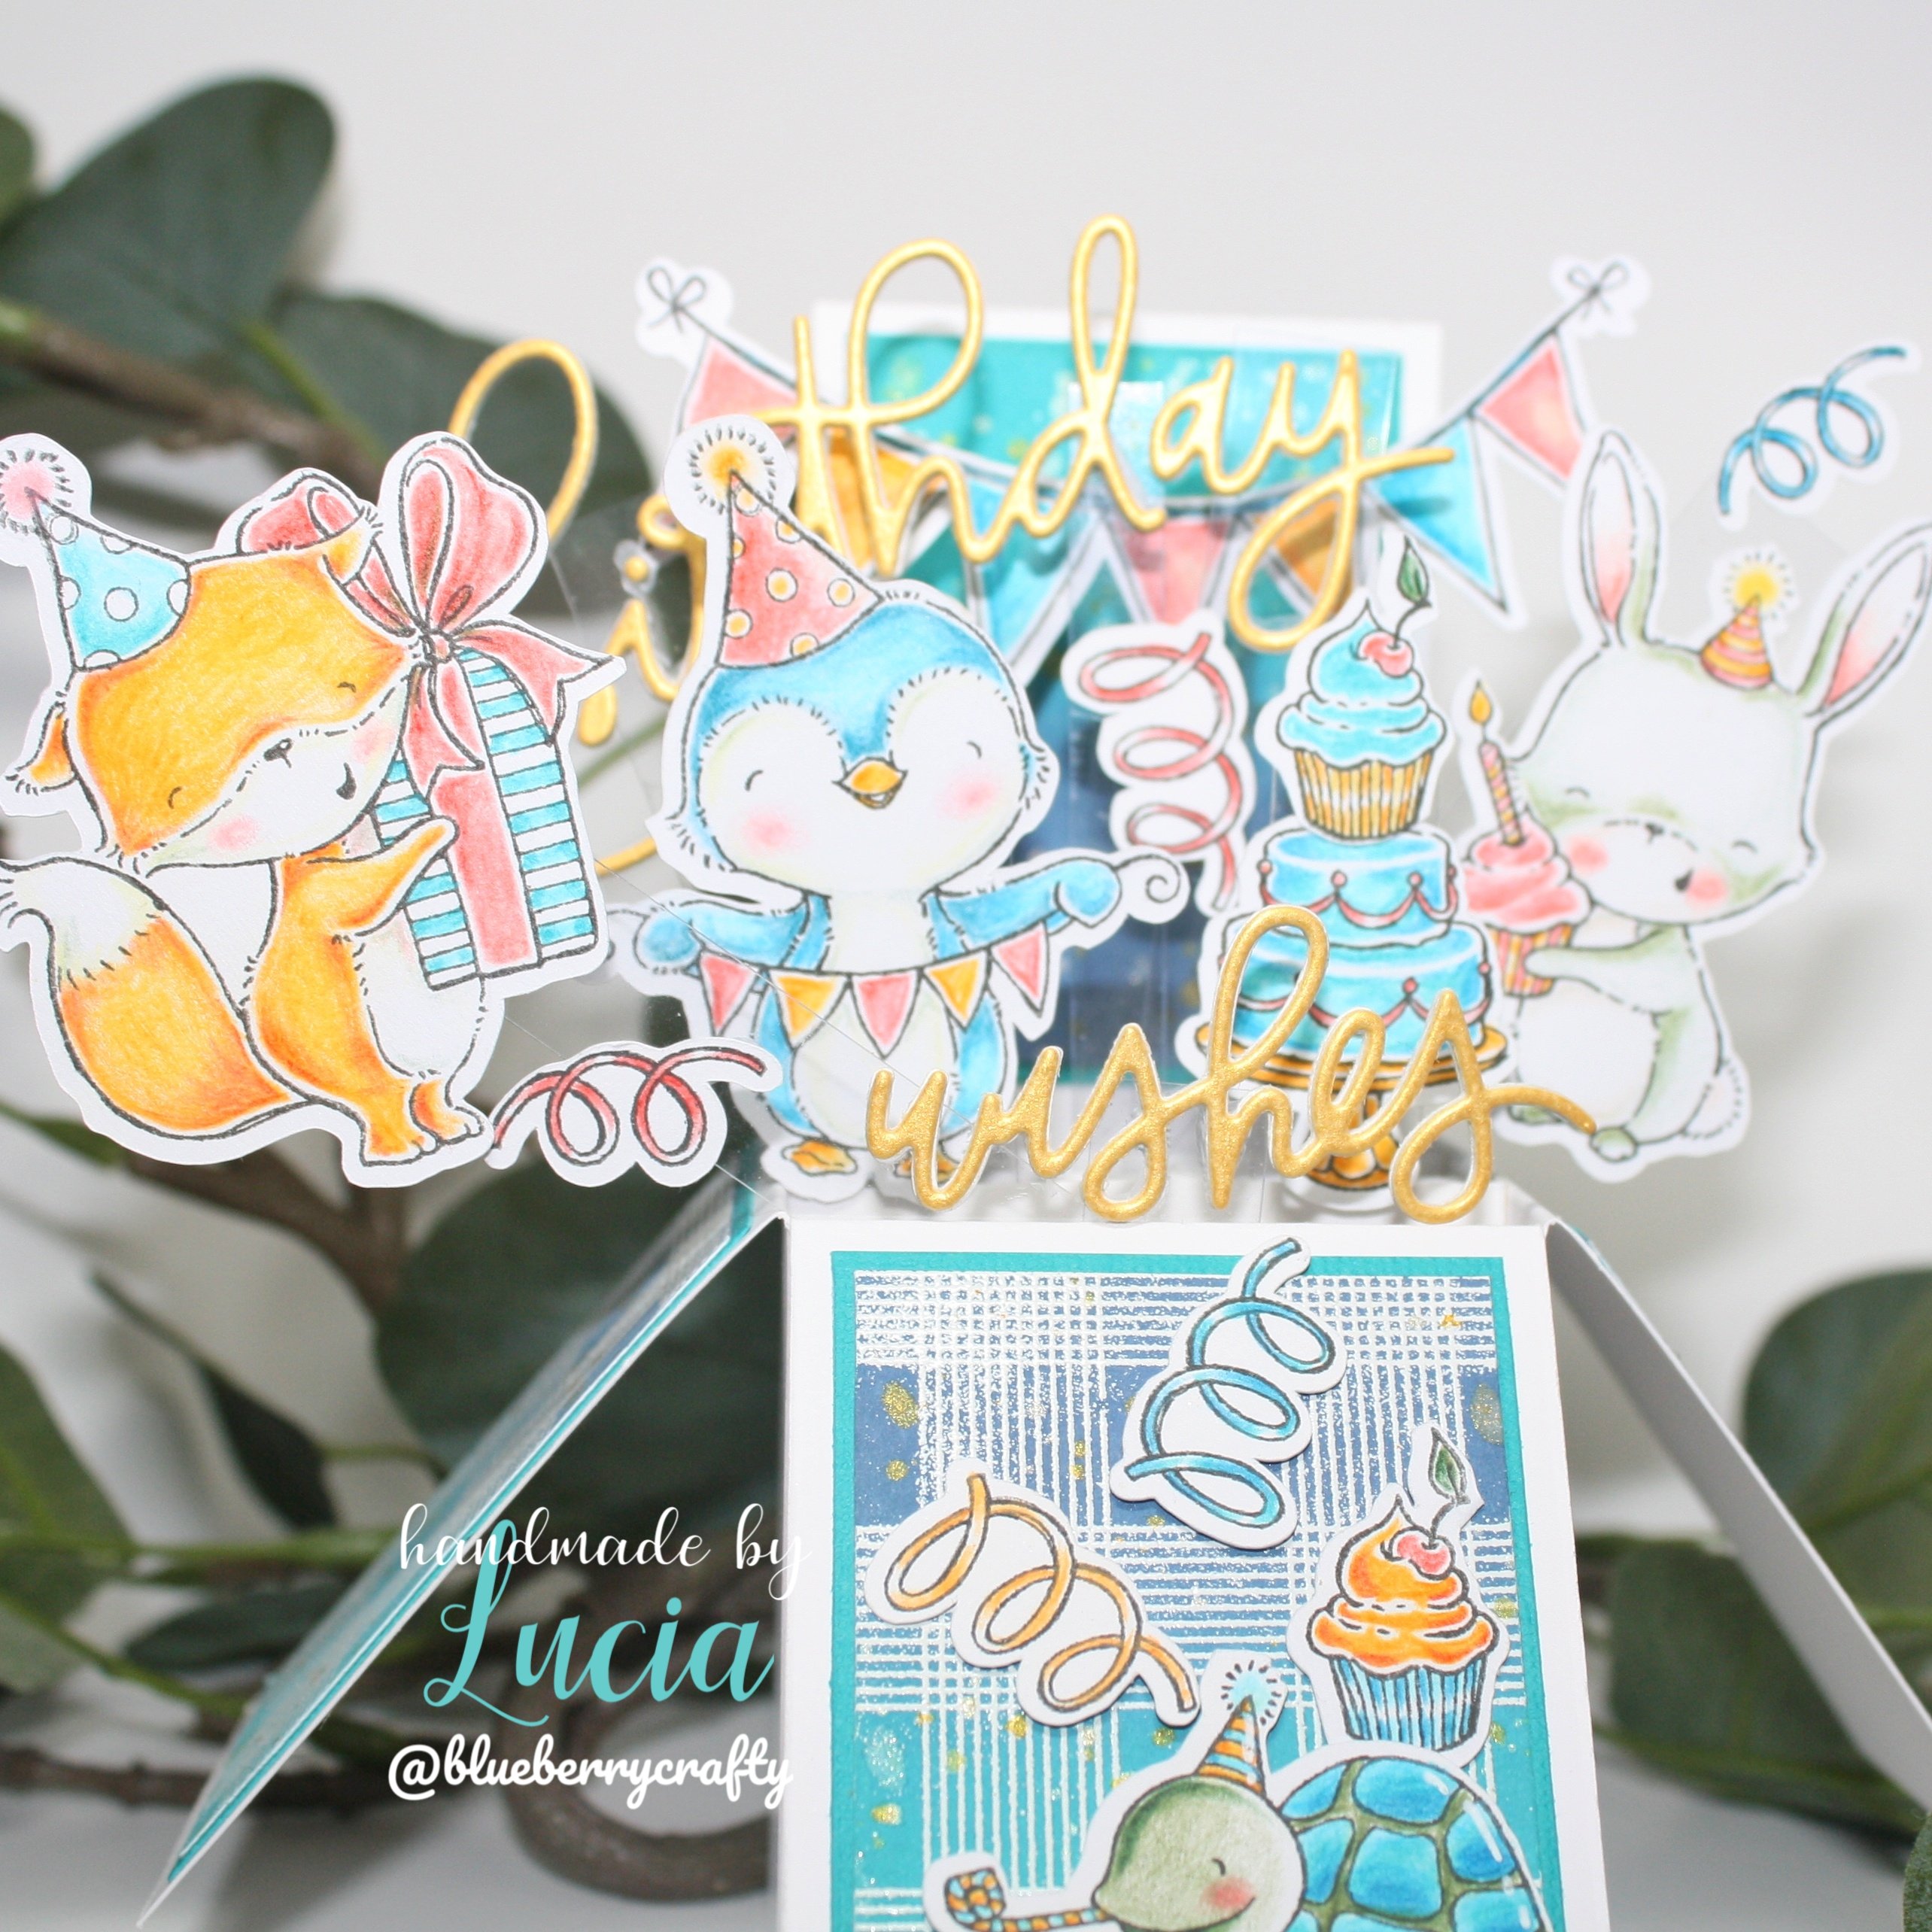
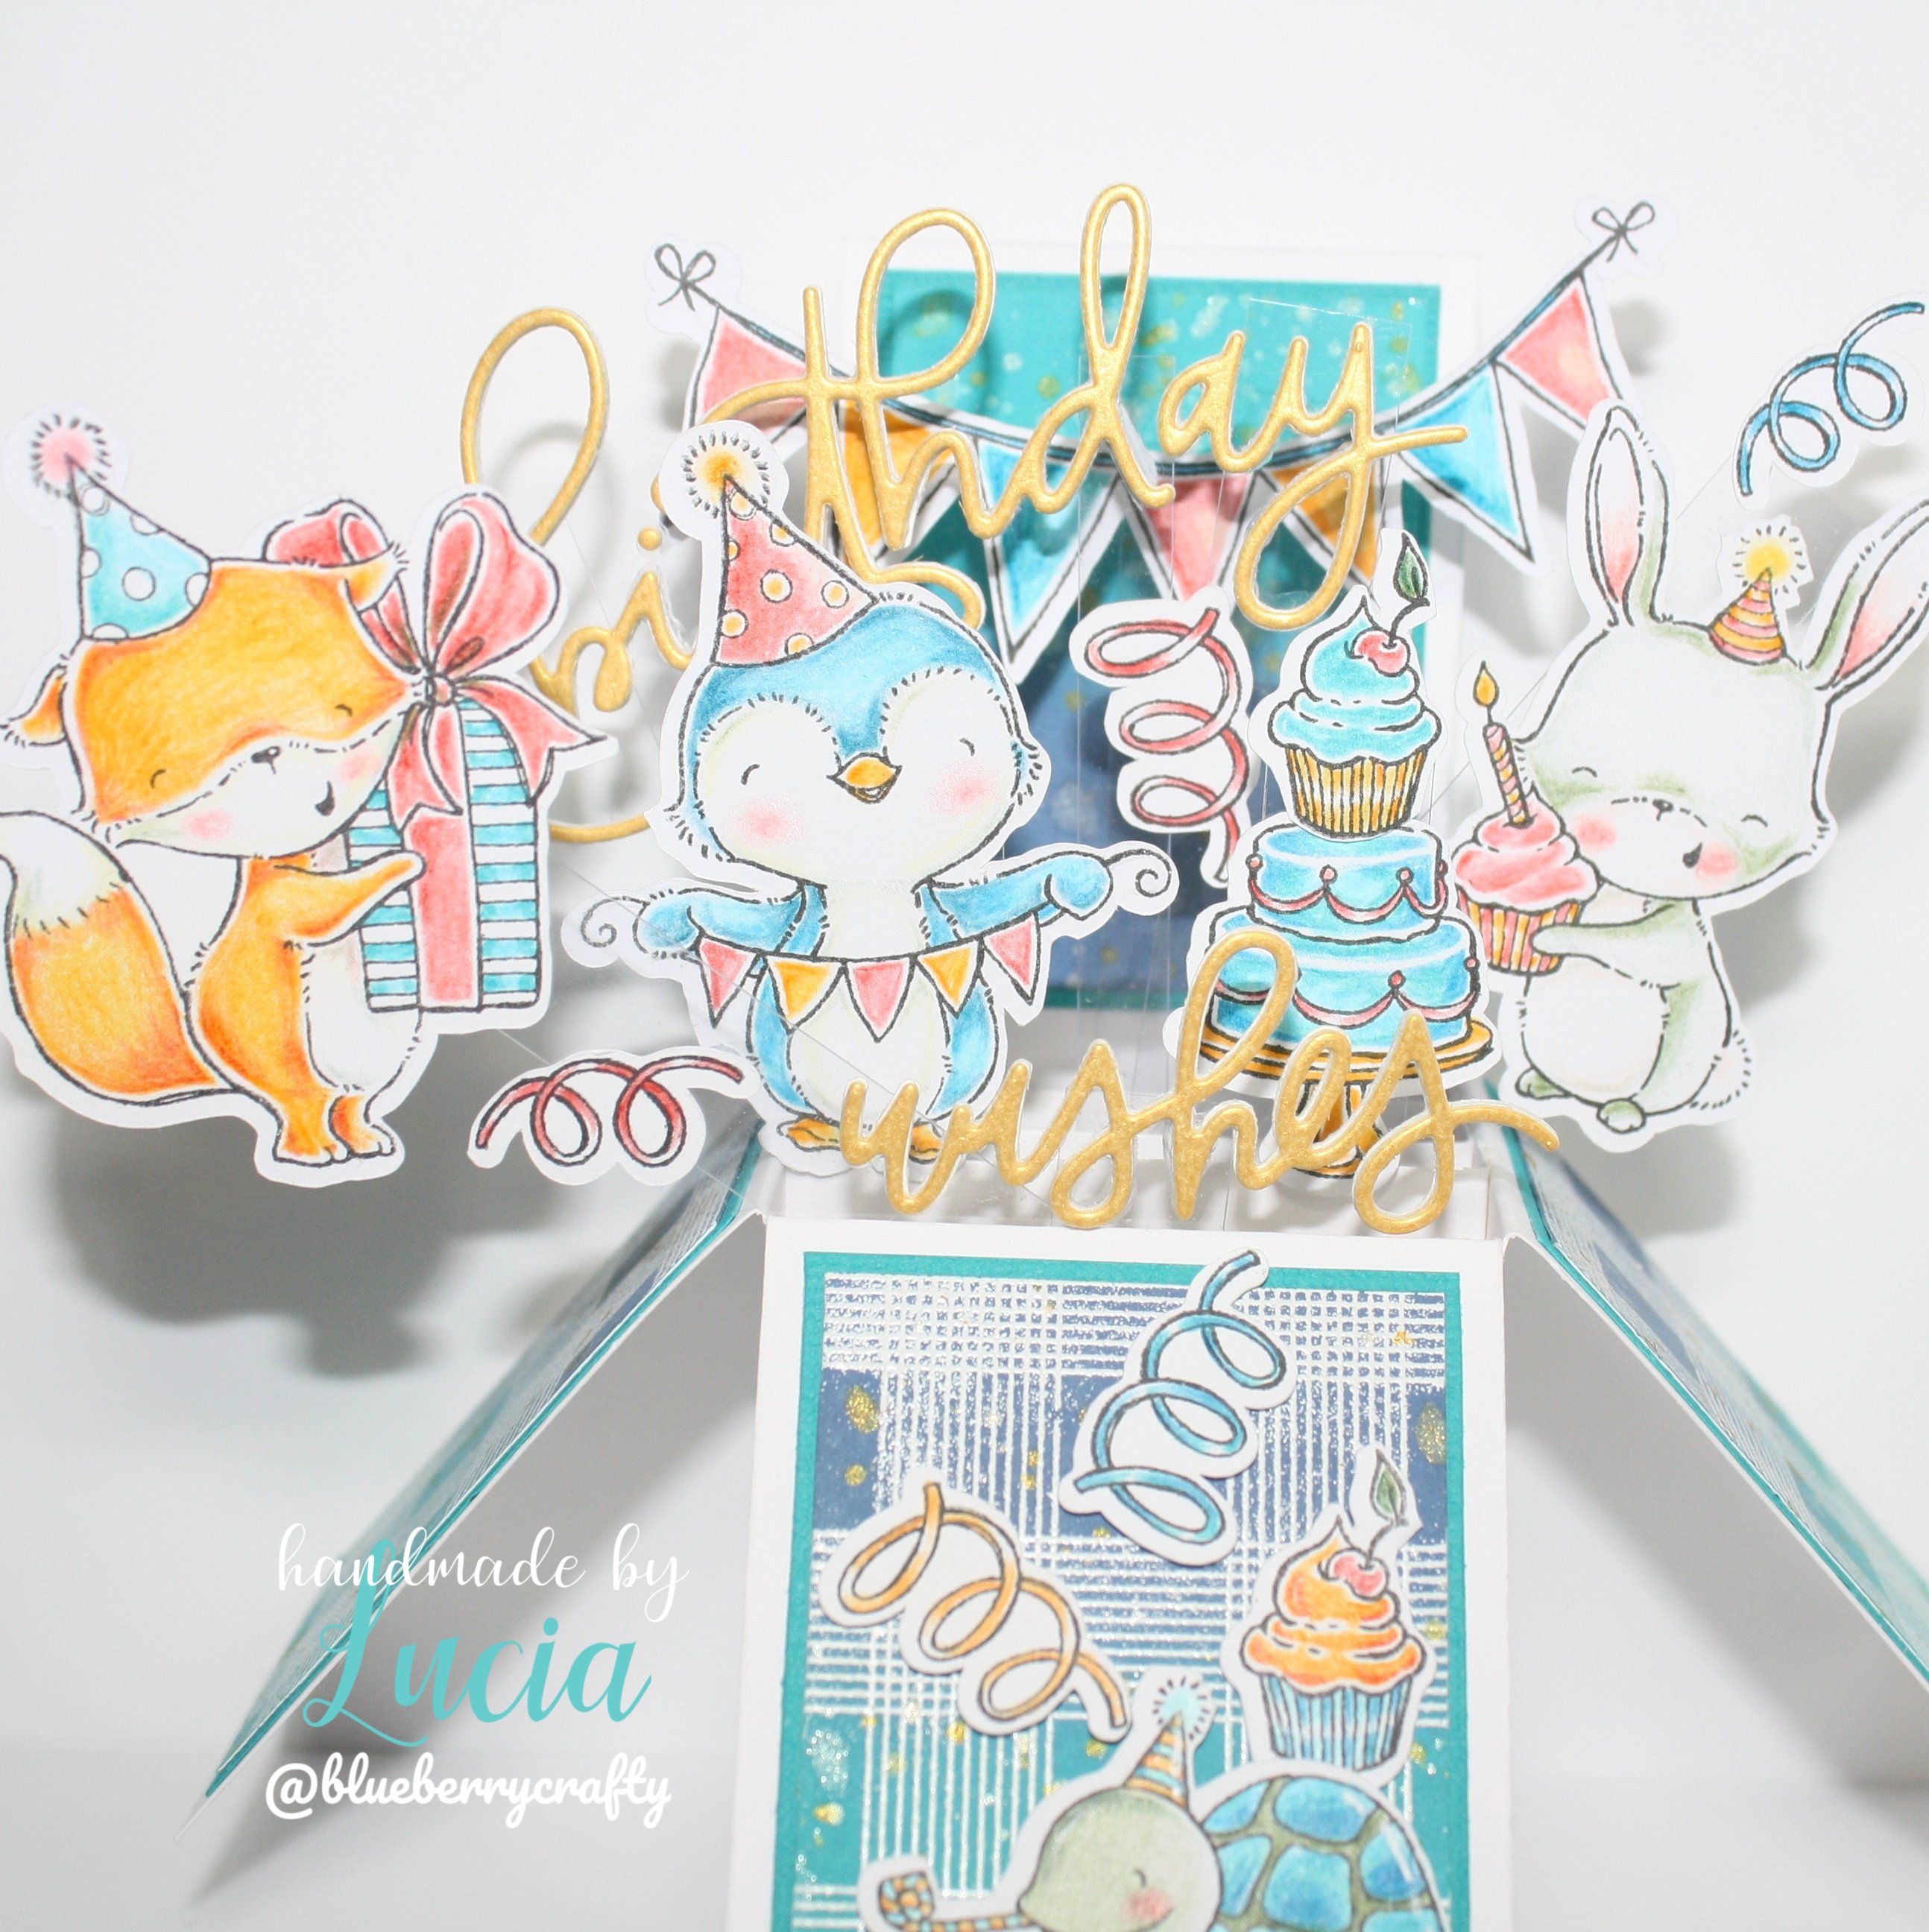
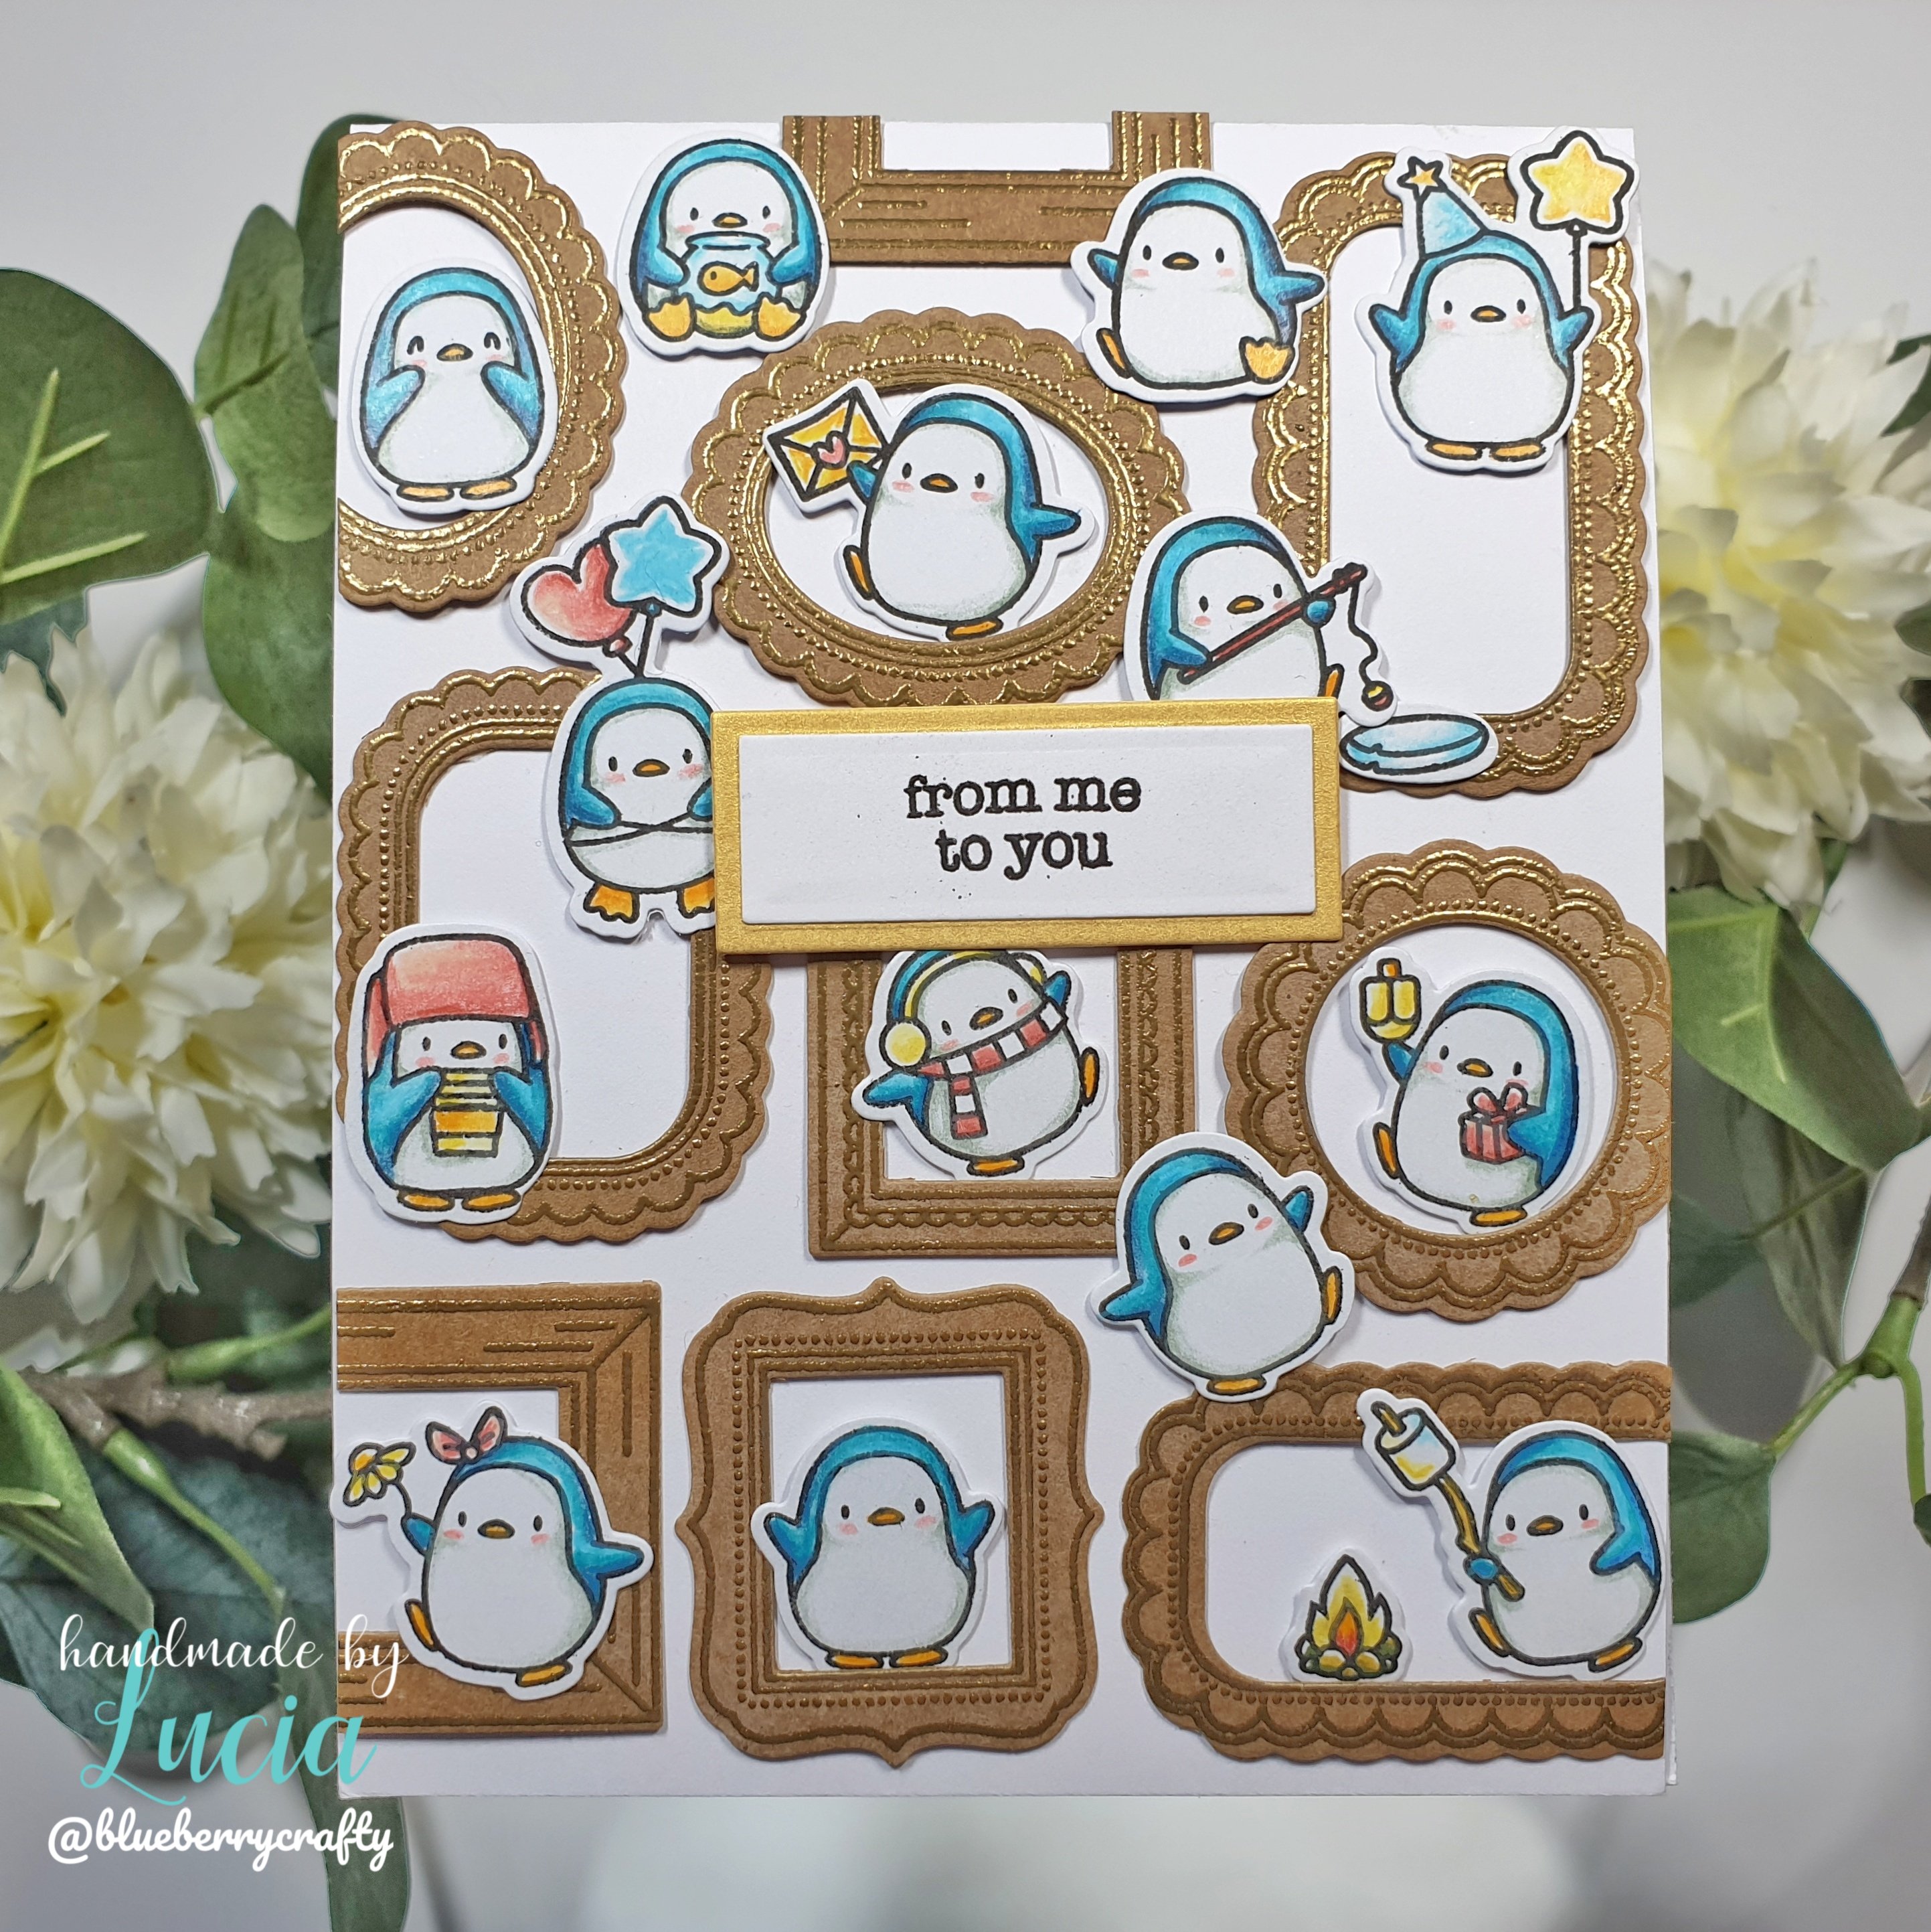
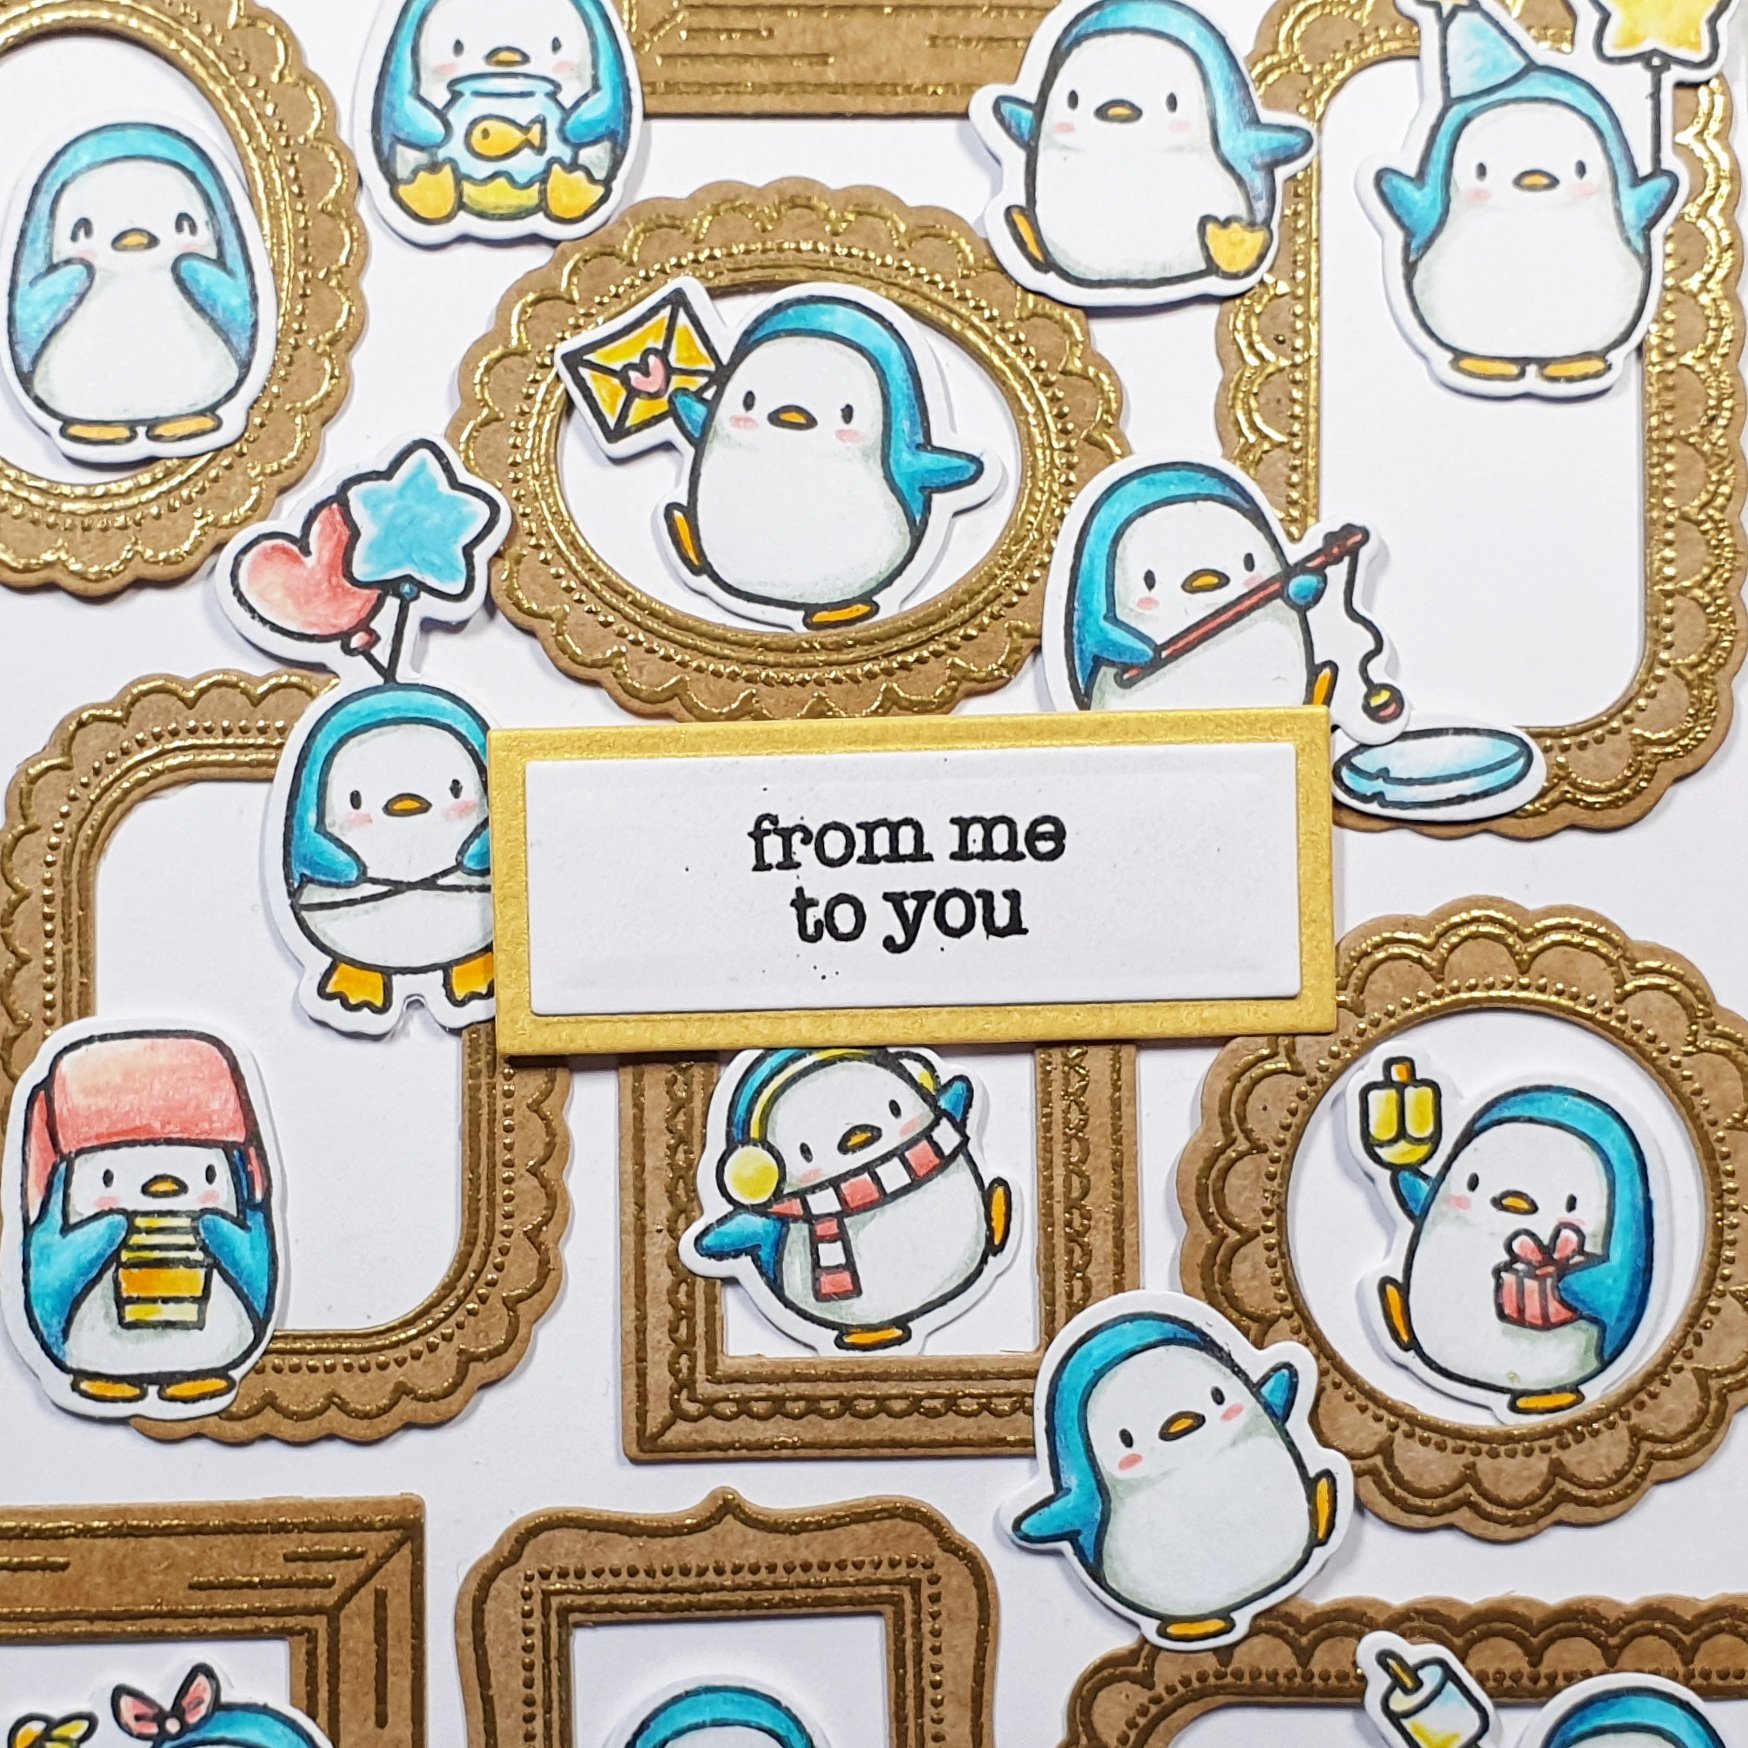
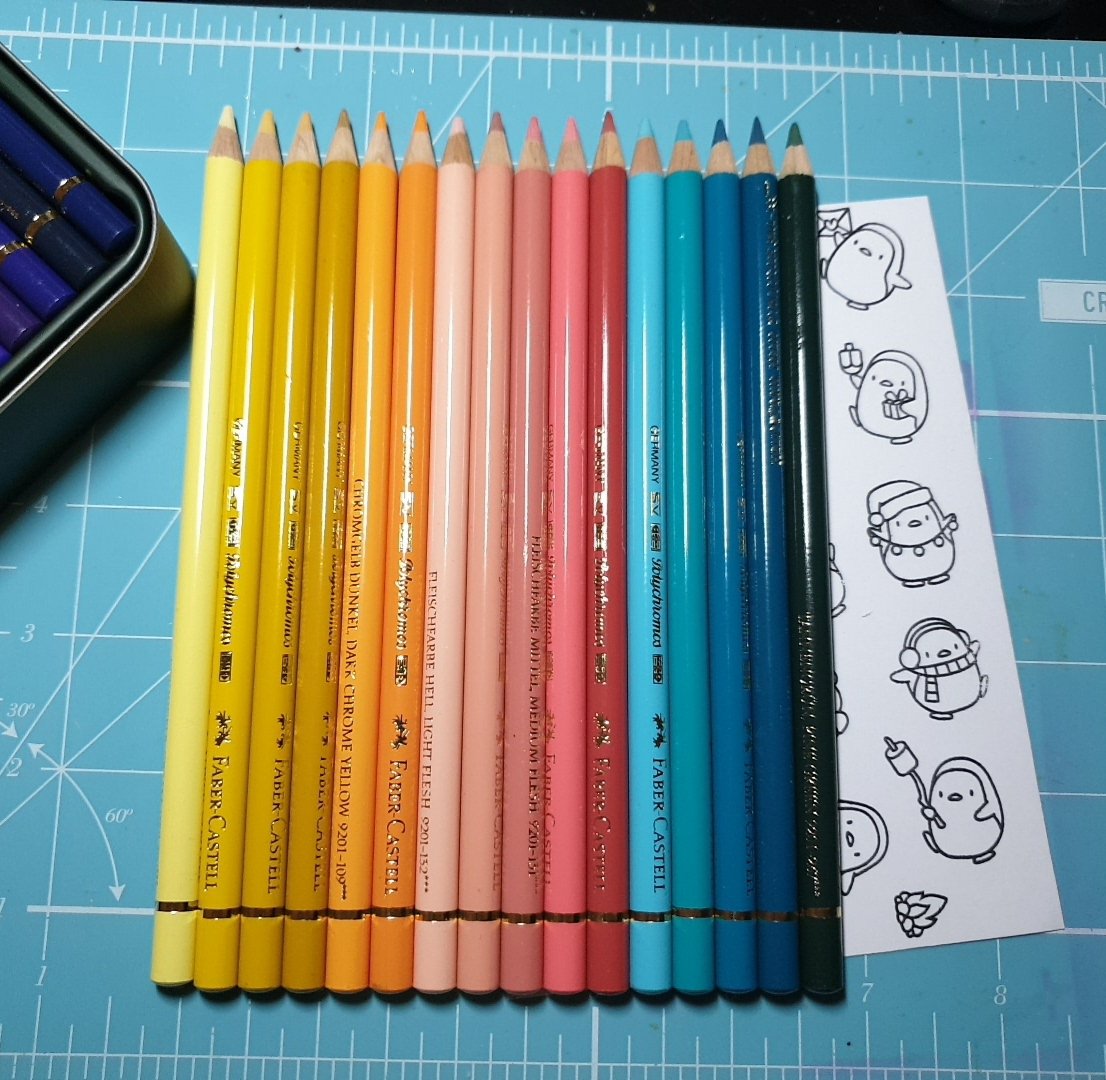
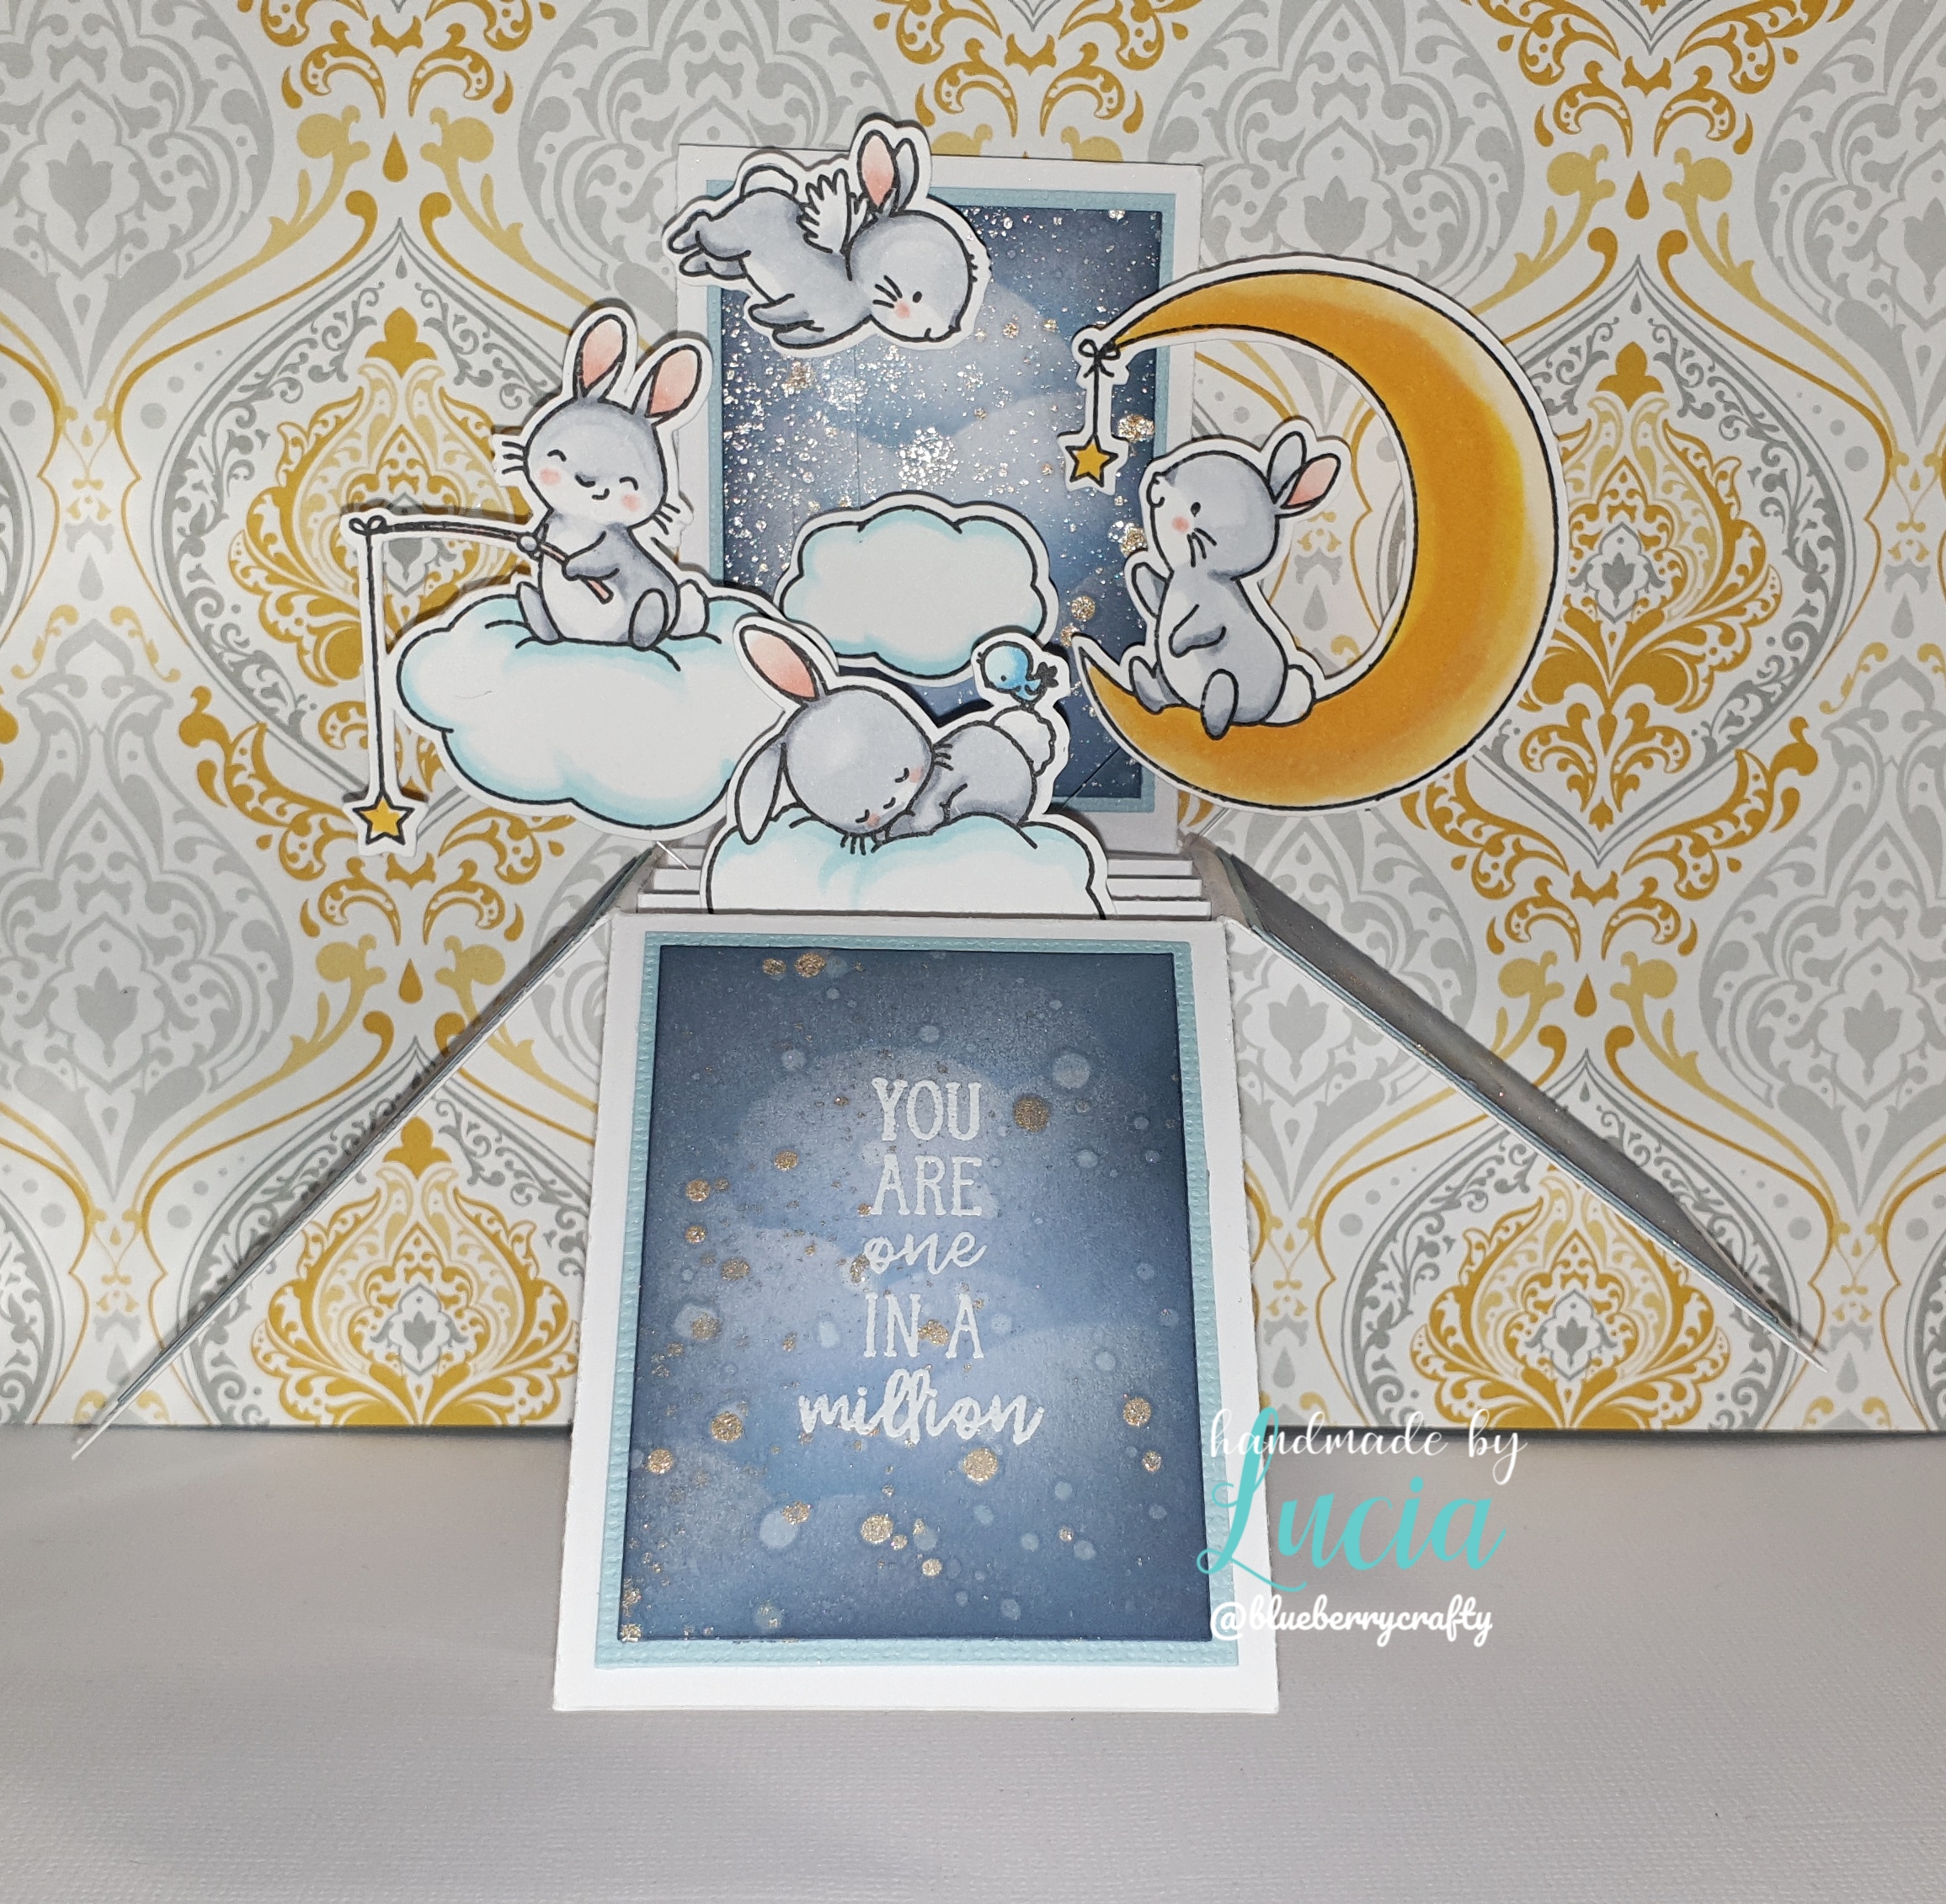
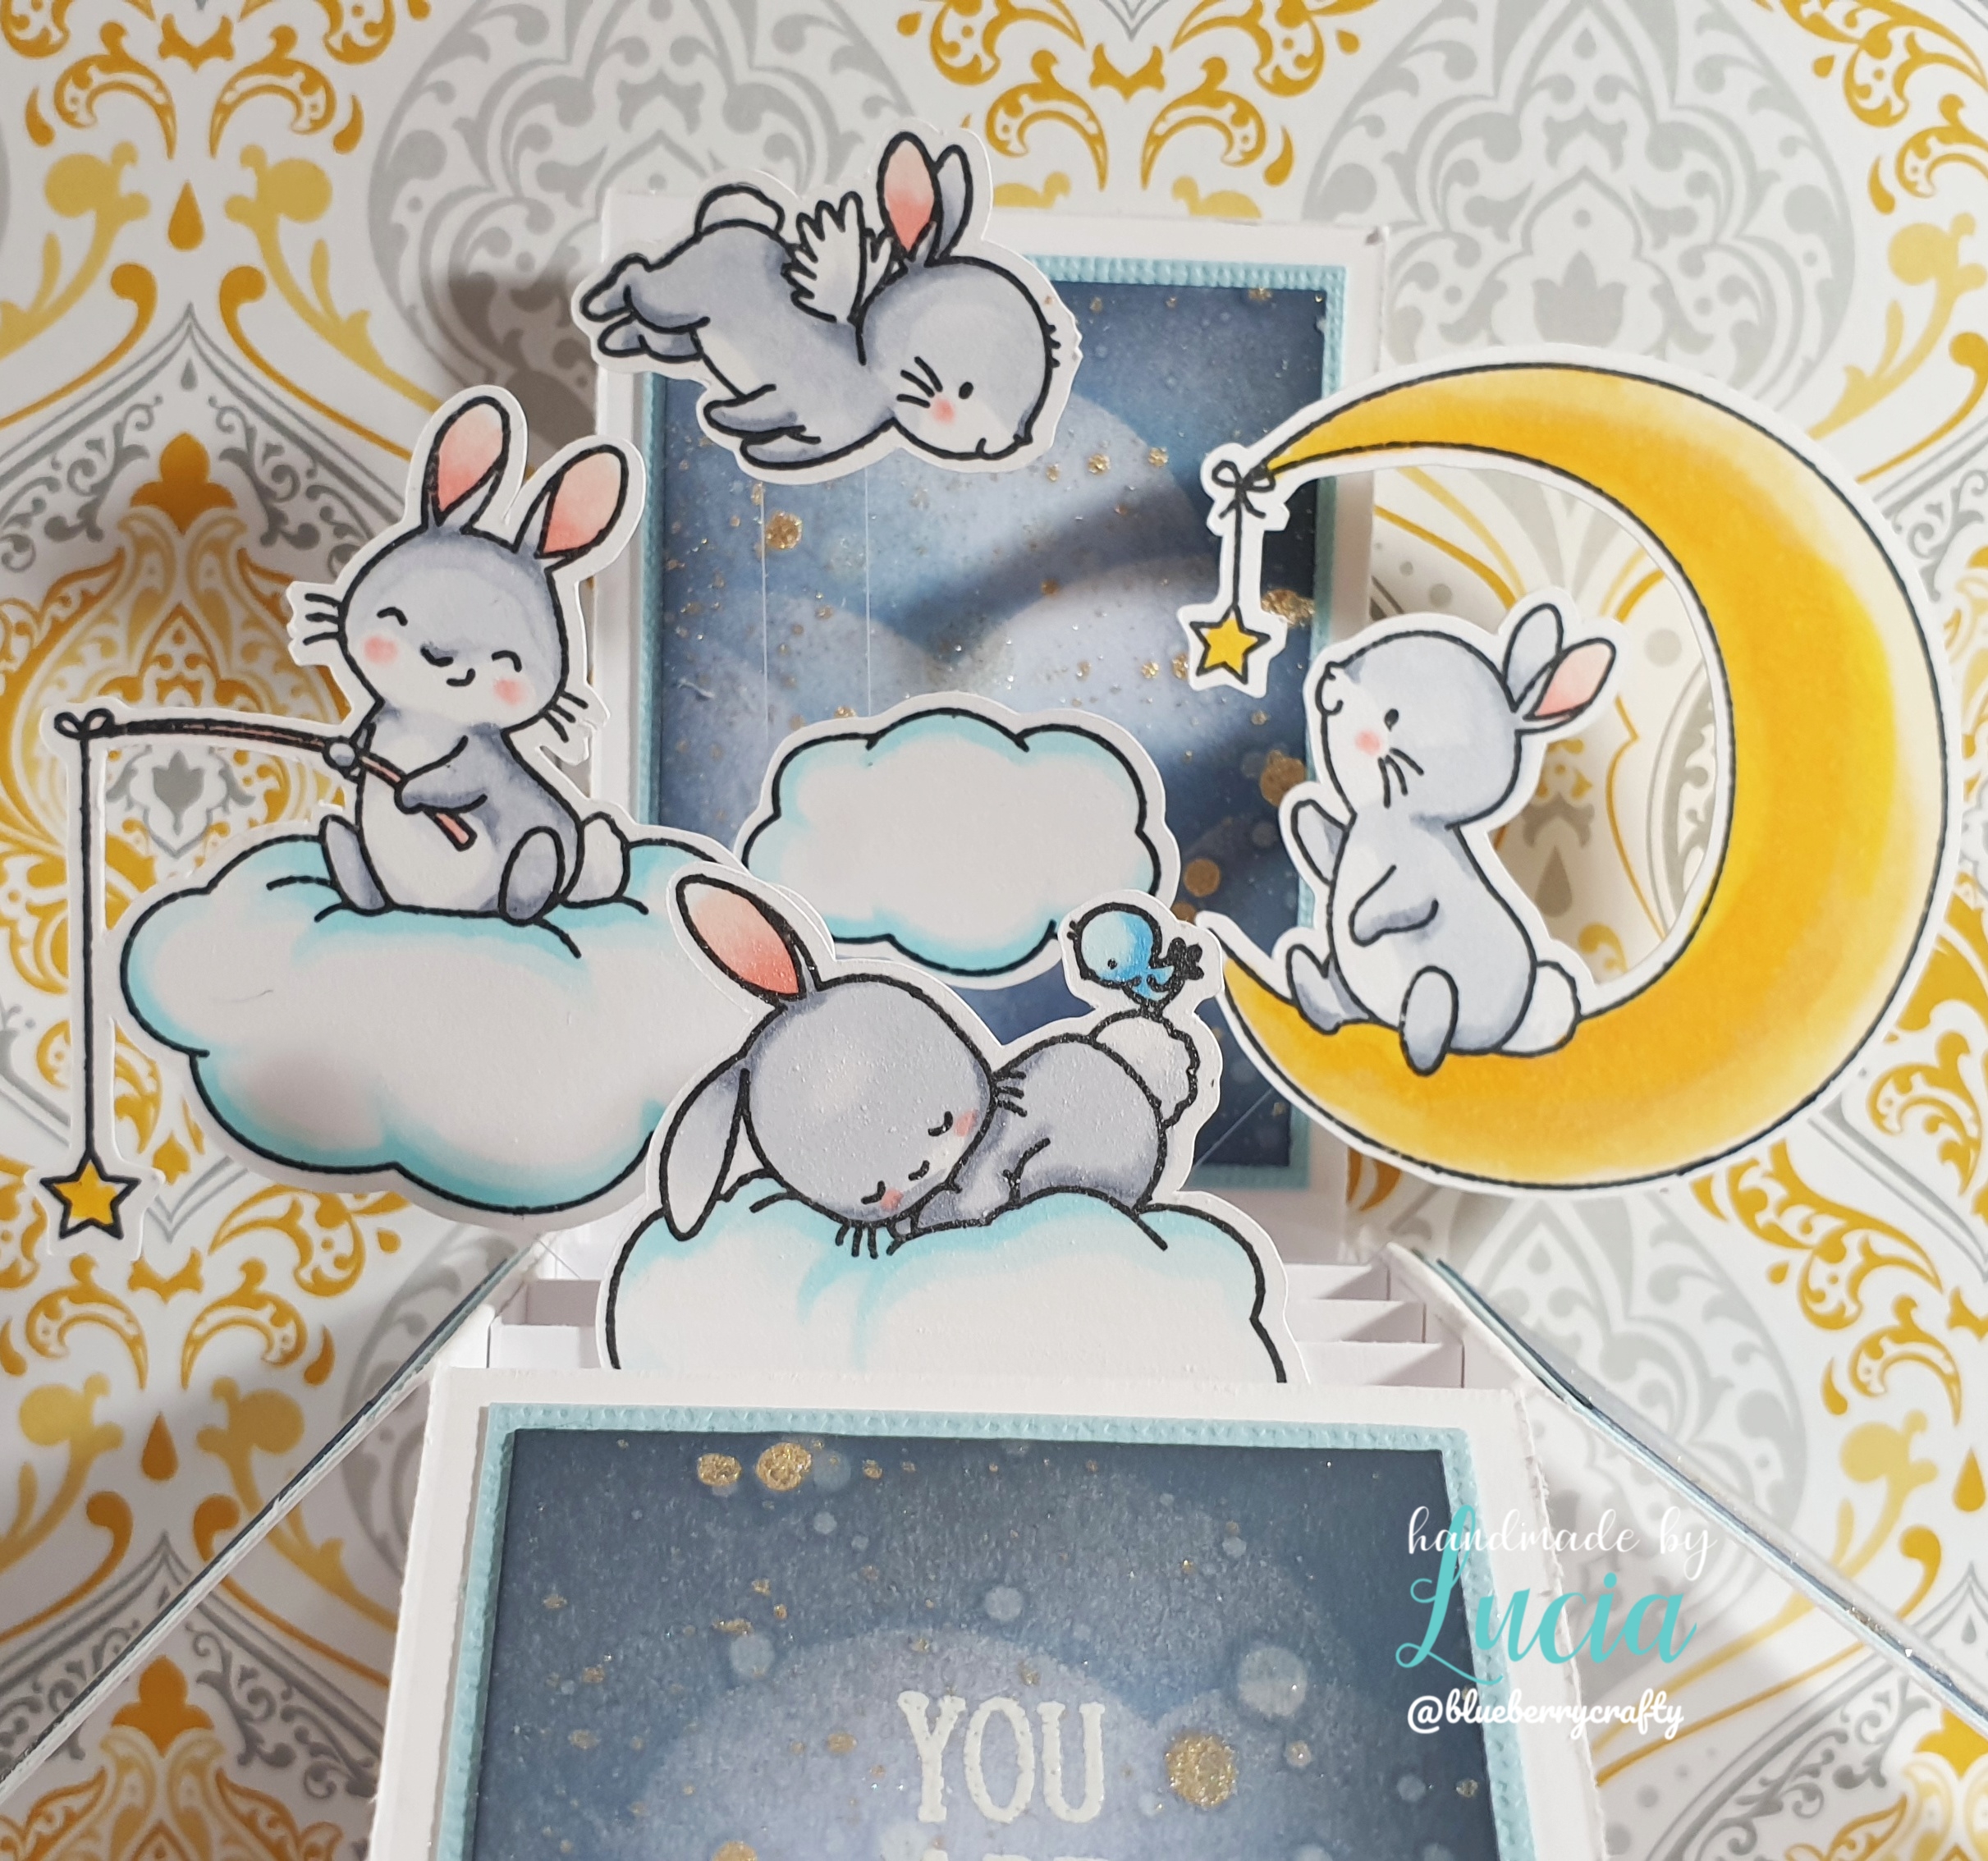
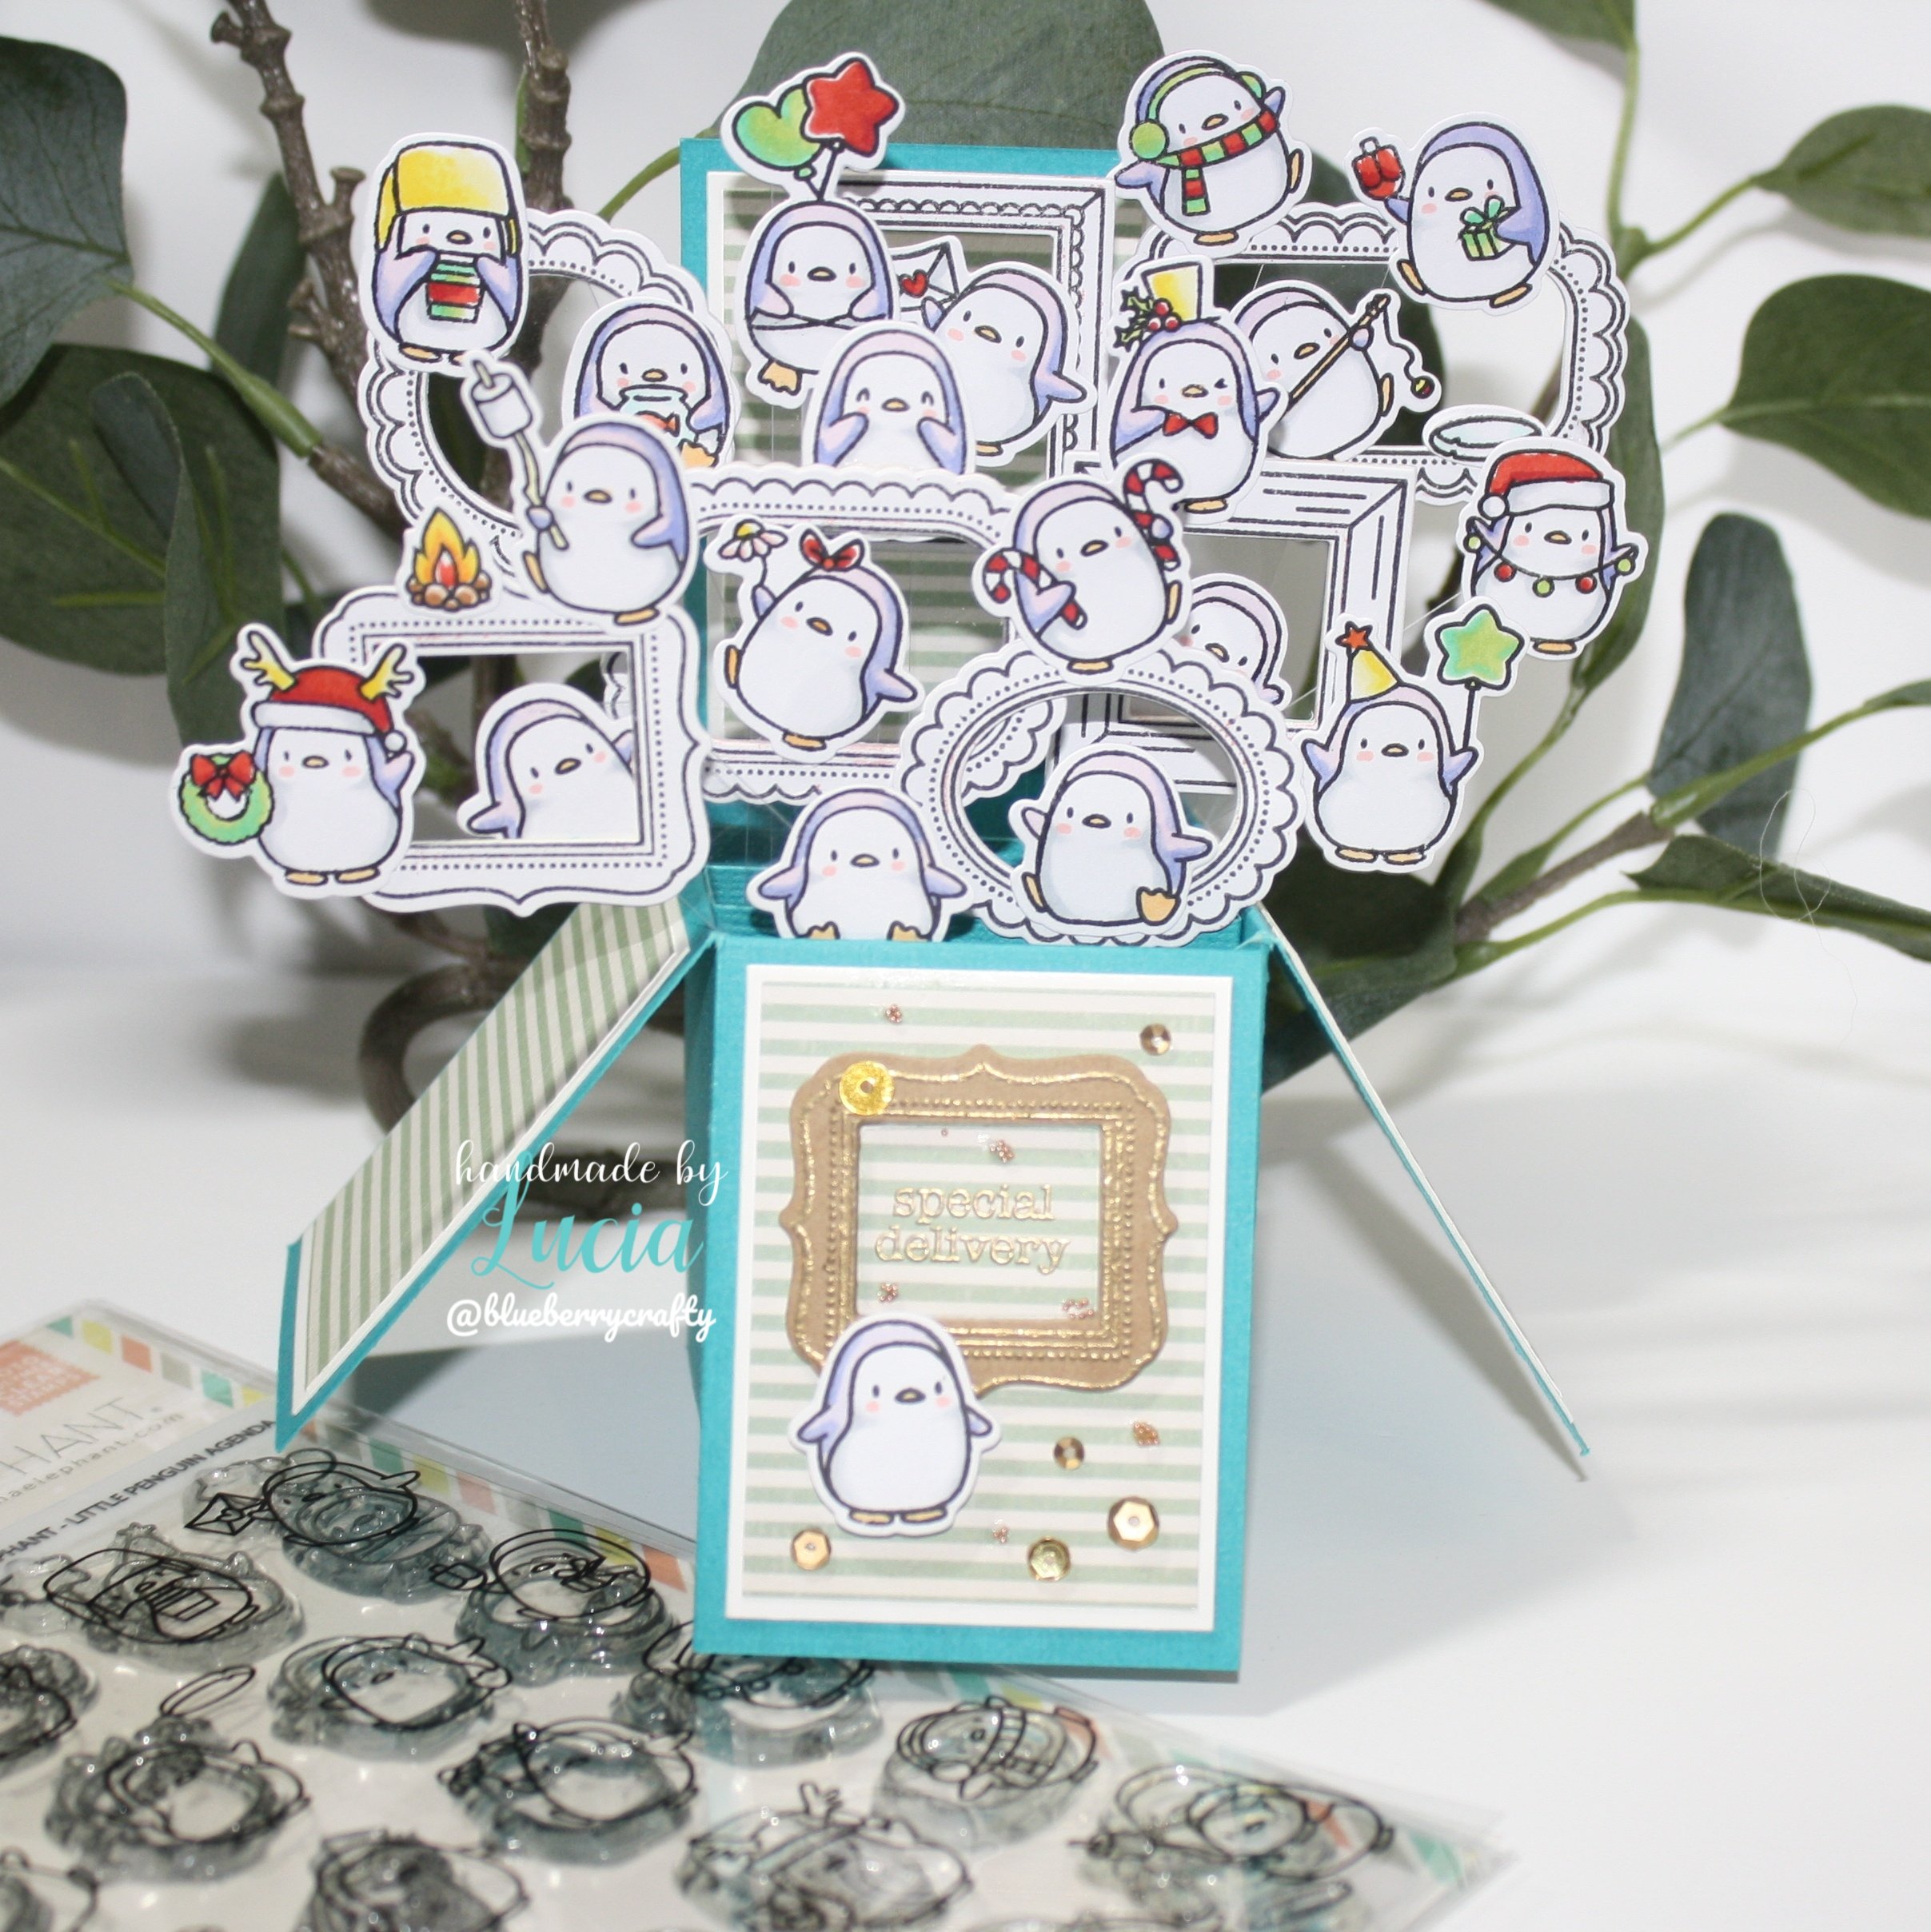
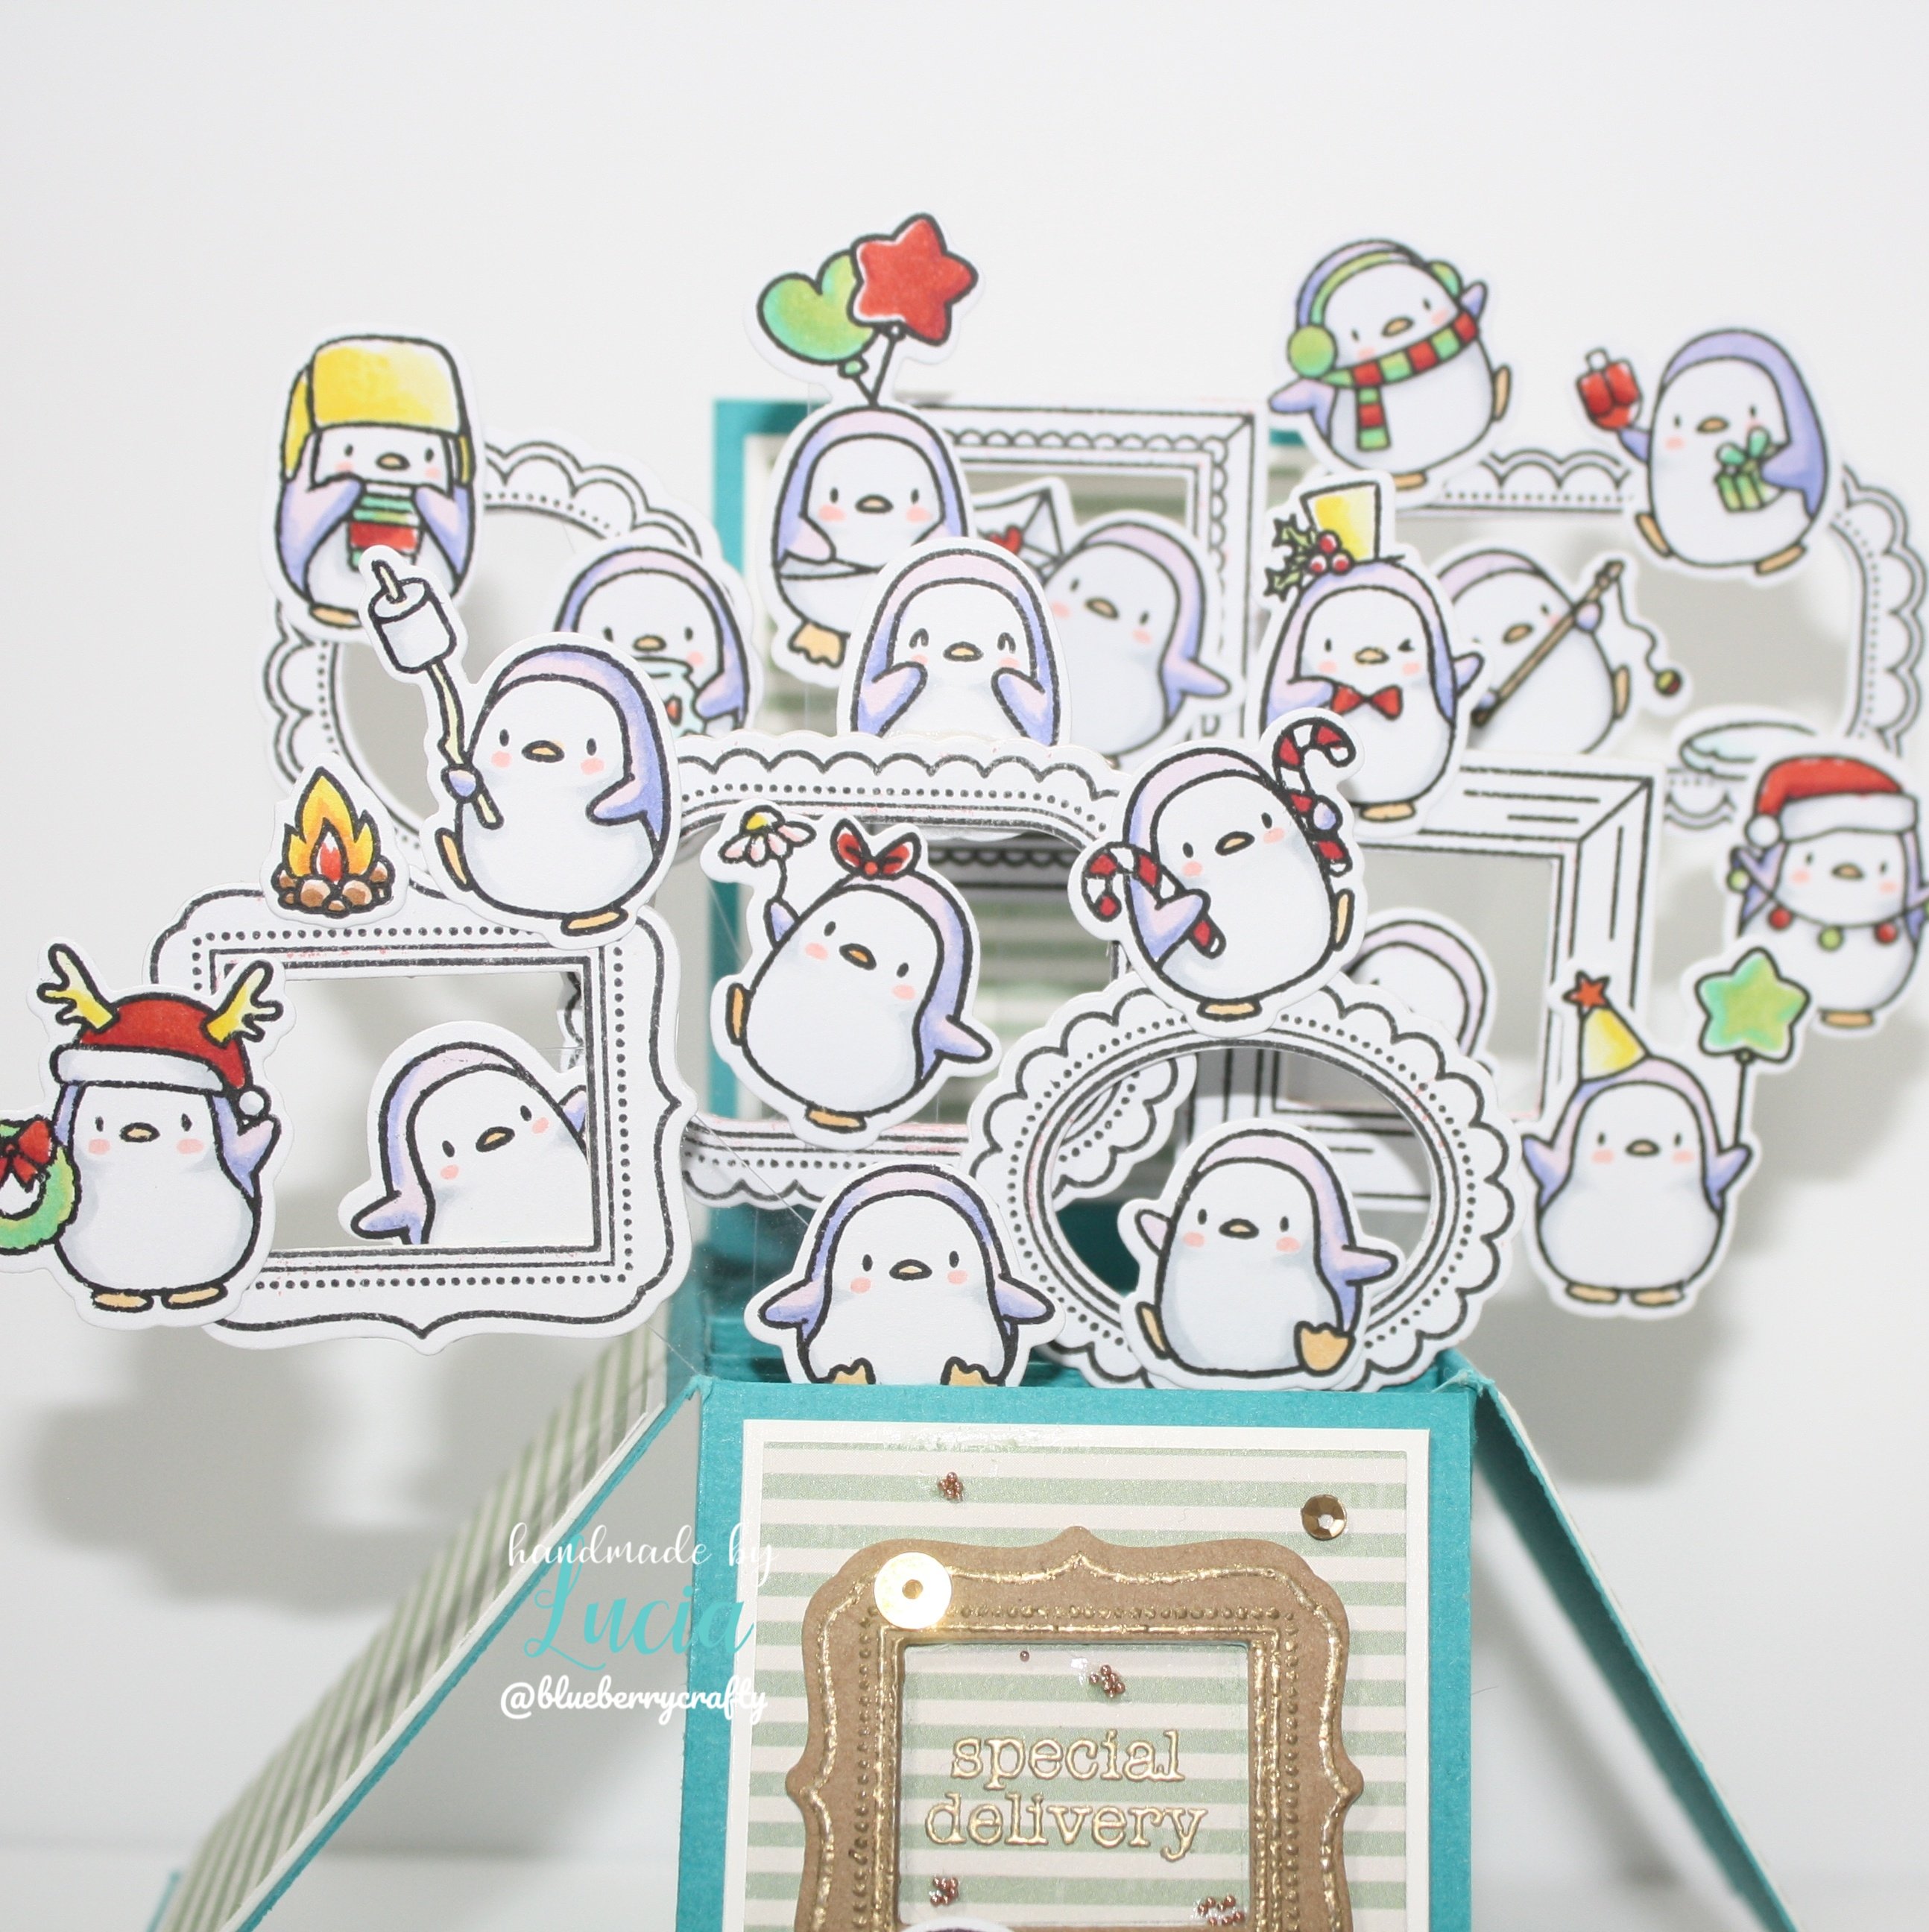
Okay so let us dive in, I stamped out the Mama Elephant Little Penguin Agenda, colored and die cut the images with the creative cuts, coordinating dies. I have a tutorial of how I prep my stamps and can quickly mass-produce the stamped images for making large quantities of cards. I will share with you soon, video is in production at the moment keep an eye out for it. But let me tell you after knowing this, I am collecting the coordinating dies to my stamp sets because it is so worth it.Using the vertical card base I kept the gallery theme going as I wanted to run with it before it leaves my system.

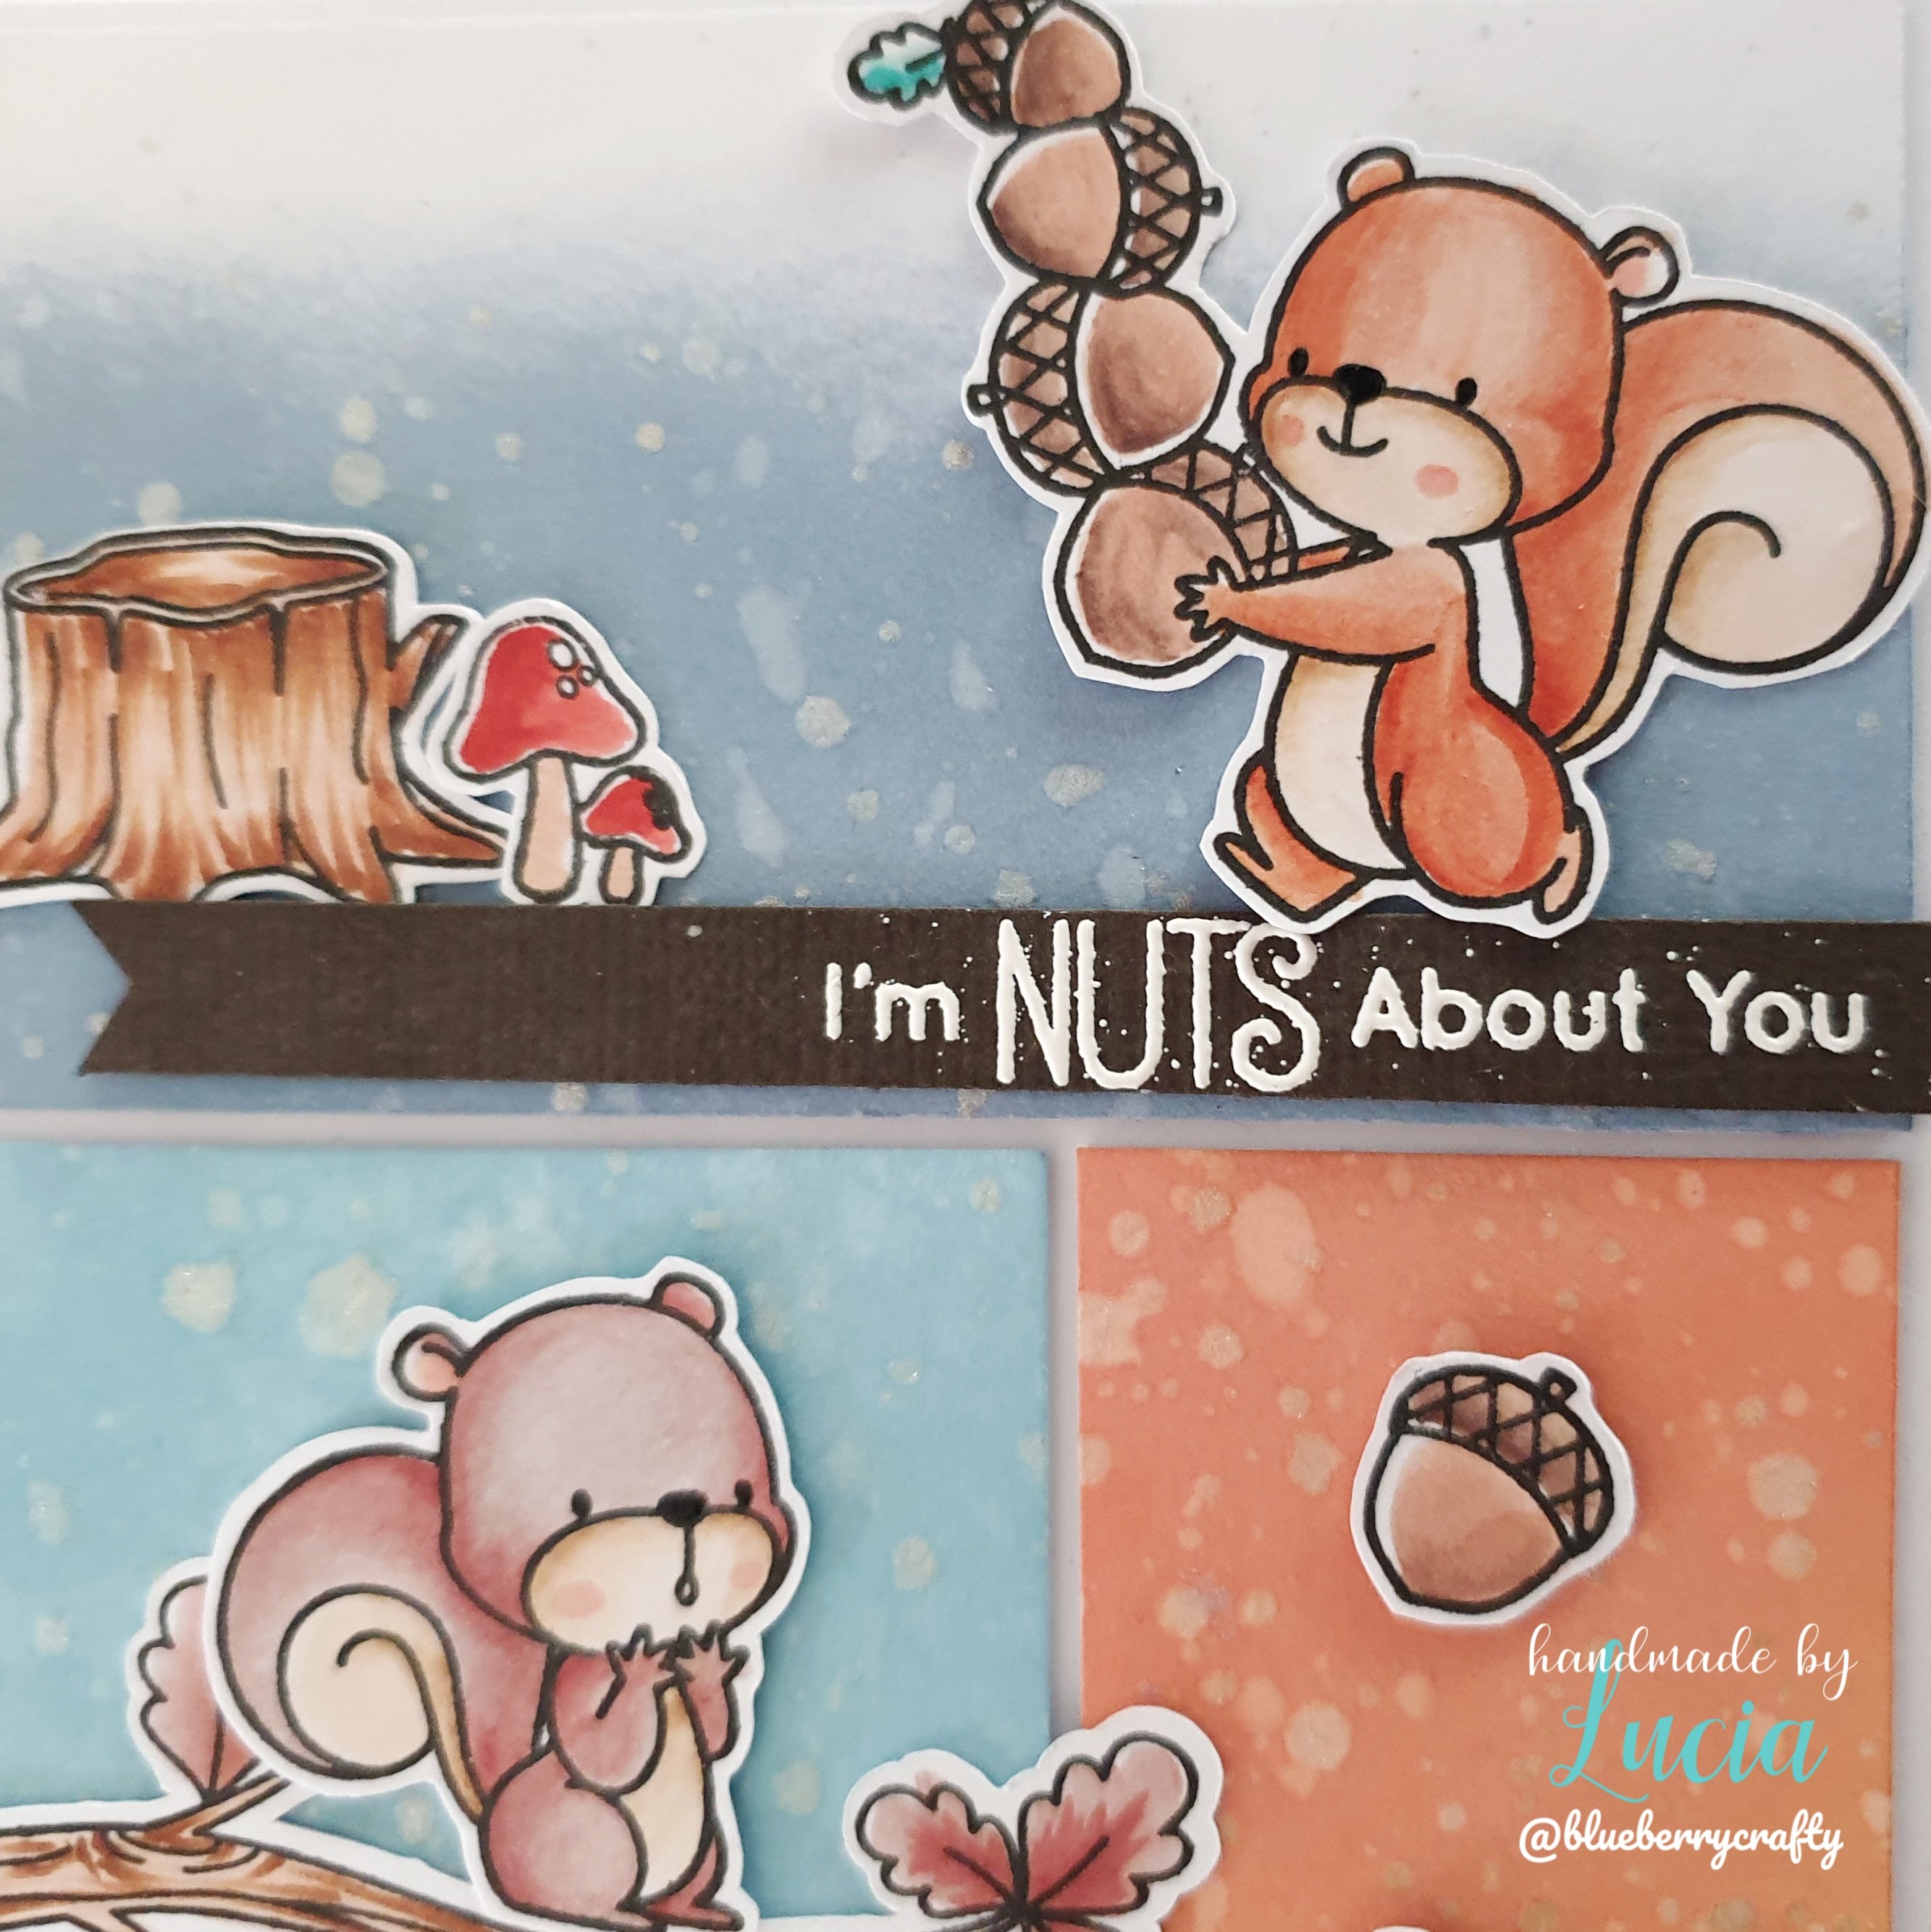
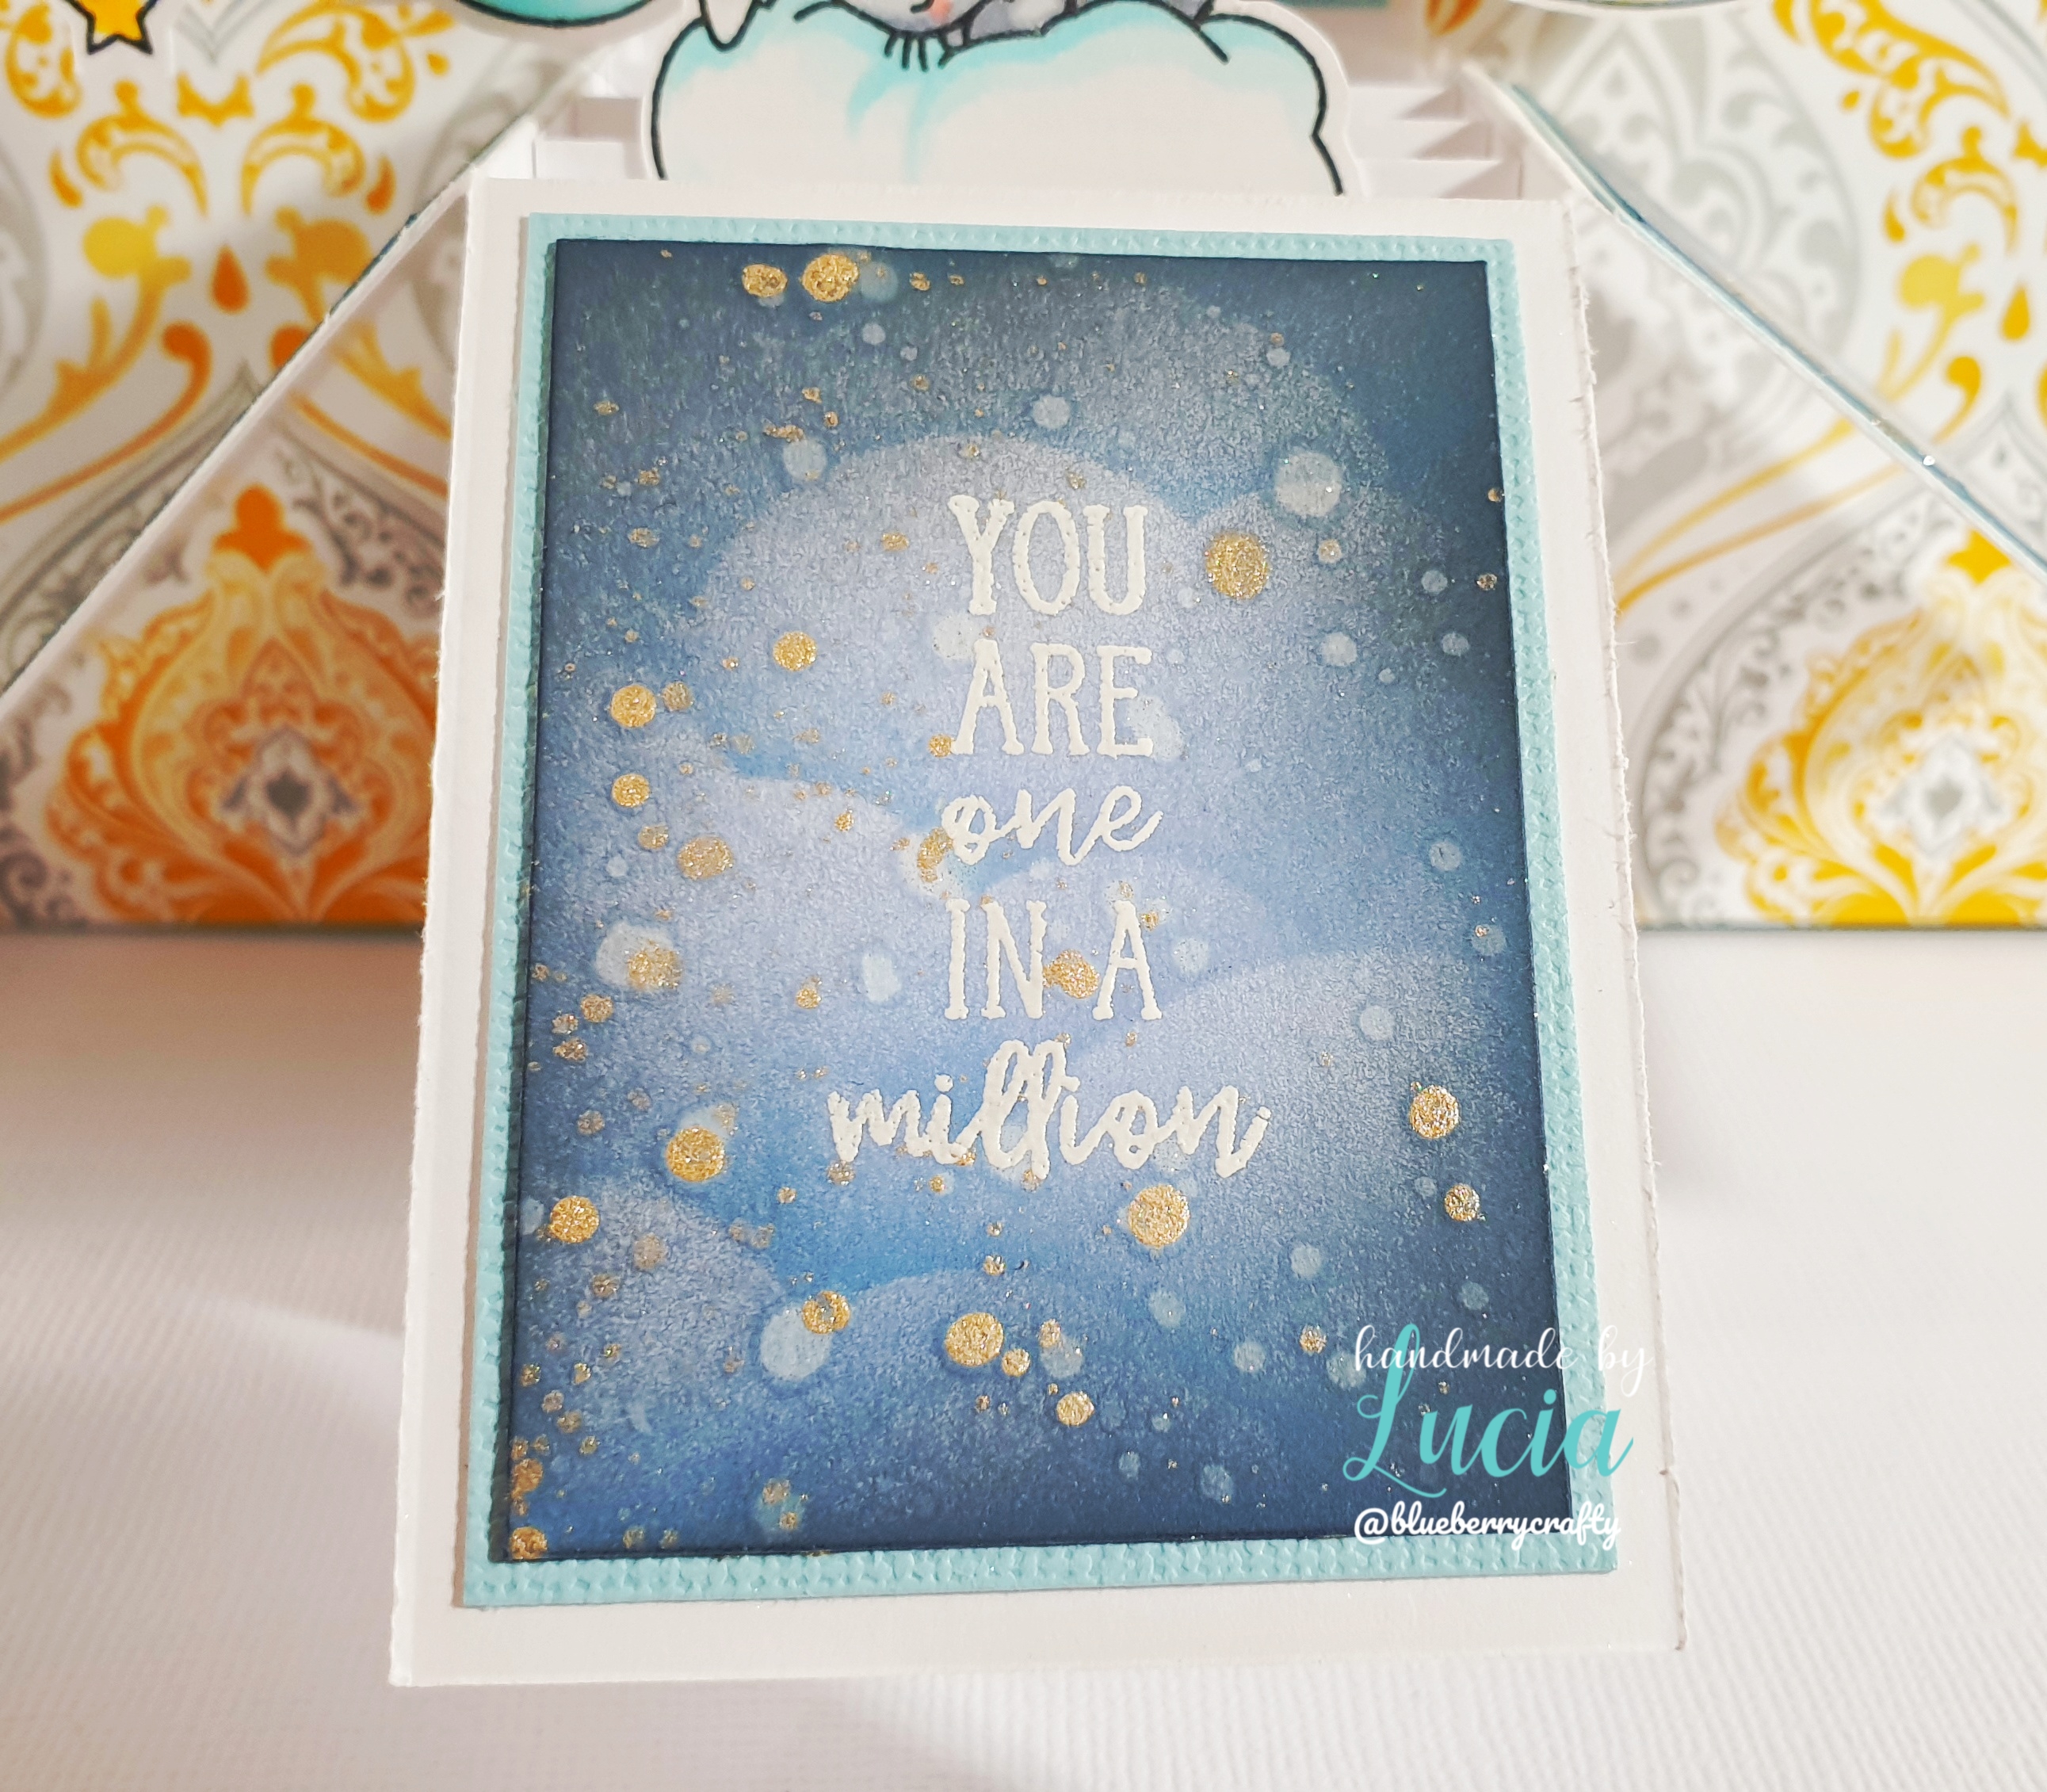
After coloring and die cutting the stamp set I arrange the layout using gluetac before finalizing and glueing them on acetate strips.Finally I used the golden left over frames I had from the cards to frame the mini merry messages. Finishing off with extra sparkles.

Thanks for visiting and leaving comments, it means so much to me to be able to share with you my crafting therapy. 😁

Hope you have a great day.
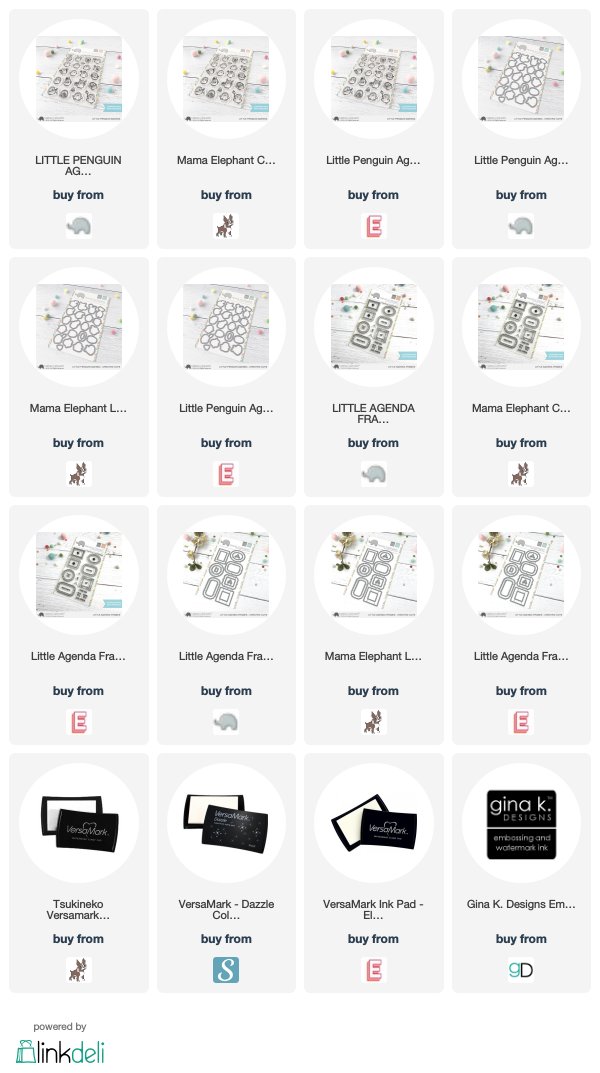
Supplies

  • Mama Elephant(ME) little penguin agenda
  • ME little penguin agenda creative cuts co-ordinating dies
  • ME little agenda frames
  • ME little agenda frames creative cuts co-ordinating dies
  • Versamark
  • Antistactic powder
  • Wow gold embossing
  • Ranger matte medium adhesive
  • Misti
  • Heat gun tool
  • Gina K Almagma ink
  • Acetate

https://linkdeli.com/widget.js?1559654439292

Mama Elephant Blog Hop

Welcome to a very special Mama Elephant Design Team blog hop! We are celebrating 7 years this month with a fantastic new holiday release along with our amazing friends!
Here is the promotional flyer for this year’s celebration. We’ve added an extra freebie tier this time around!
You can shop the newest release which is LIVE in our store now!

www.mamaelephant.com

That’s not all! To celebrate this special Anniversary release, Mama Elephant is giving away ten $25 gift certificates to our store!!! That is 10 winners!!! Winners will be chosen at random from the collective blogs in the 3 day Stampede. You have up to 4 chances to qualify to win!
» 1. Leave a comment on this blog post «
» 2. Like/share us on Facebook: facebook.com/mamaelephant «
» 3. Follow/tweet us on Twitter: twitter.com/heymamaelephant «

» 4. Follow/leave a comment for us on Instagram: instagram.com/mamaelephant «

(Each action qualifies for one entry, max 4 entries per stampeder please!)
Here are the designers for today. Please make sure to visit each of them and leave some kind words and comments!

Kathy Racoosin » www.thedailymarker.com


Mama Elephant » www.mamaelephantblog.com

Thank you and Happy Stampeding!

Are you guys excited?

Because I Sure am!!! I have a few inspiration projects to share with you and a Video. Please drop in to check out my media handles.

Okay let’s dig in! I know you guys love my pop up boxes but firstly I wanted to share with you my card. I absolutely adore this card because it reminds me of the walls of art in the art gallery. These penguins deserve their own art gallery dont you think?

I don’t know about you but how satisfying is it to pop out die cuts like this. Just a little satisfying video I hope you guys enjoy it as much as I do.

I used the following polychromos coloring pencils and the color board from Davina @popsiclesticks as my inspiration. Please click on the link to check her out she does amazing cards.

102 cream

185 naples yellow

184 dark Naples ochre

183 light yellow ochre

109 dark chrome yellow

111 cadmium orange

132 light flesh

189 cinnamon

131 medium flesh

130 dark flesh

191 pompeian red

154 light cobalt turquoise

156 cobalt green

153 cobalt turquoise

155 hello turquoise

For the shadows – I wanted to step out of my comfort color choices and decided to use the moss greens as shadowsinstead of greys.

172 earth green

174 chromium green opaque

267 pine green

I used a standard top fold card base 11″ x 4 1/4″, then scored in the middle at 5 1/2″. Using the antistactic powder to prep the craft cardstock and stamped the mama elephant little agenda frames with versamark ink. Using the gold wow embossing powder I poured and heat setted it with the heat tool. I used the creative cuts co-oordinating dies to die cut them out. After which I played with the arrangements and adhere with the ranger matte medium to the card base.

I used the mini messages stamped on white cardstock with versamark and black heat embossed the sentiment. Then used the creative cuts 3d box card message frame, to which I die cut the white and gold cardstock to over lay each other then adhere to the front of the card. FINISHED!

Supplies

  • Mama Elephant(ME) little penguin agenda
  • ME little penguin agenda creative cuts co-ordinating dies
  • ME little agenda frames
  • ME little agenda frames creative cuts co-ordinating dies
  • ME 3d pop up box creative cuts
  • Versamark
  • Antistactic powder
  • Wow gold embossing
  • Wow black embossing
  • Ranger matte medium adhesive
  • Misti
  • Heat gun tool
  • Gina K Almagma ink

Wish Upon A Star – Mama Elephant

Okay this Stampset is much a Favourite for me. I don’t know bout you but the panels and dark skies making me go gaga!!! I ABSOLUTELY love the splatters of the gold water colors.

For me making the panels myself instead of using dsp (designer special paper) is more hard work but this box makes me so so happy. The extra effort is worth it. I hope it makes you happy too.

Lets jump in on how to make it, you start off with the box base, this I have decided to list in my menu to Diana @12bpanda’s website and youtube tutorial. She is so generous and awesome do check her out and show some love. Most of the time I will be using this box base.

I stamped the images out using Gina K. Almagma ink. I prefer this over the tuxedo black of momento because it is darker and gives me a crisper image. for the bunnies I used C0, C1, C3 for the shadow. I used the lightest colors first to keep the white parts white, which is mostly the mouth area and belly. I used R20 for the cheeks and ears.